Setup
Pre-requisites
- Basic knowledge of Linux command line and text editors (e.g., udev rules, vim/nano).
- Ubuntu 22.04 or later installed on your machine
Installing uv
If you haven't installed uv yet, please follow the instructions below to install it.
curl -LsSf https://astral.sh/uv/install.sh | sh
See the uv installation guide for more details.
CAN setup
Install the CAN utilities: https://github.com/enactic/openarm_can
sudo apt install -y software-properties-common
sudo add-apt-repository -y ppa:openarm/main
sudo apt update
sudo apt install -y \
  libopenarm-can-dev \
  openarm-can-utils
Configure the CAN interfaces with the following command.
can_configure automatically sets up all CAN interfaces with a CAN FD data-phase bitrate of 5 Mbps.
openarm-can-cli can_configure
Zero position setup
Set up the arm with the jig as shown below. This ensures the arm is in the correct position for data collection and evaluation.
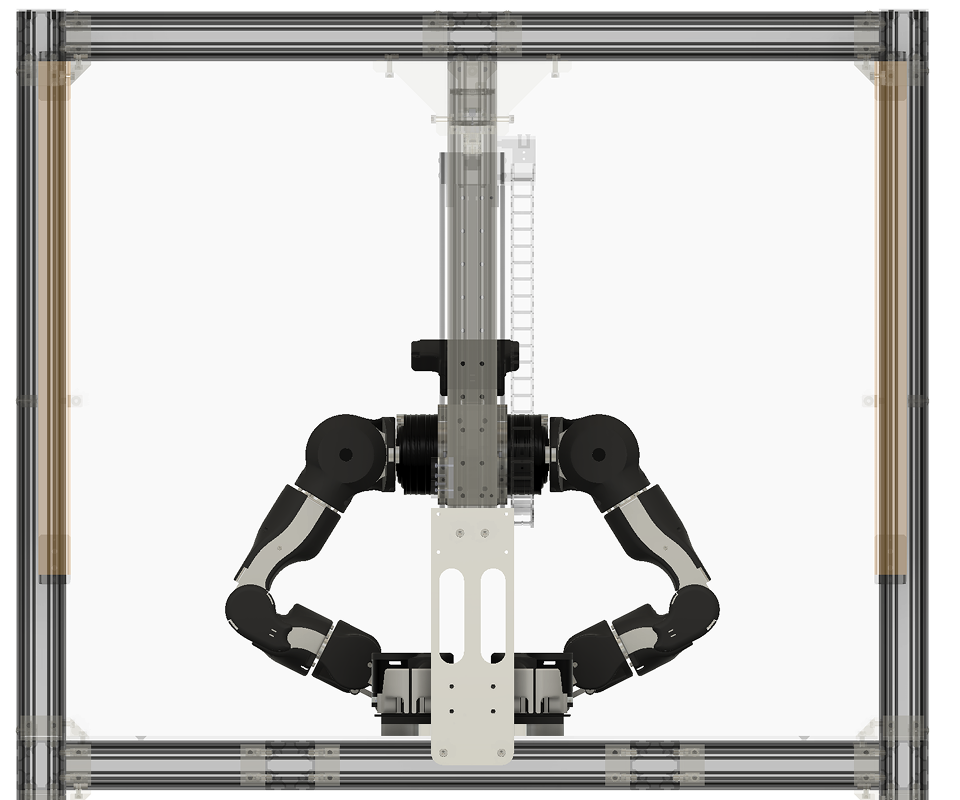
(See also: Calibration Workflow)
Before setting the zero position, make sure the CAN interface is up and running:
ip link show
can0 and can1 should appear in the UP state. Then run the following commands to set the zero position for the CAN motors:
openarm-can-cli -i can0 set_zero --arm
openarm-can-cli -i can1 set_zero --arm
Camera setup
Arducam's default serial number is the same for all cameras, so we need to set the serial number for each camera using arducam config tool.
1. Download ArducamUvcConfigUpdateTool
Please download the ArducamUvcConfigUpdateTool from the following link and install it on your machine: ArducamUvcConfigUpdateTool
It contains a binary file and a user manual for the tool.
2. Set the serial number for each Arducam
Open the ArducamUvcConfigUpdateTool and connect each camera one by one. Set the serial number for each camera as follows:
When you open the tool you will see the following screen:
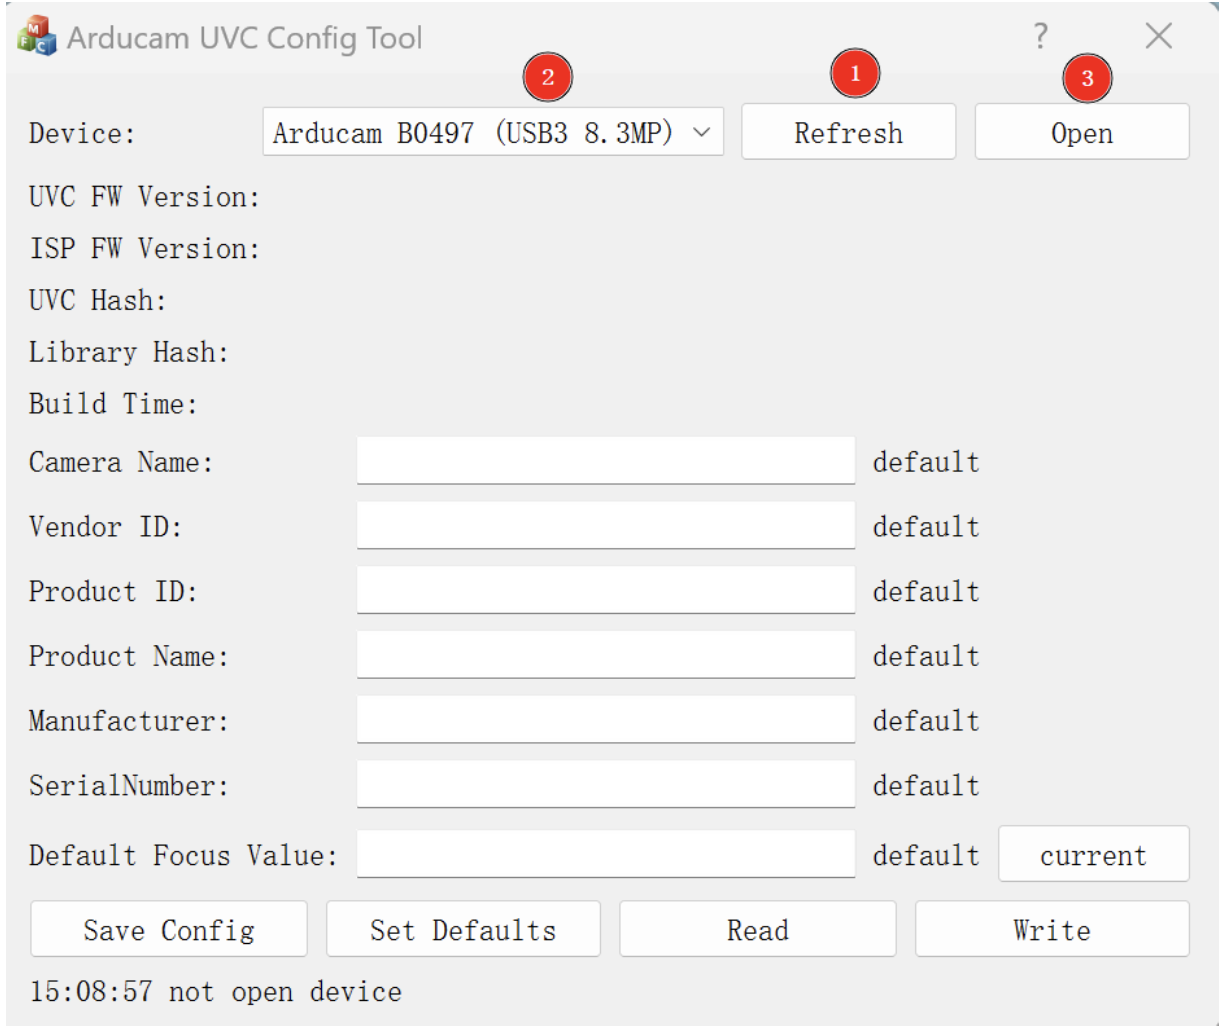
Then, set the SerialNumber for each camera as follows:
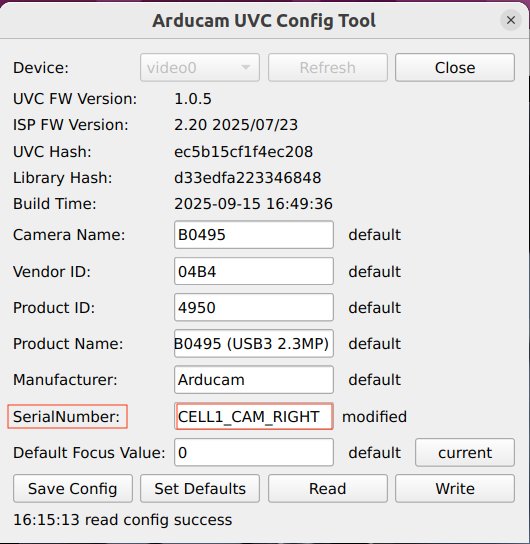
- camera_wrist_right (camera mounted on right wrist): CELL1_CAM_RIGHT
- camera_wrist_left (camera mounted on left wrist): CELL1_CAM_LEFT
- camera_ceiling (camera mounted on the ceiling): CELL1_CAM_CEILING
3. Check the vendor and product ID for the head stereo camera
The head stereo camera is a ZED camera from Stereolabs. You can check the vendor and product ID for the head stereo camera using the following command:
lsusb
If you can't see the device, try turning over the USB-C cable of the camera, as the camera has a USB-C connector that has a front and back side, and it may not be recognized if it is connected in the wrong way.
You will see the following output:
Bus 004 Device 047: ID 2b03:f682 STEREOLABS ZED-M camera
You need to keep the vendor and product ID (e.g., 2b03:f682) for the next step.
4. Create udev rules for the cameras
Create a udev rules file and add one rule per camera so that stable symbolic links are created under /dev/:
sudo vim /etc/udev/rules.d/99-camera.rules
And add the following lines to the file:
SUBSYSTEM=="video4linux", ATTRS{serial}=="CELL*_CAM_RIGHT", ATTR{index}=="0", SYMLINK+="camera_wrist_right"
SUBSYSTEM=="video4linux", ATTRS{serial}=="CELL*_CAM_LEFT", ATTR{index}=="0", SYMLINK+="camera_wrist_left"
SUBSYSTEM=="video4linux", ATTRS{serial}=="CELL*_CAM_CEILING", ATTR{index}=="0", SYMLINK+="camera_ceiling"
SUBSYSTEM=="video4linux", ATTRS{idVendor}=="2b03", ATTRS{idProduct}=="f682", ATTR{index}=="0", SYMLINK+="camera_head_stereo"
You need to replace the vendor and product ID for the head stereo camera with the one you got from the lsusb command.
After creating the udev rules, reload the udev rules and unplug and plug the cameras again to apply the changes. You should see the symbolic links for each camera in the /dev/ directory.
sudo udevadm control --reload-rules
sudo udevadm trigger
ls -l /dev/camera_*
If you see the symbolic links for each camera, the camera setup is complete.