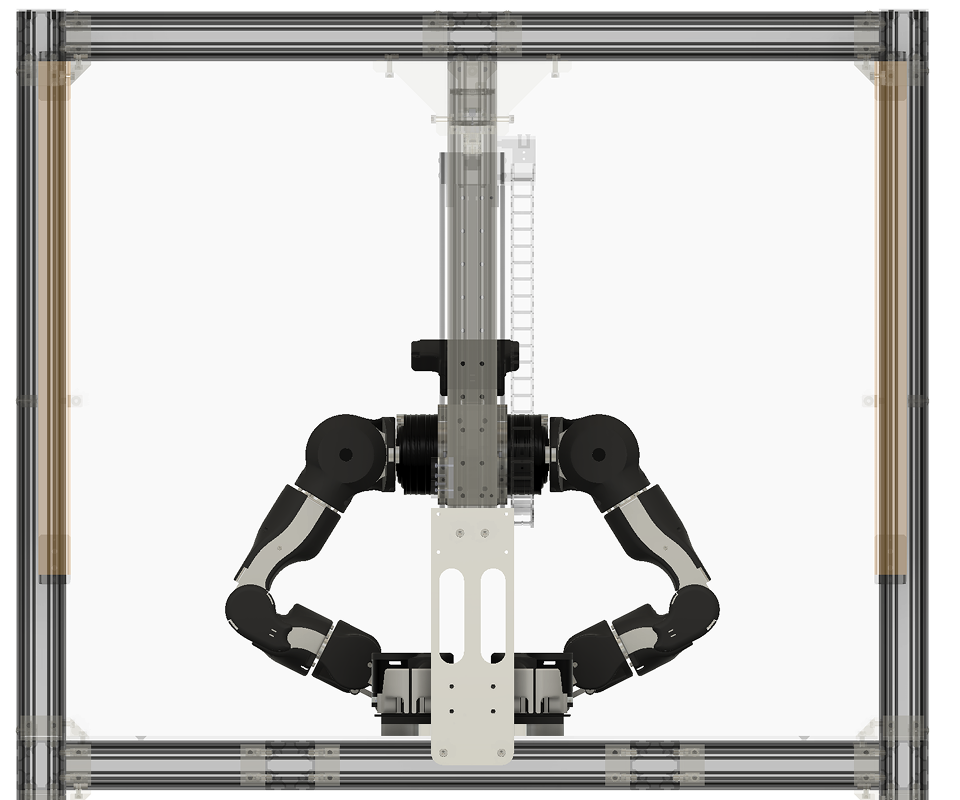
Calibration Workflow
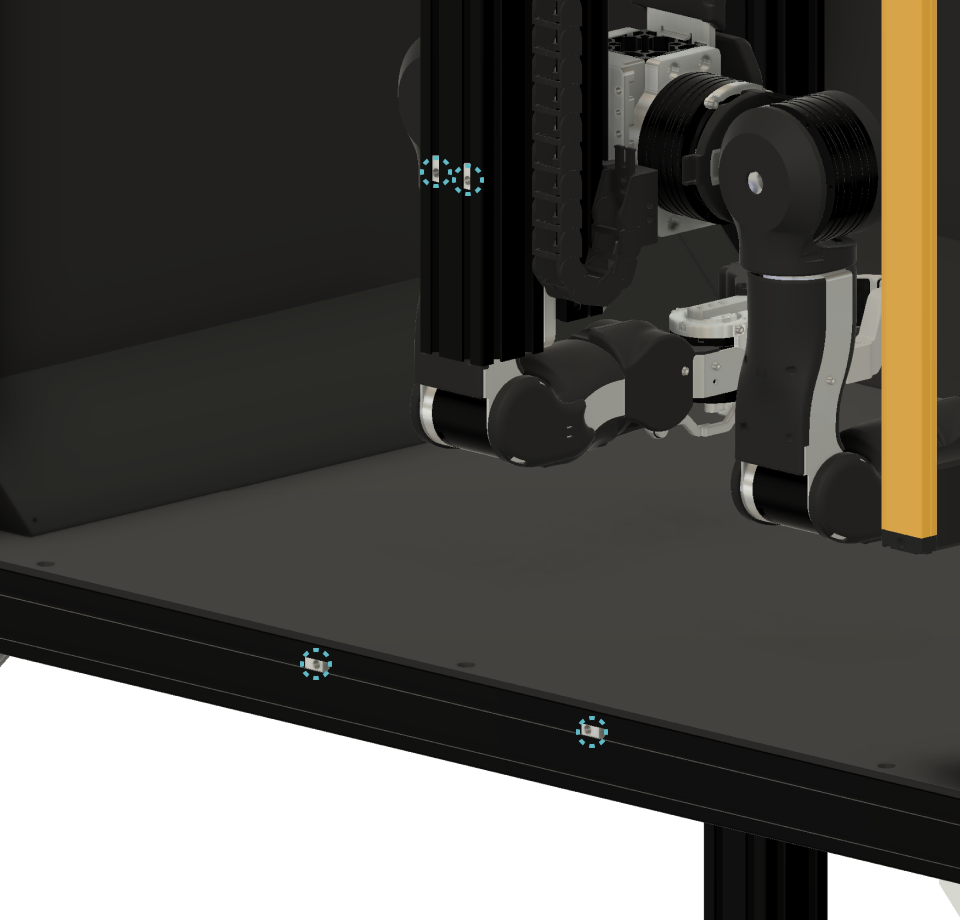
Step 1: Insert the Nut
Insert the post-insertion spring nuts (HNTP6-6) at the locations shown in the figure below. After the jig is installed, the nuts will be moved to align with the mounting holes, so precise positioning is not required at this stage.
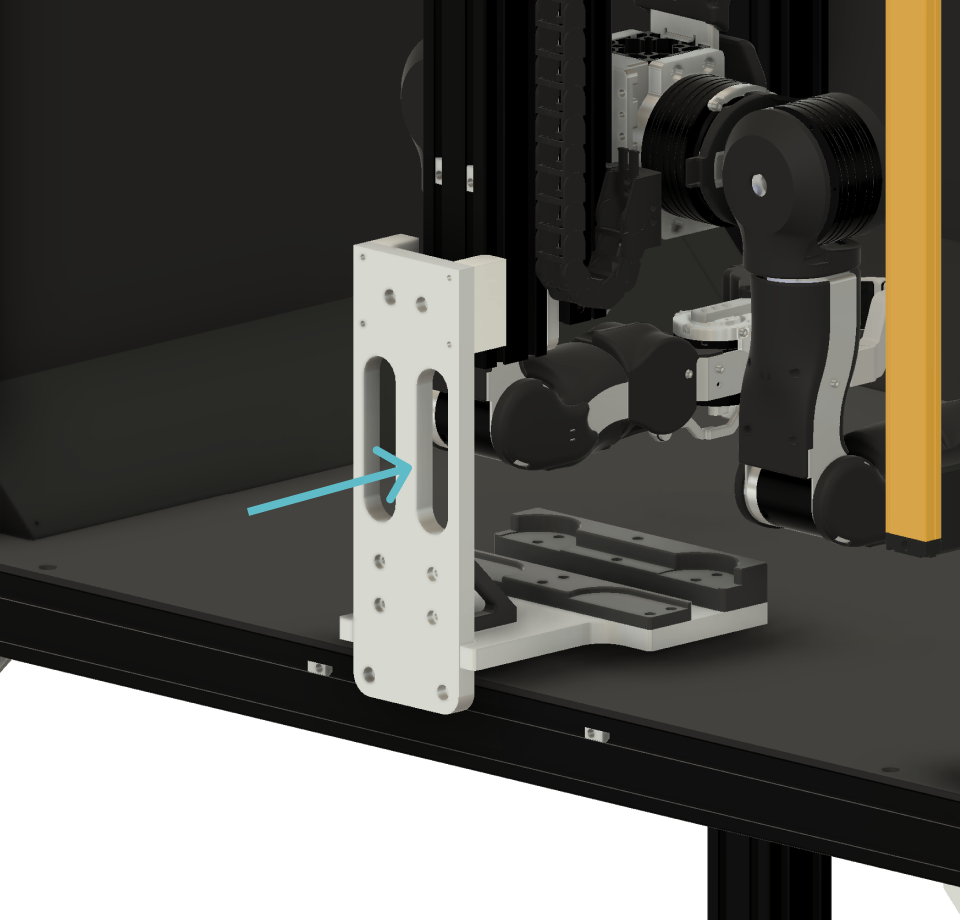
Step 2: Insert the Jig
Slowly insert the jig so that it fits around the central column to which OpenArm is mounted. After inserting it fully, adjust its position so that the bottom surface of the jig is flush with the stage of OpenArm Cell.
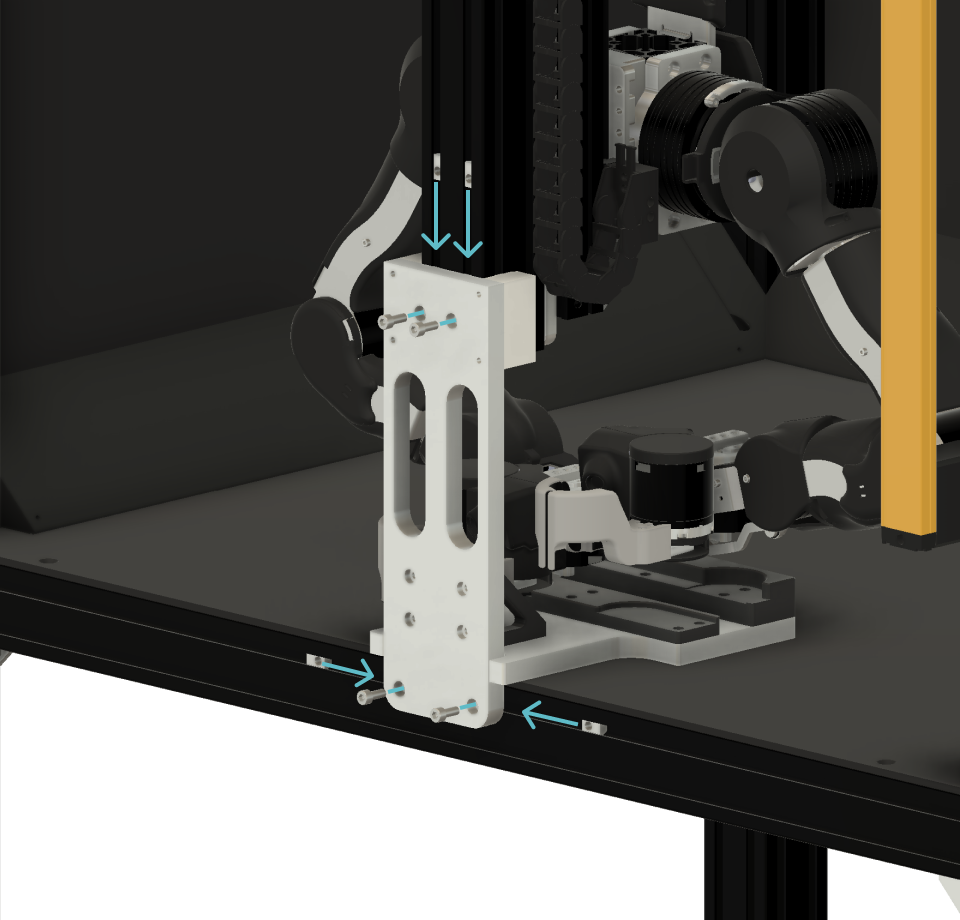
Step 3: Secure the Jig
Using a thin wrench or similar tool, adjust the position of the post-insertion spring nuts (HNTP6-6) inserted in Step 1. Once the nuts are aligned with the holes in the jig, secure the jig to OpenArm Cell using M6 screws.
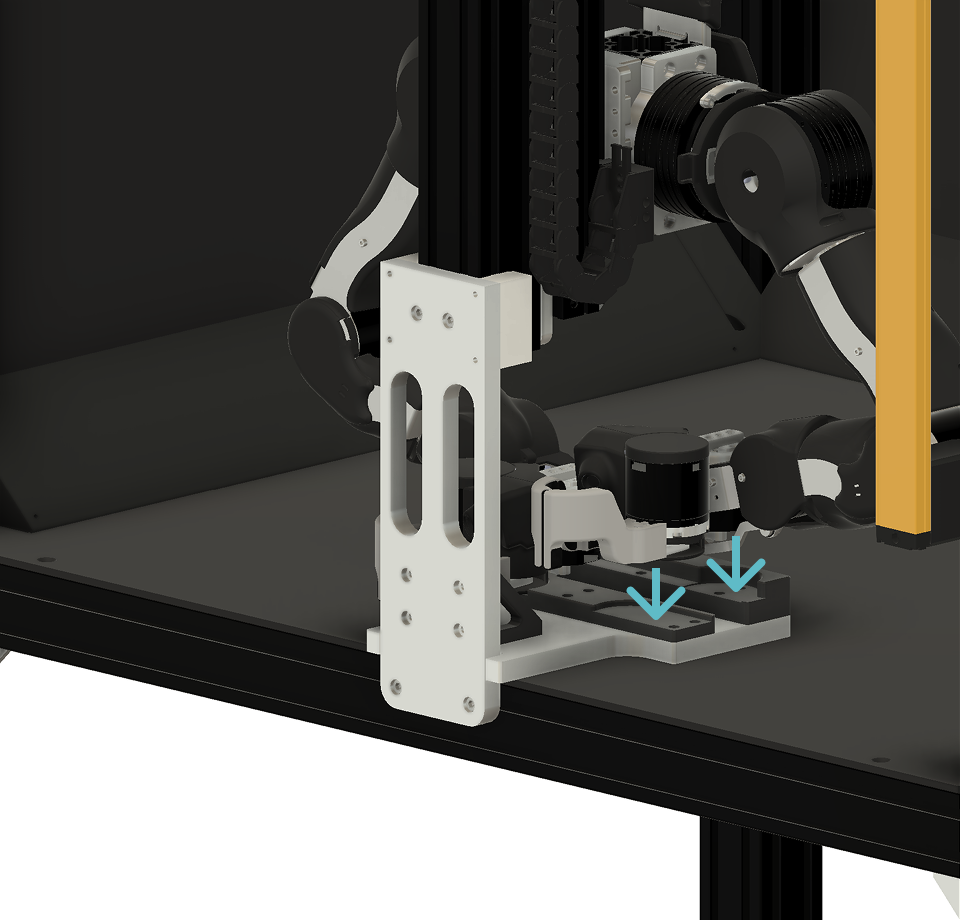
Step 4: Seat the End-Effector into the Pocket
Fit OpenArm into the recesses located on the bottom of the jig. Place the base of the end effector into the oval-shaped recess, and place the bottom of the J7 motor into the circular recess.
Step 5: Confirm Attachment to the Jig
Please confirm that all joints are secured and cannot move. Verify that OpenArm is fixed in the posture shown in the figure below, and then perform the calibration.