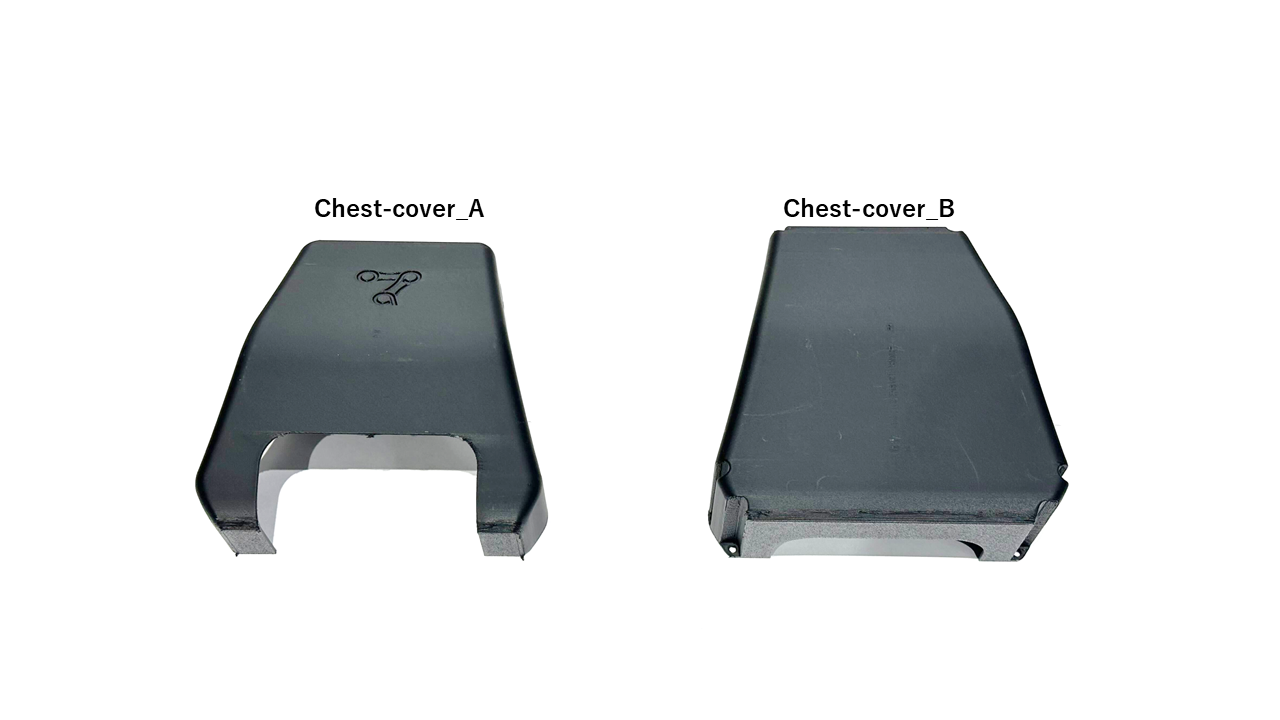
0. Components
Cables
J1 & J2 x4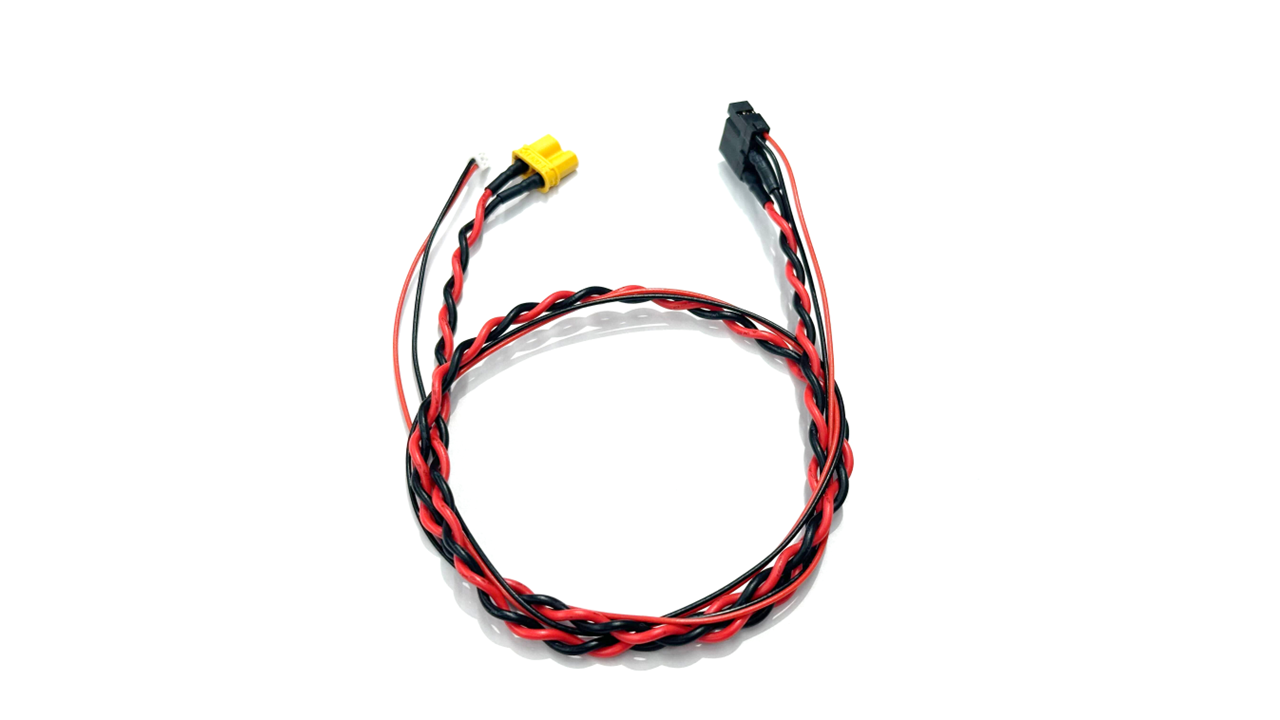 | J3-J4 x2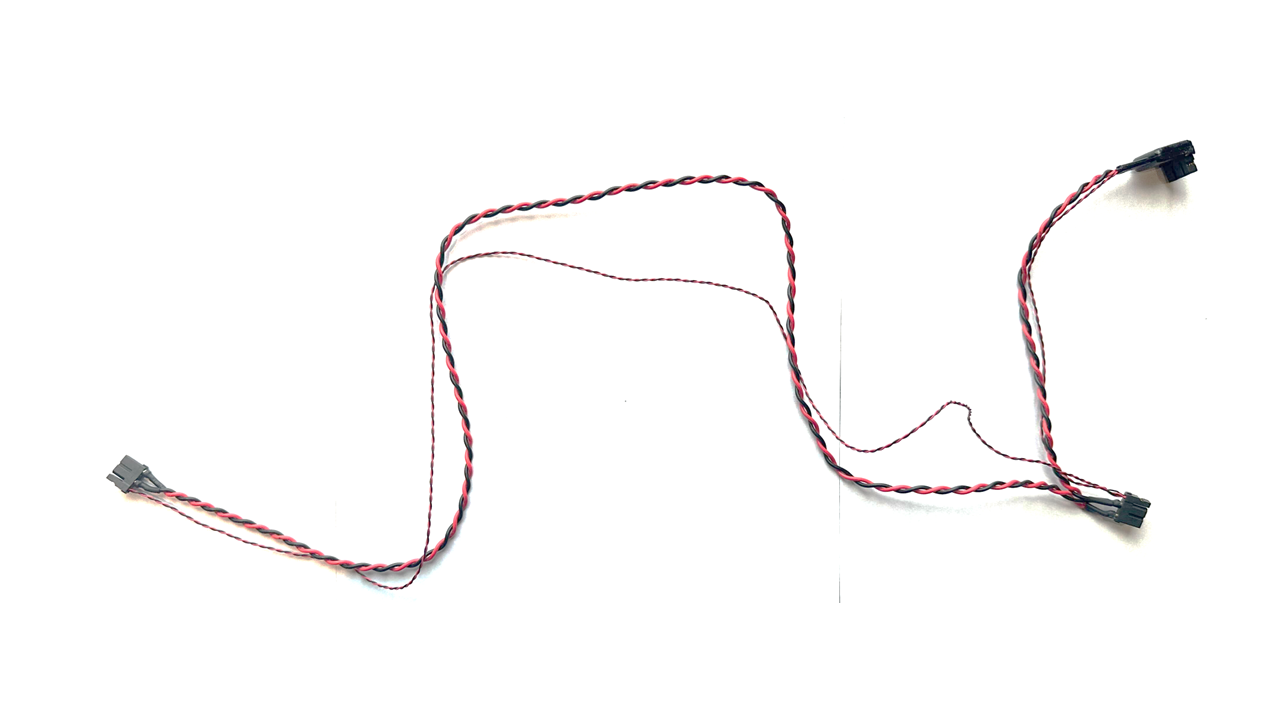 | J4-J7 x2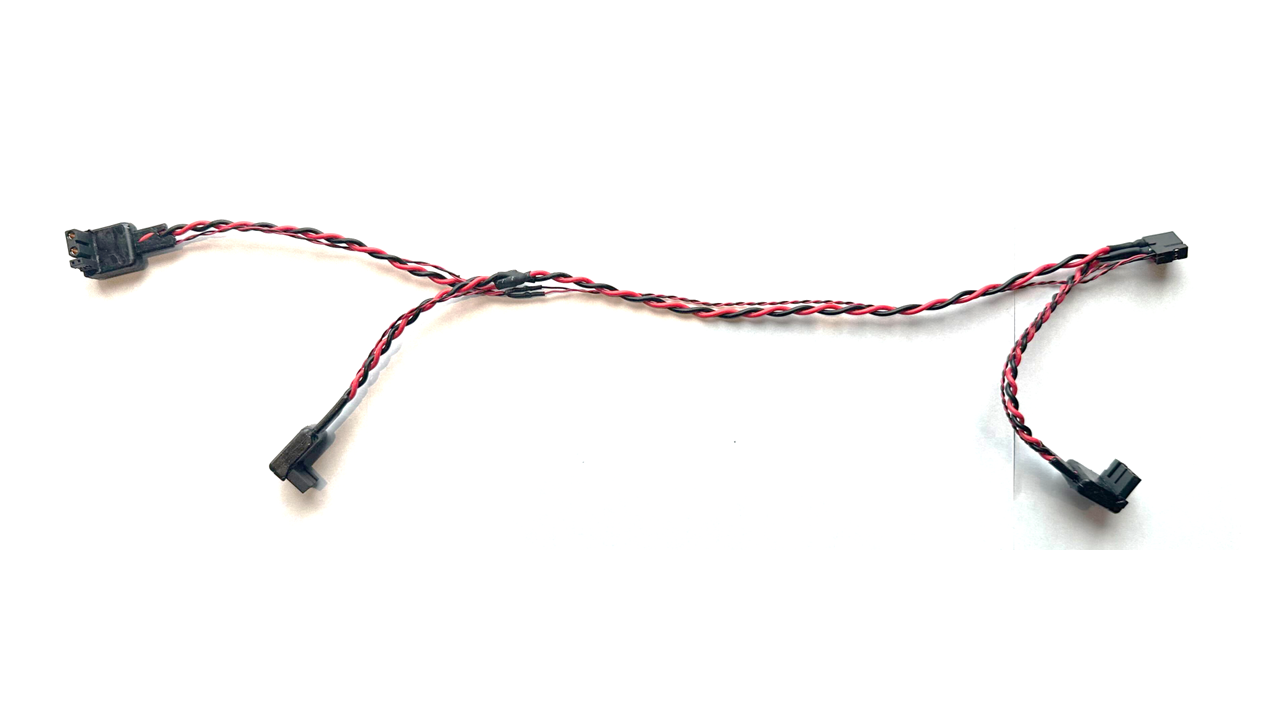 |
J7-J8 x2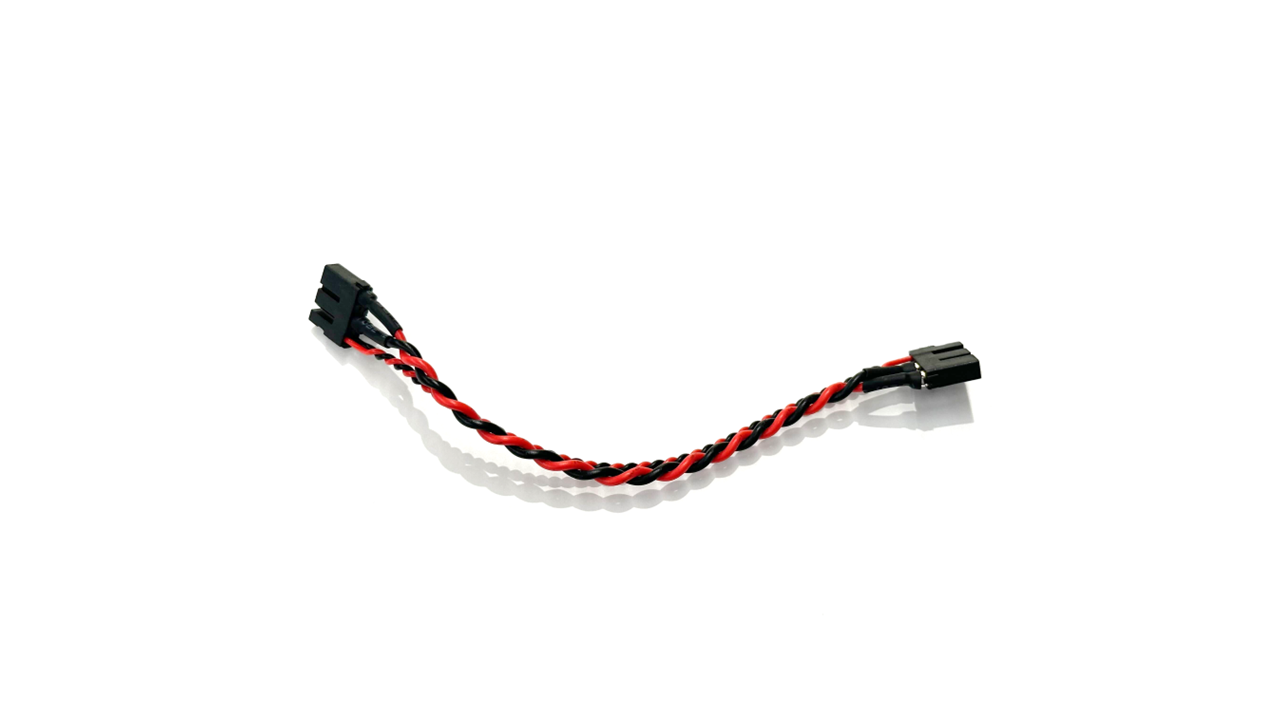 | Communication x2 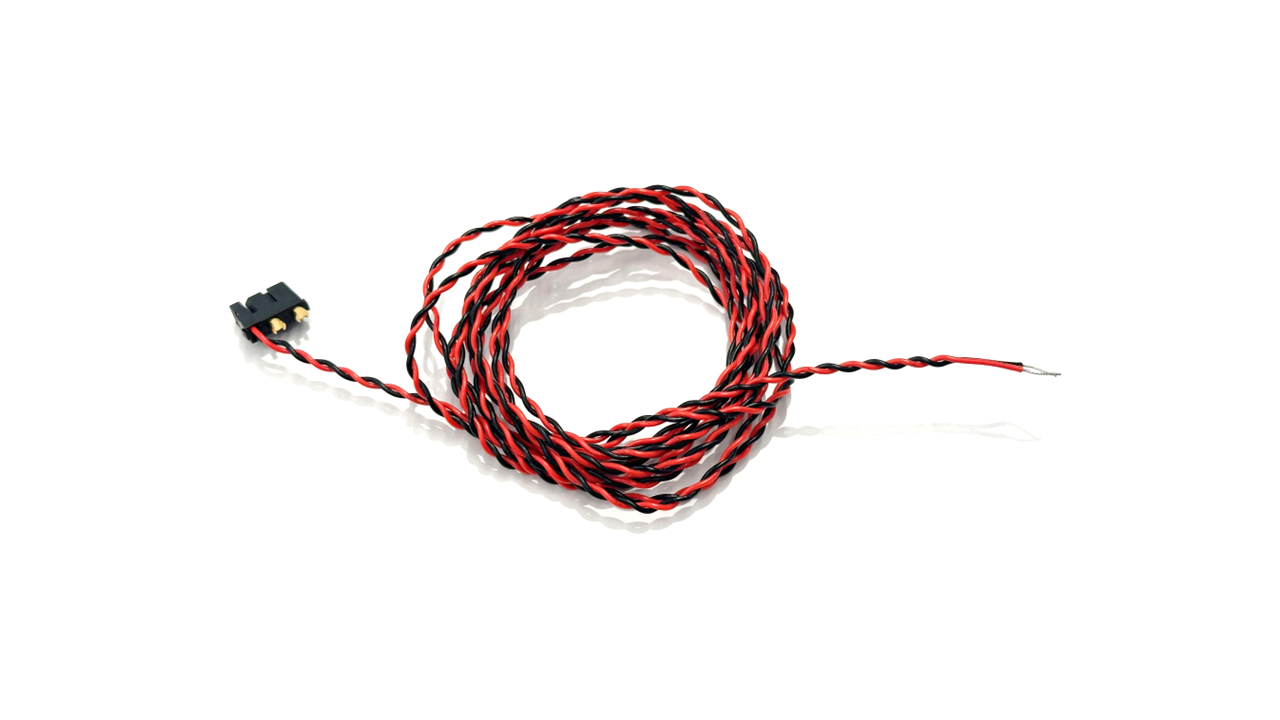 | Power extension x2 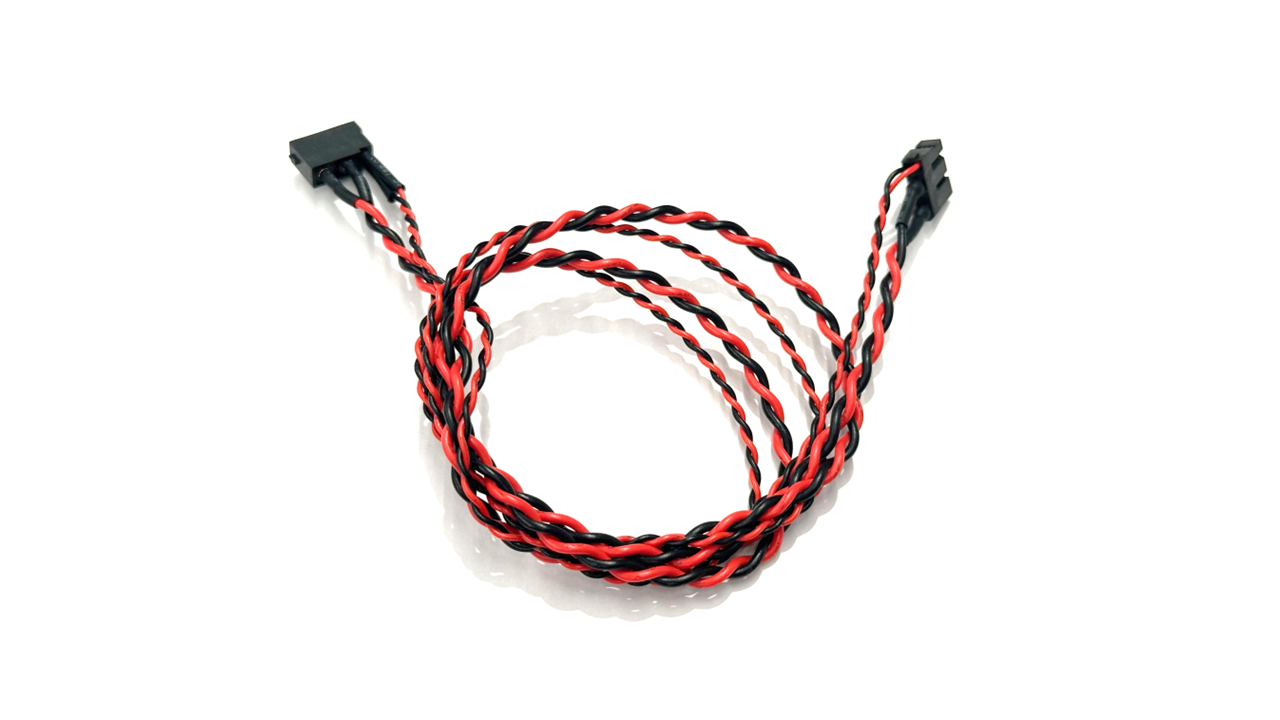 |
Notes on the J4+J5+J6+J7 to Hub Cable.
Summary
There is an interference issue with the connector, and customization is required for cables purchased from LCSC.
This issue does not occur with the multiple manufacturers producing OpenArm units.
L-Shaped Connector (Enactic In-house Method)
It needs to be modified if the cable was purchased from LCSC.
Process the custom L-shaped connector as indicated by the blue circles in the images below.
Left: J3–J4 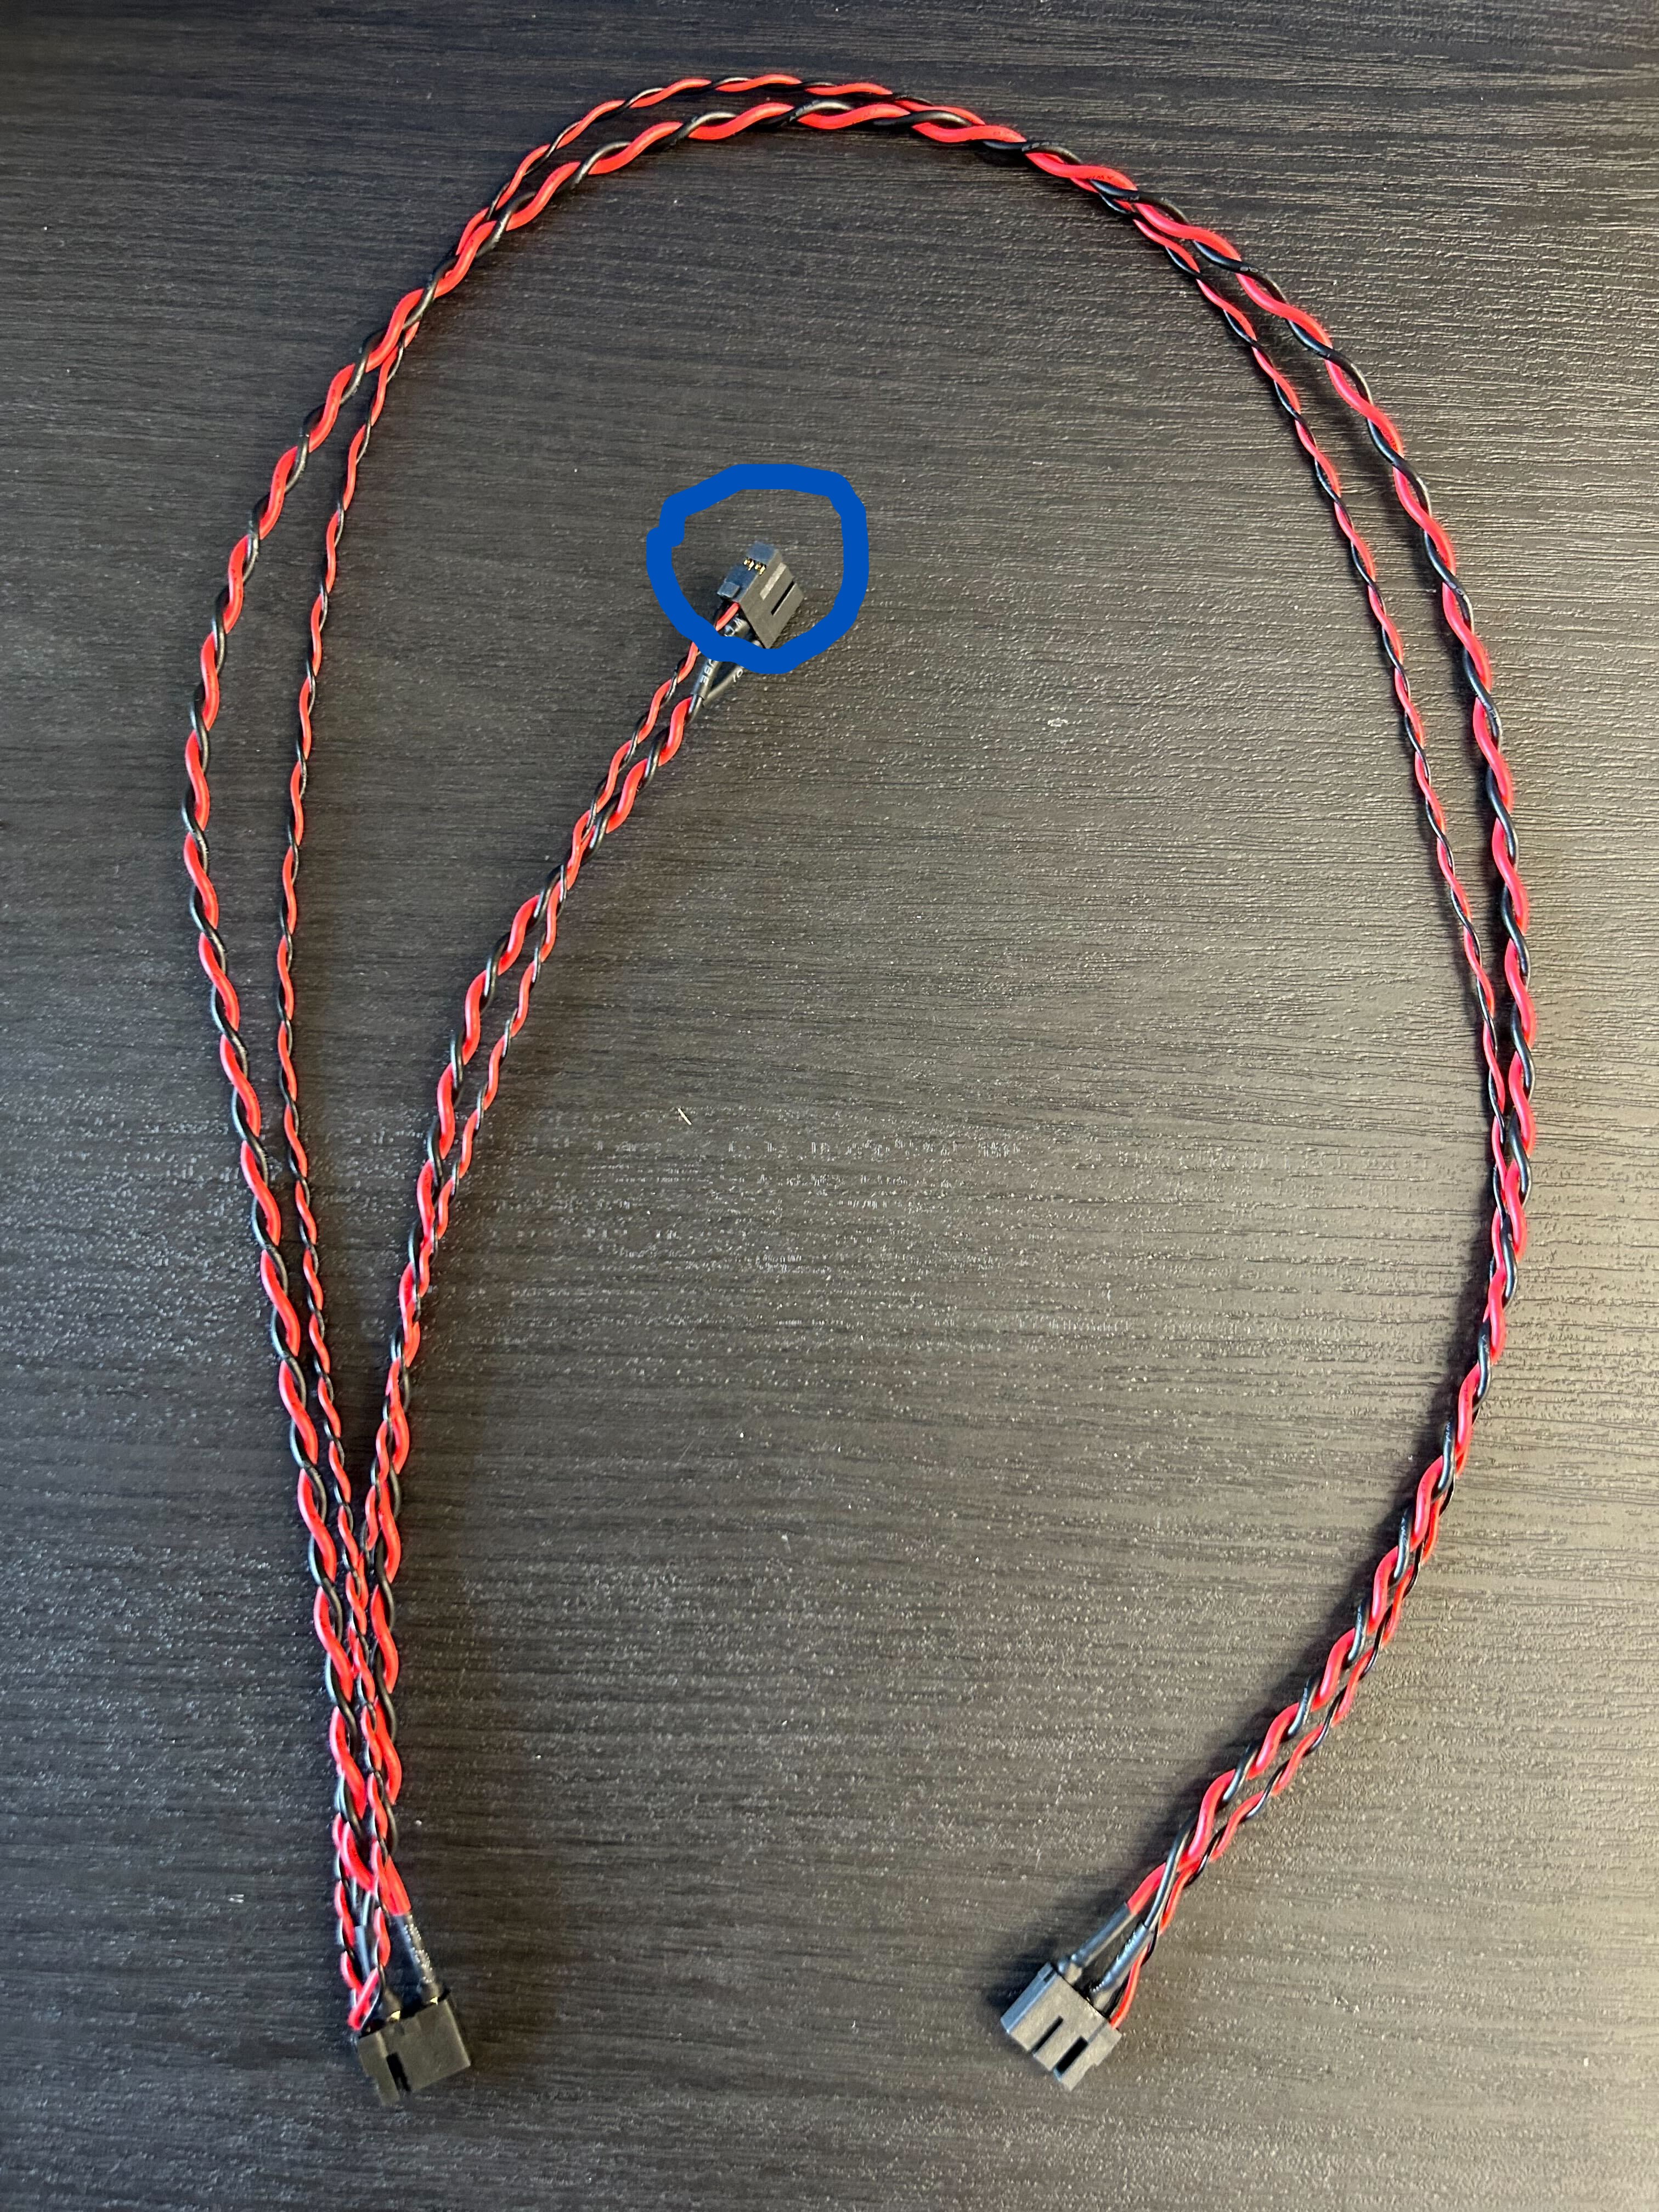 | Right: J4–J7 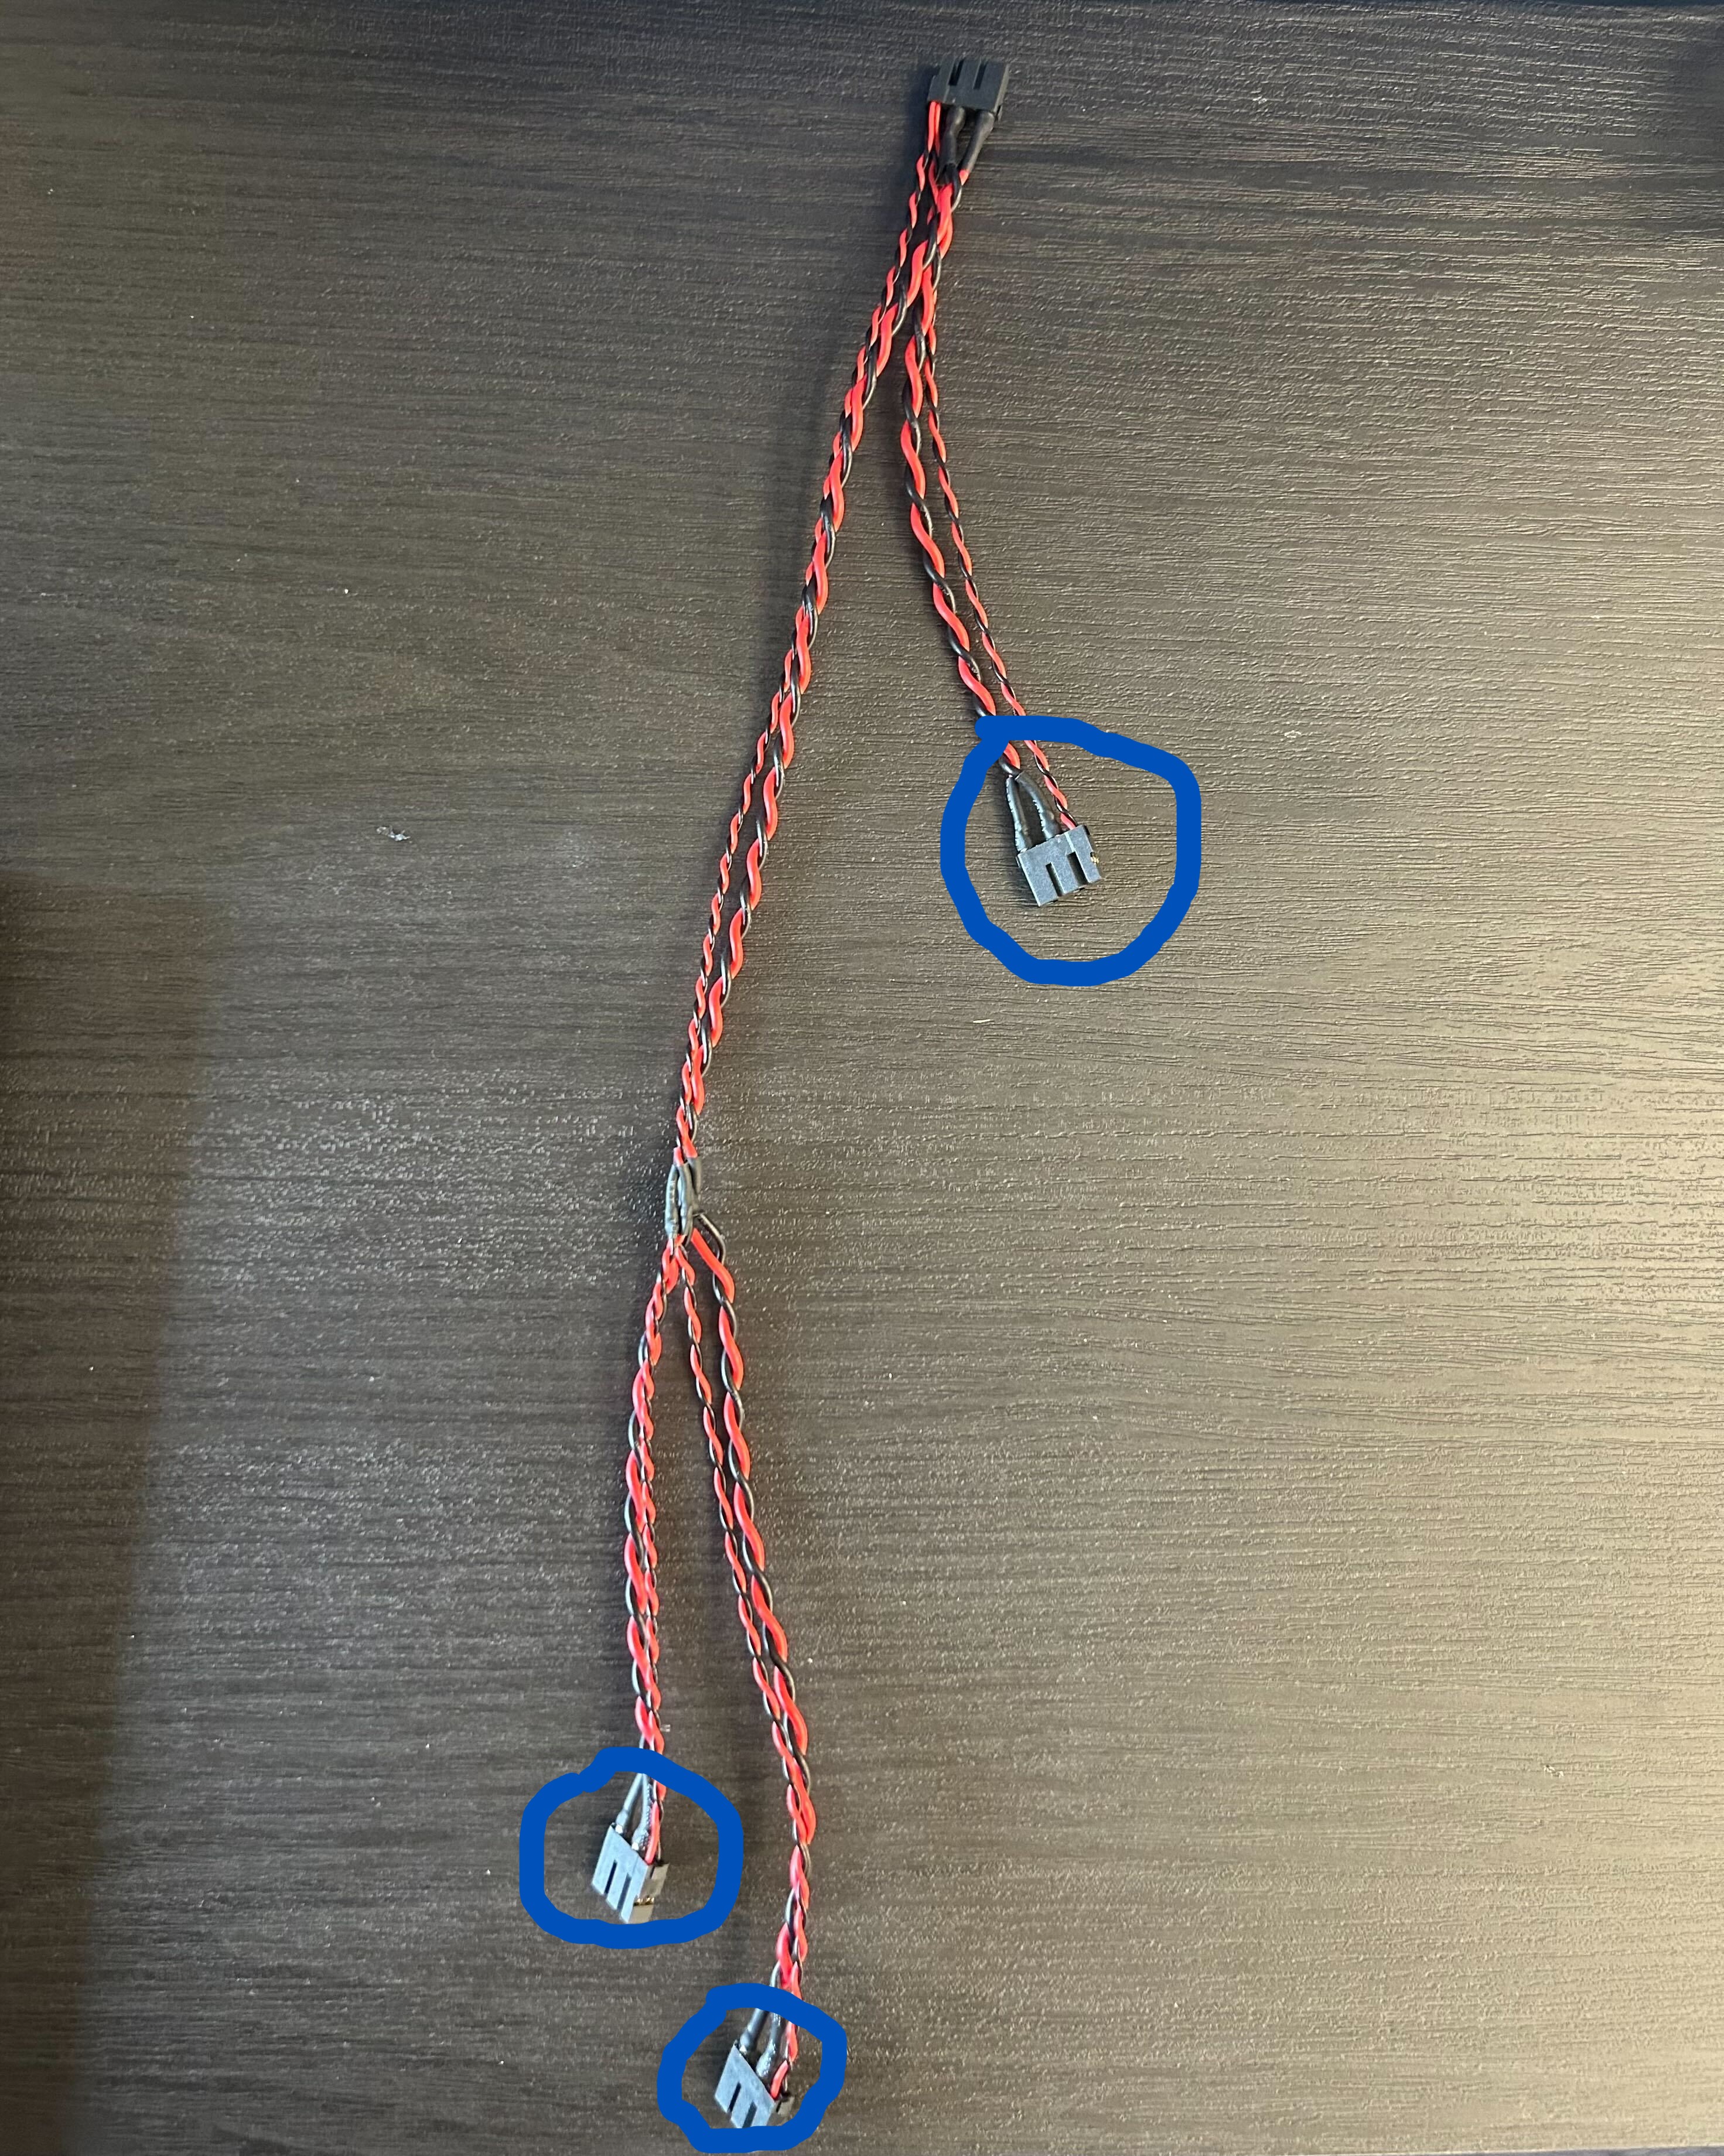 |
Processing Steps
3D Data: Google Drive
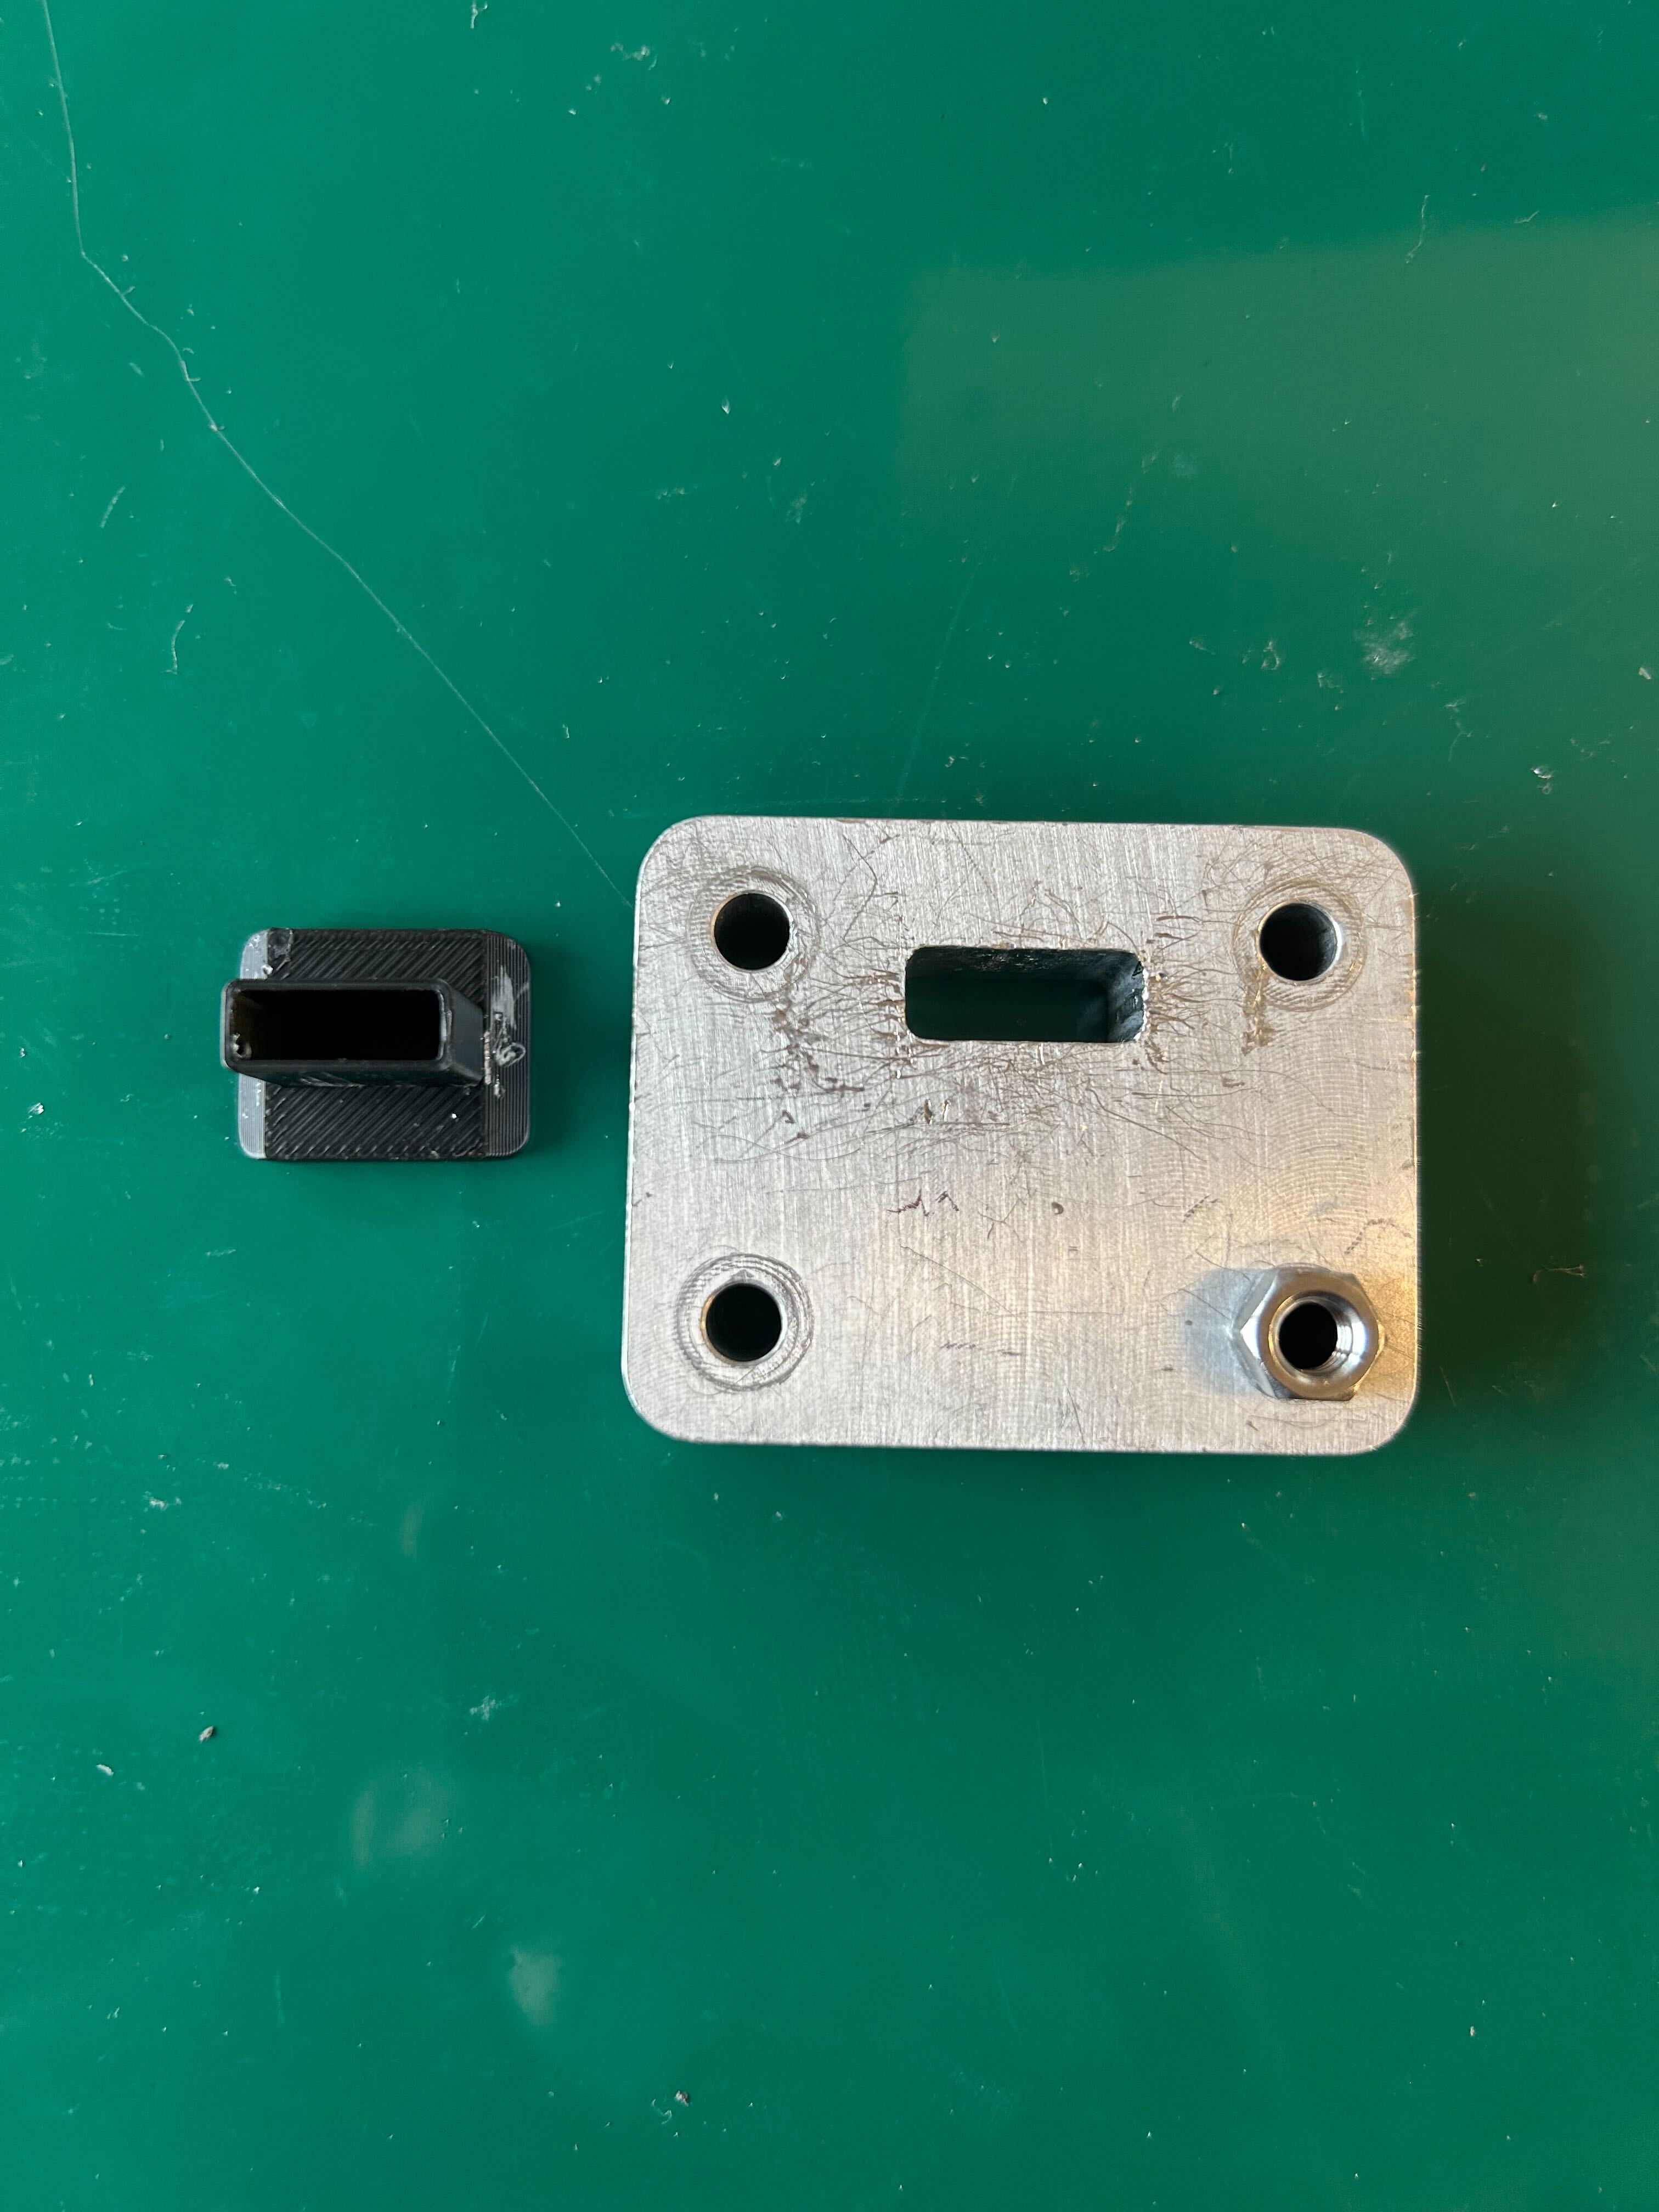
- mold:
cables_L-shapedMold.step - black case:
cables_L-shapedCase.step
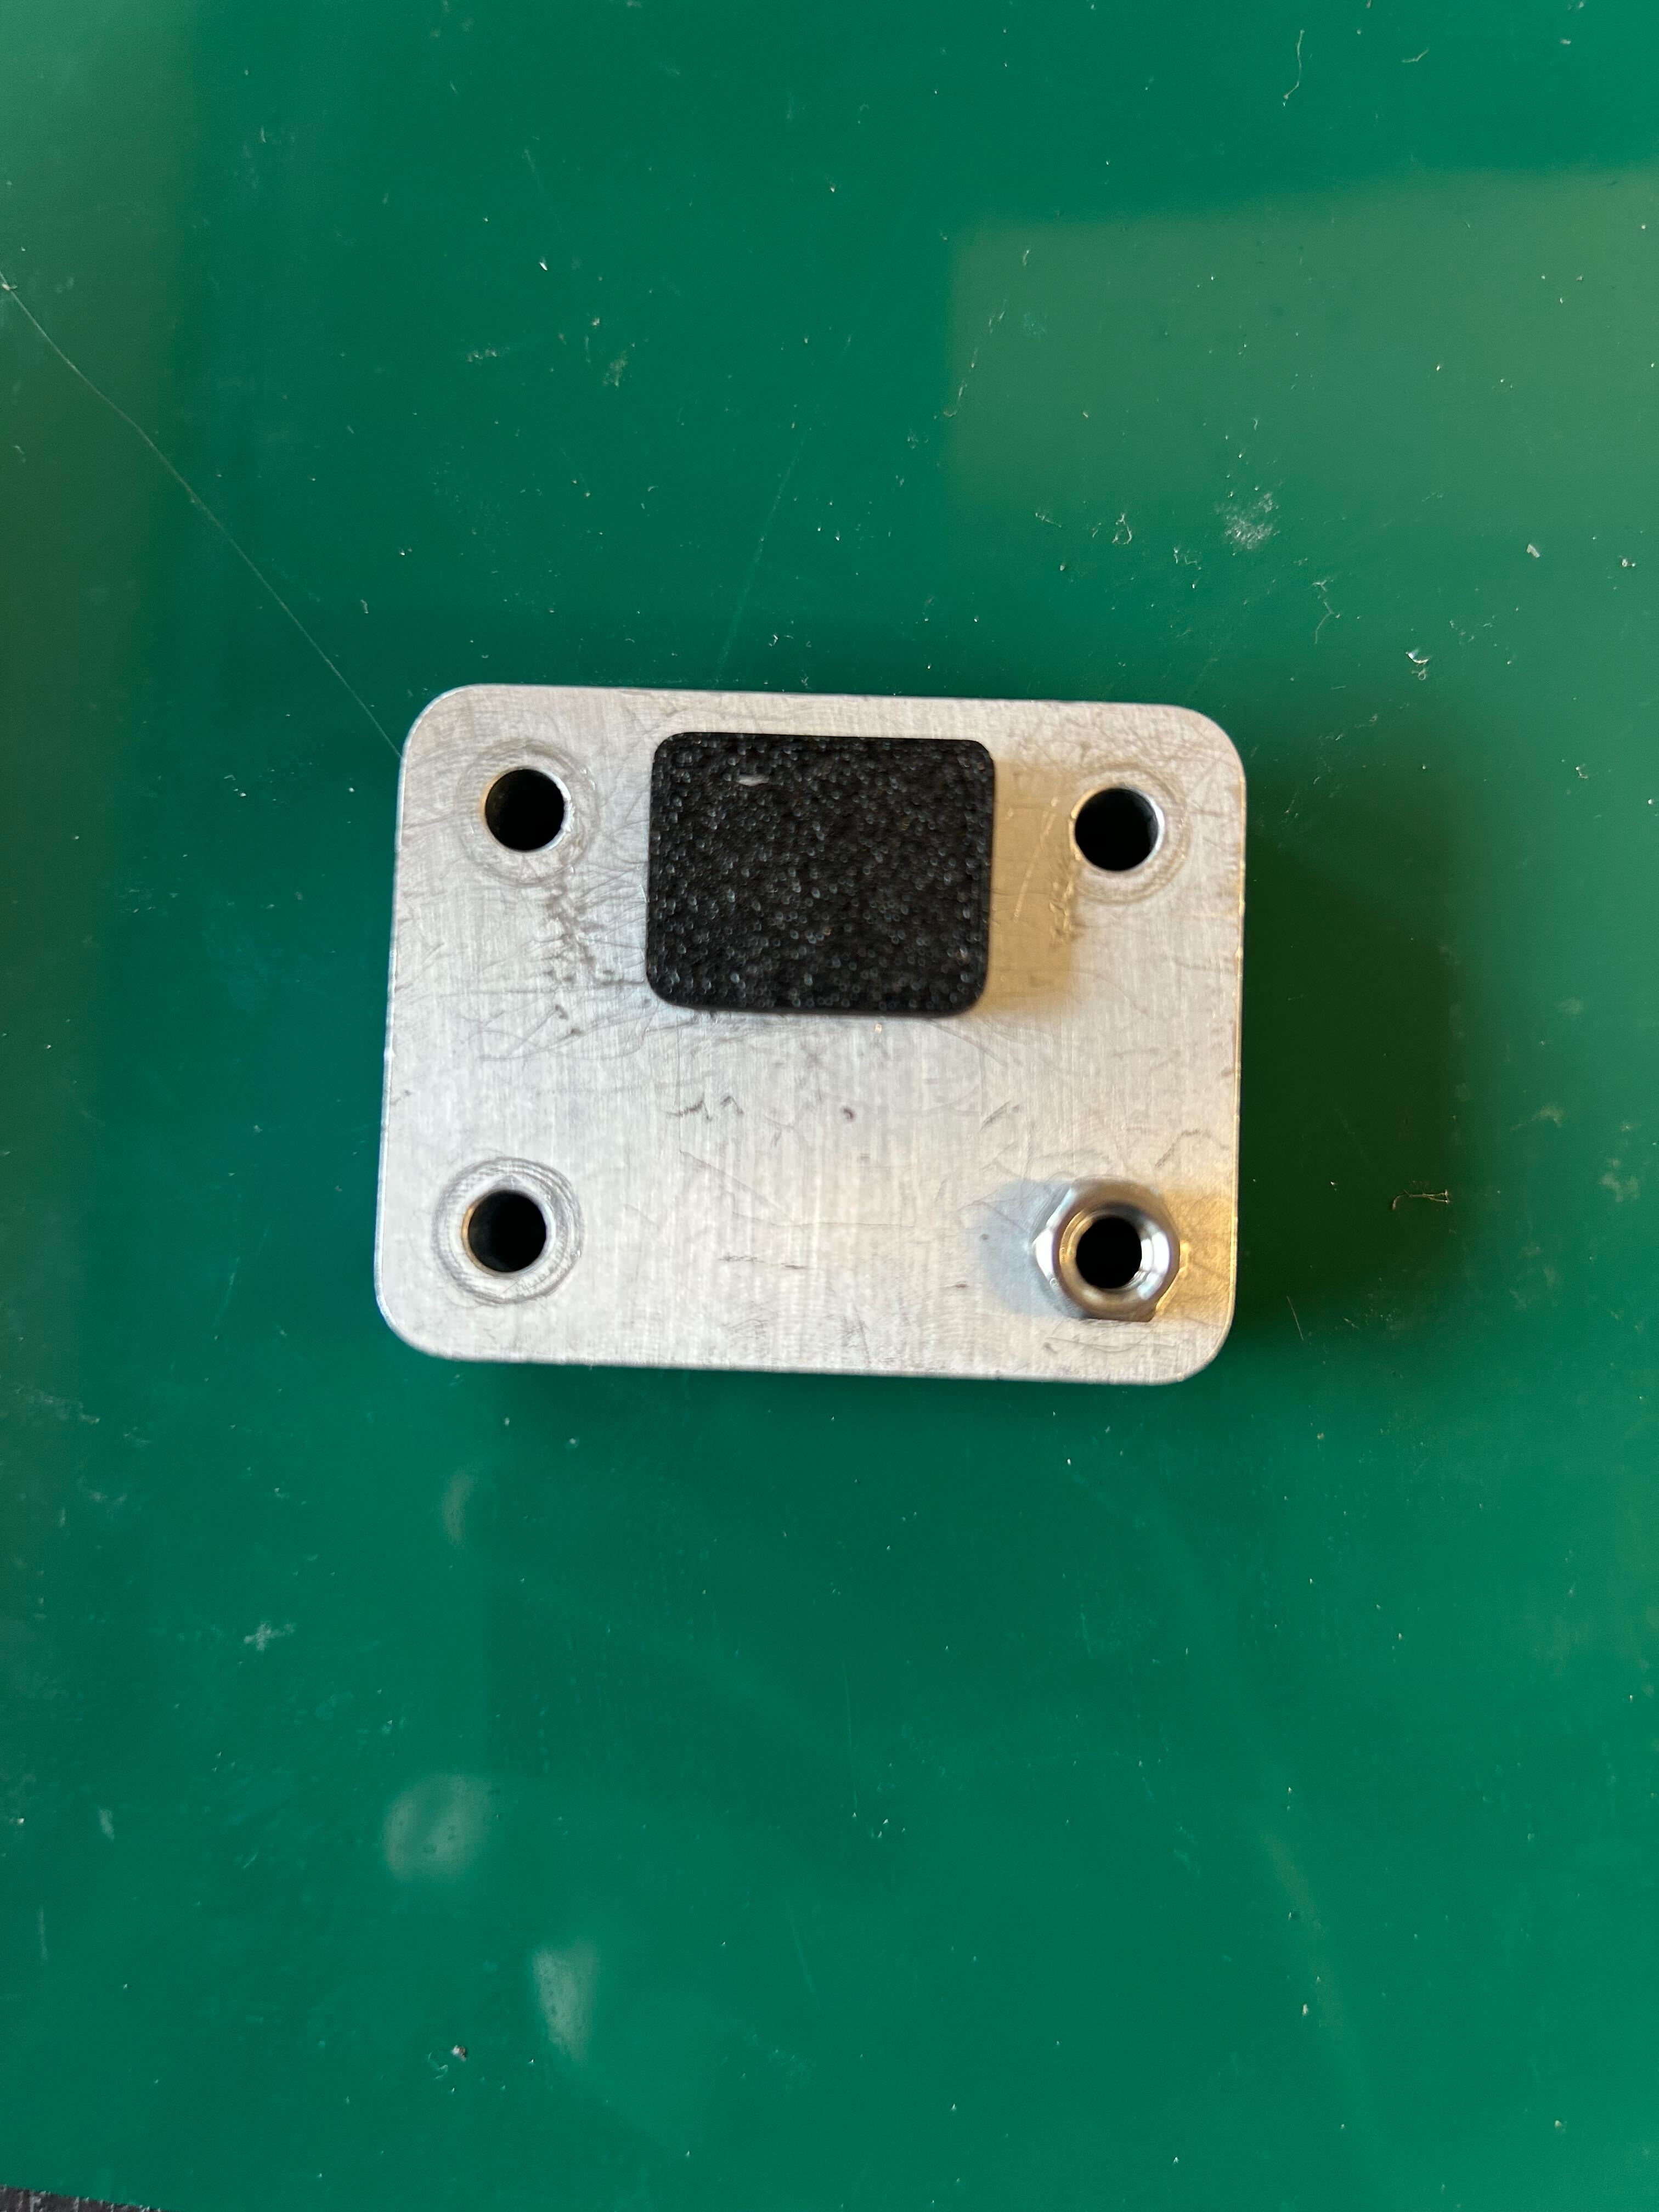
1. Prepare the mold and the black case, then insert the black case into the mold.
 |  |
2. Place the mold with the recessed side facing upward, and insert the terminal that will be bent into an L shape.
note
Ensure the thin cable coming out of the terminal is on the right side.
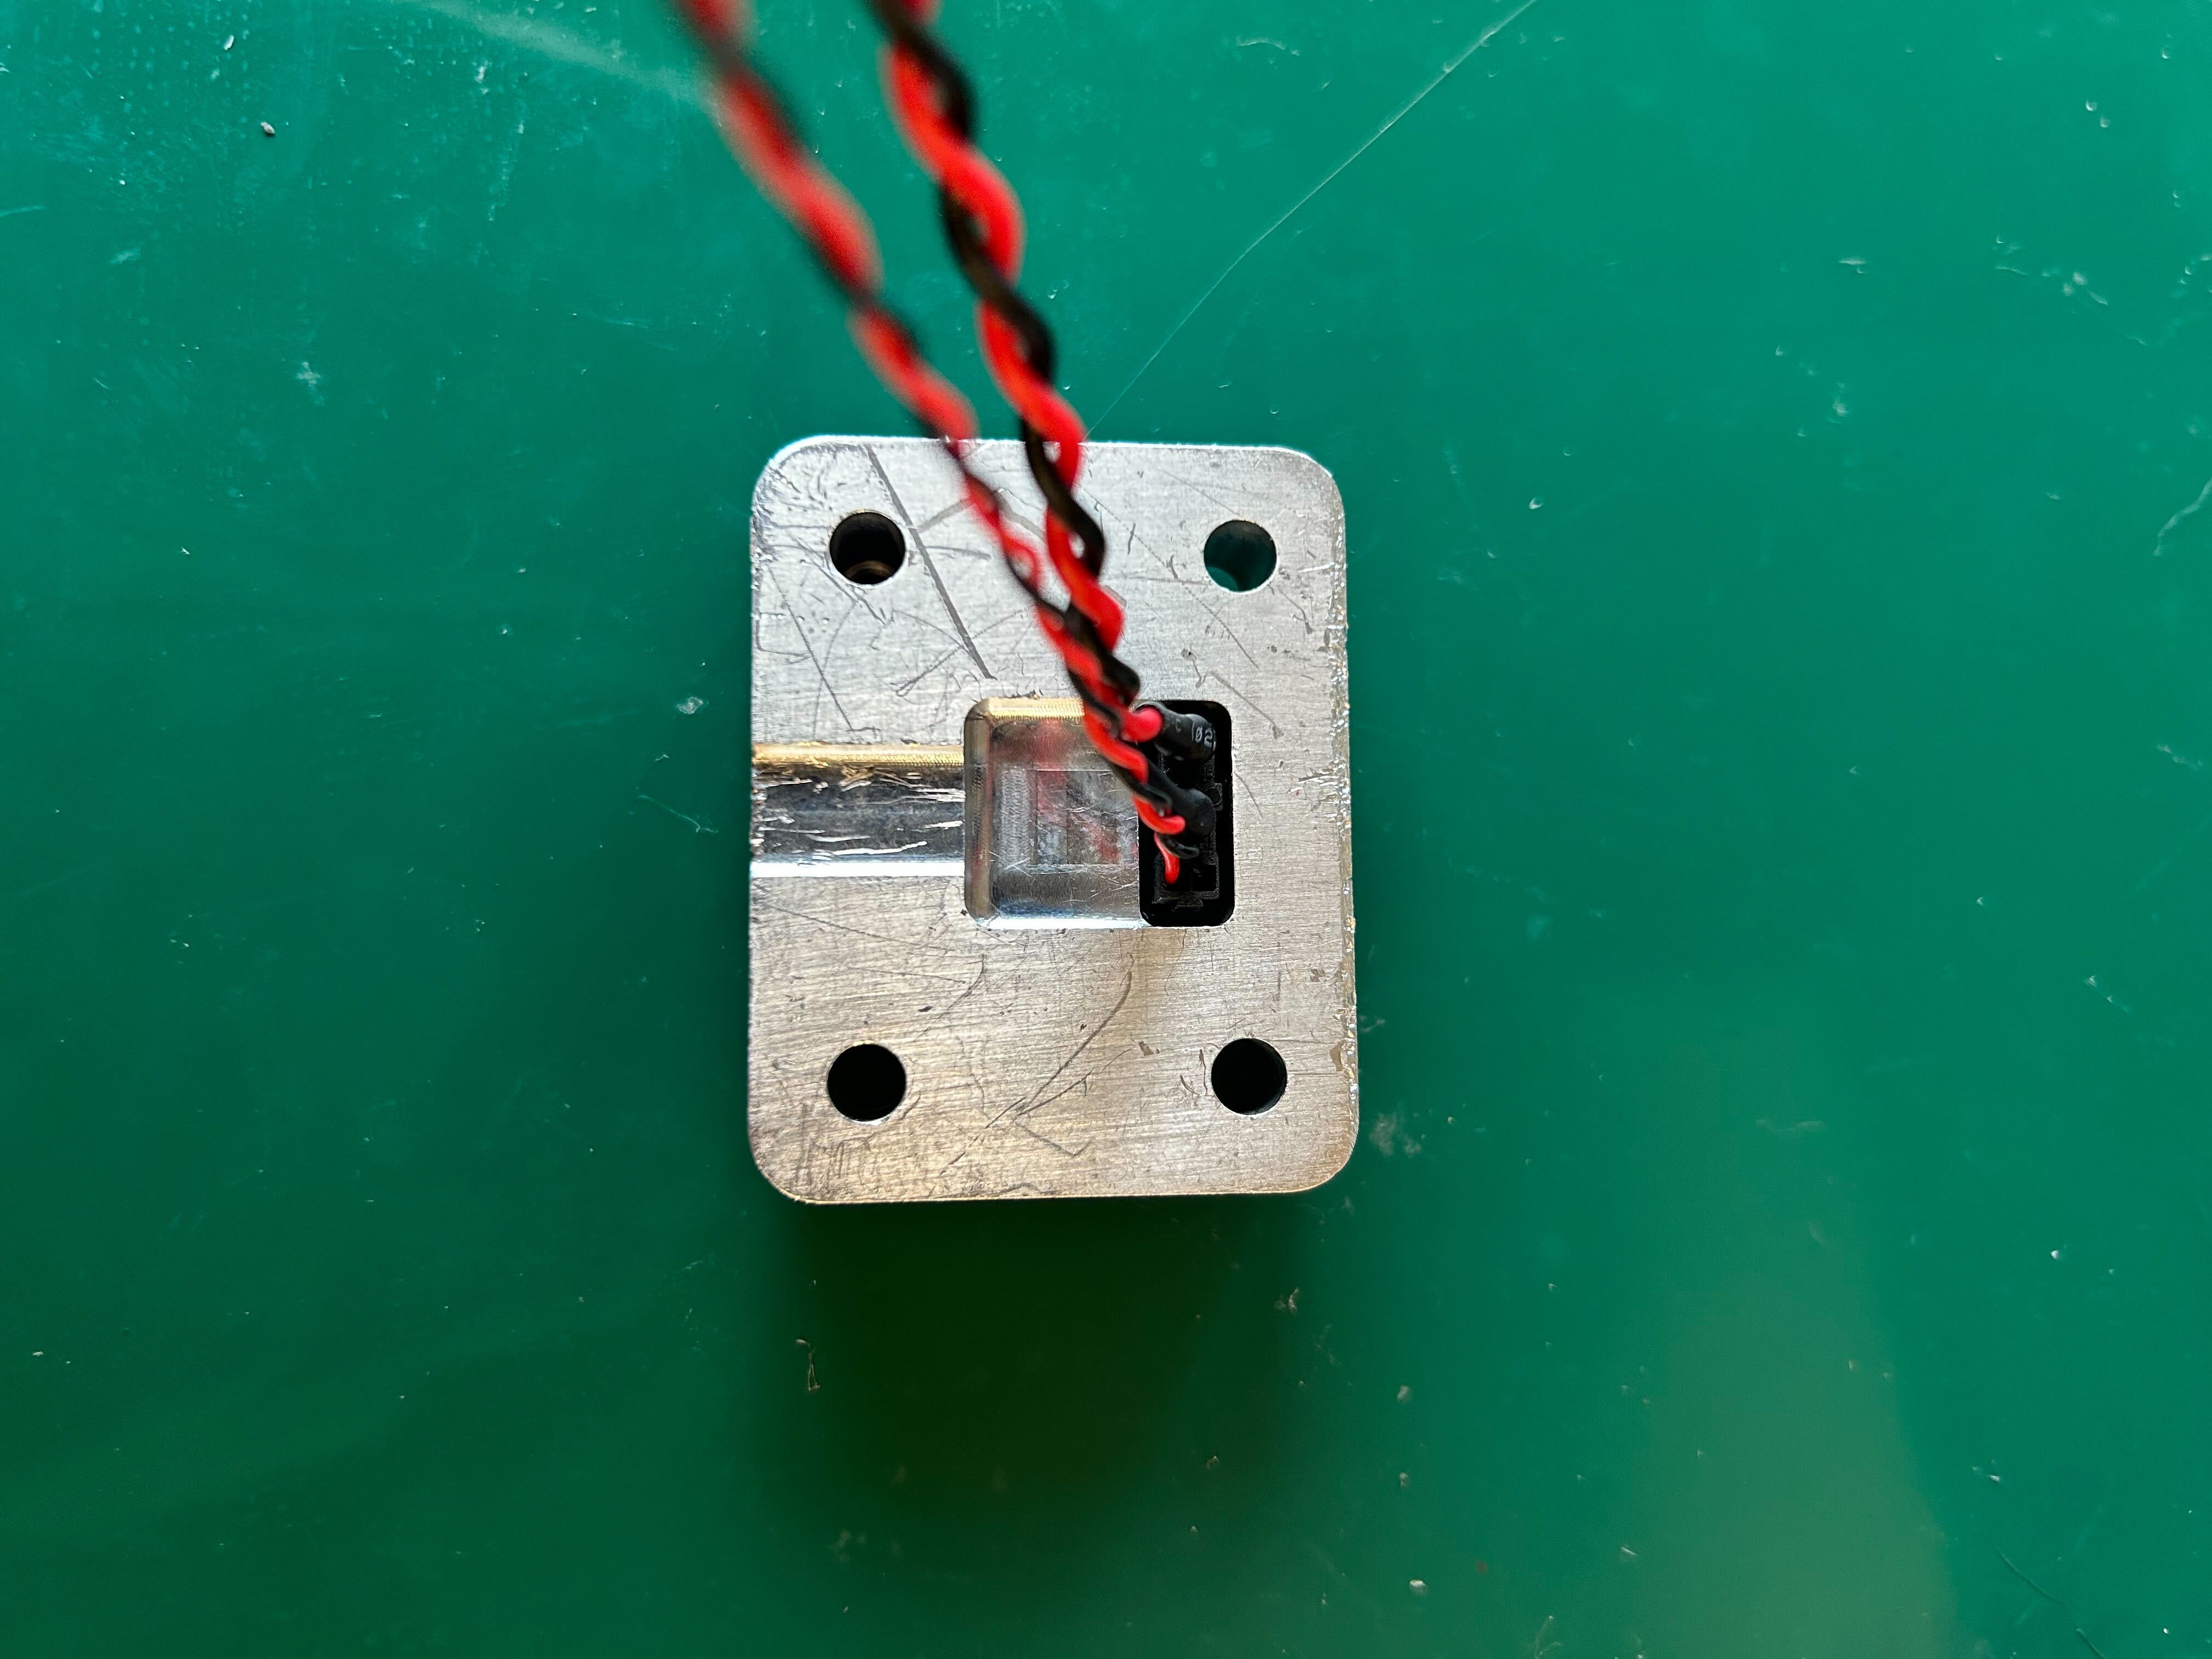
3. Firmly bend the cable until it lies flat.
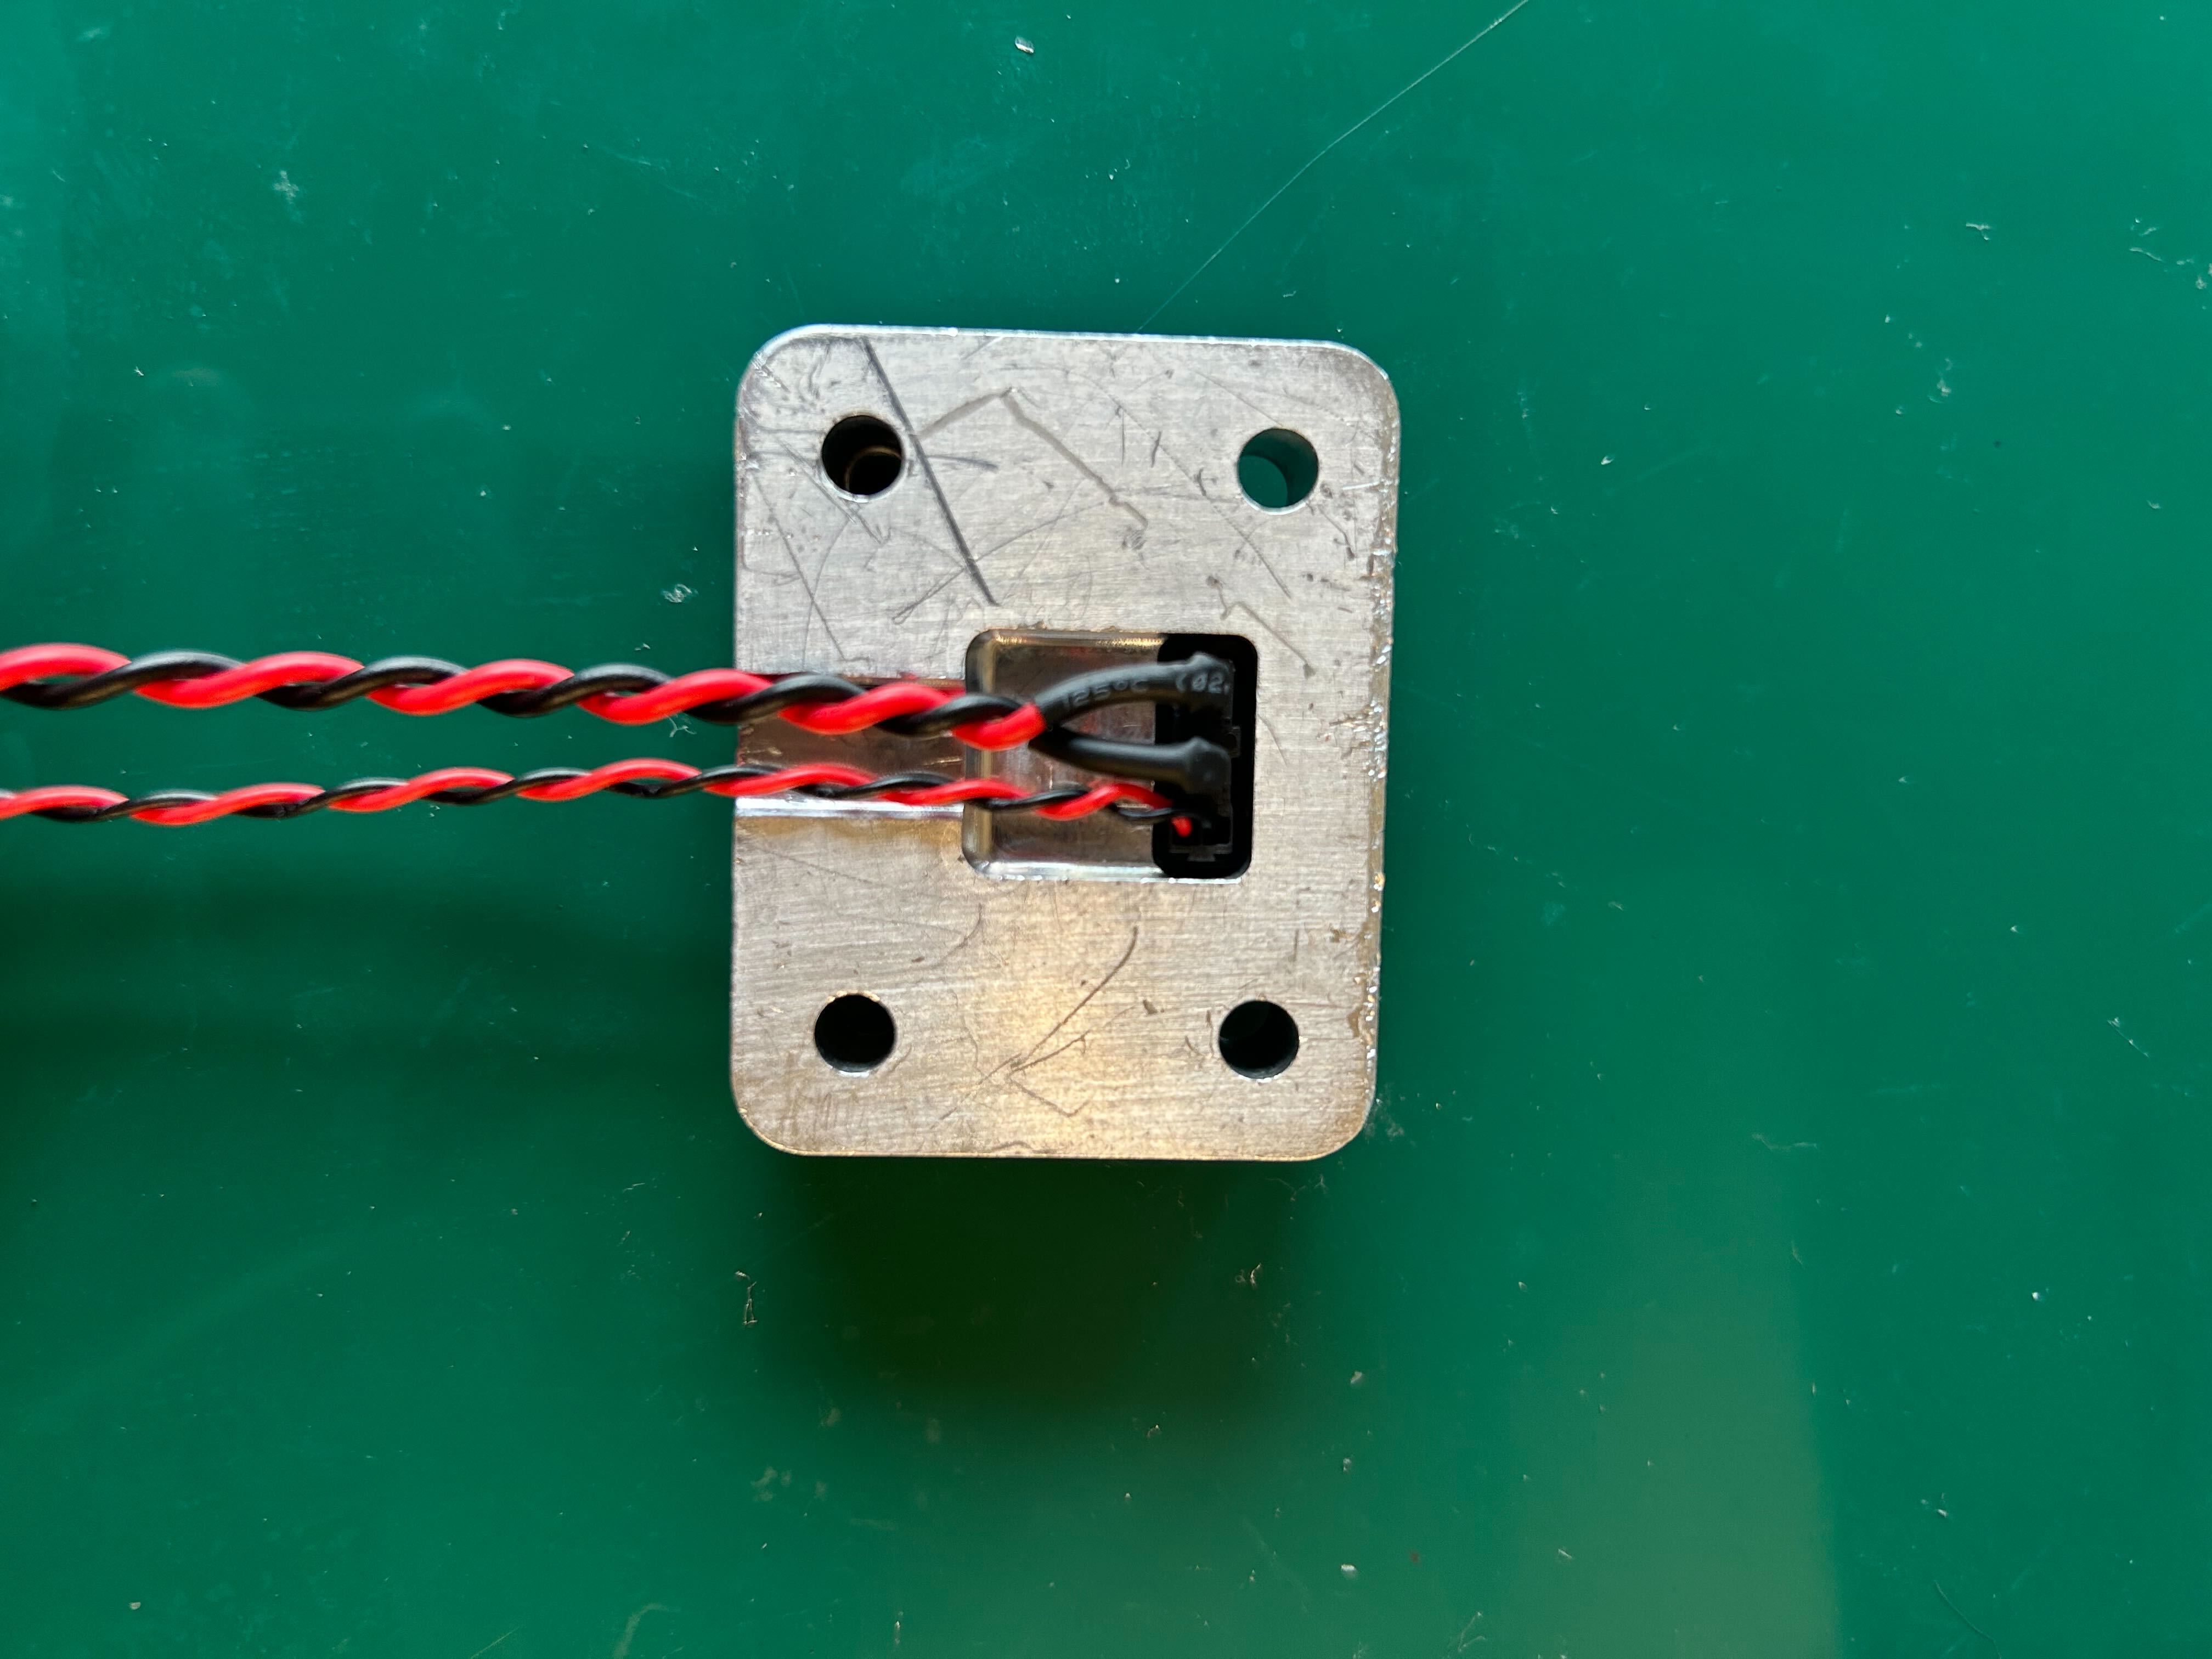
4. Prepare the mold cover and place it on top.
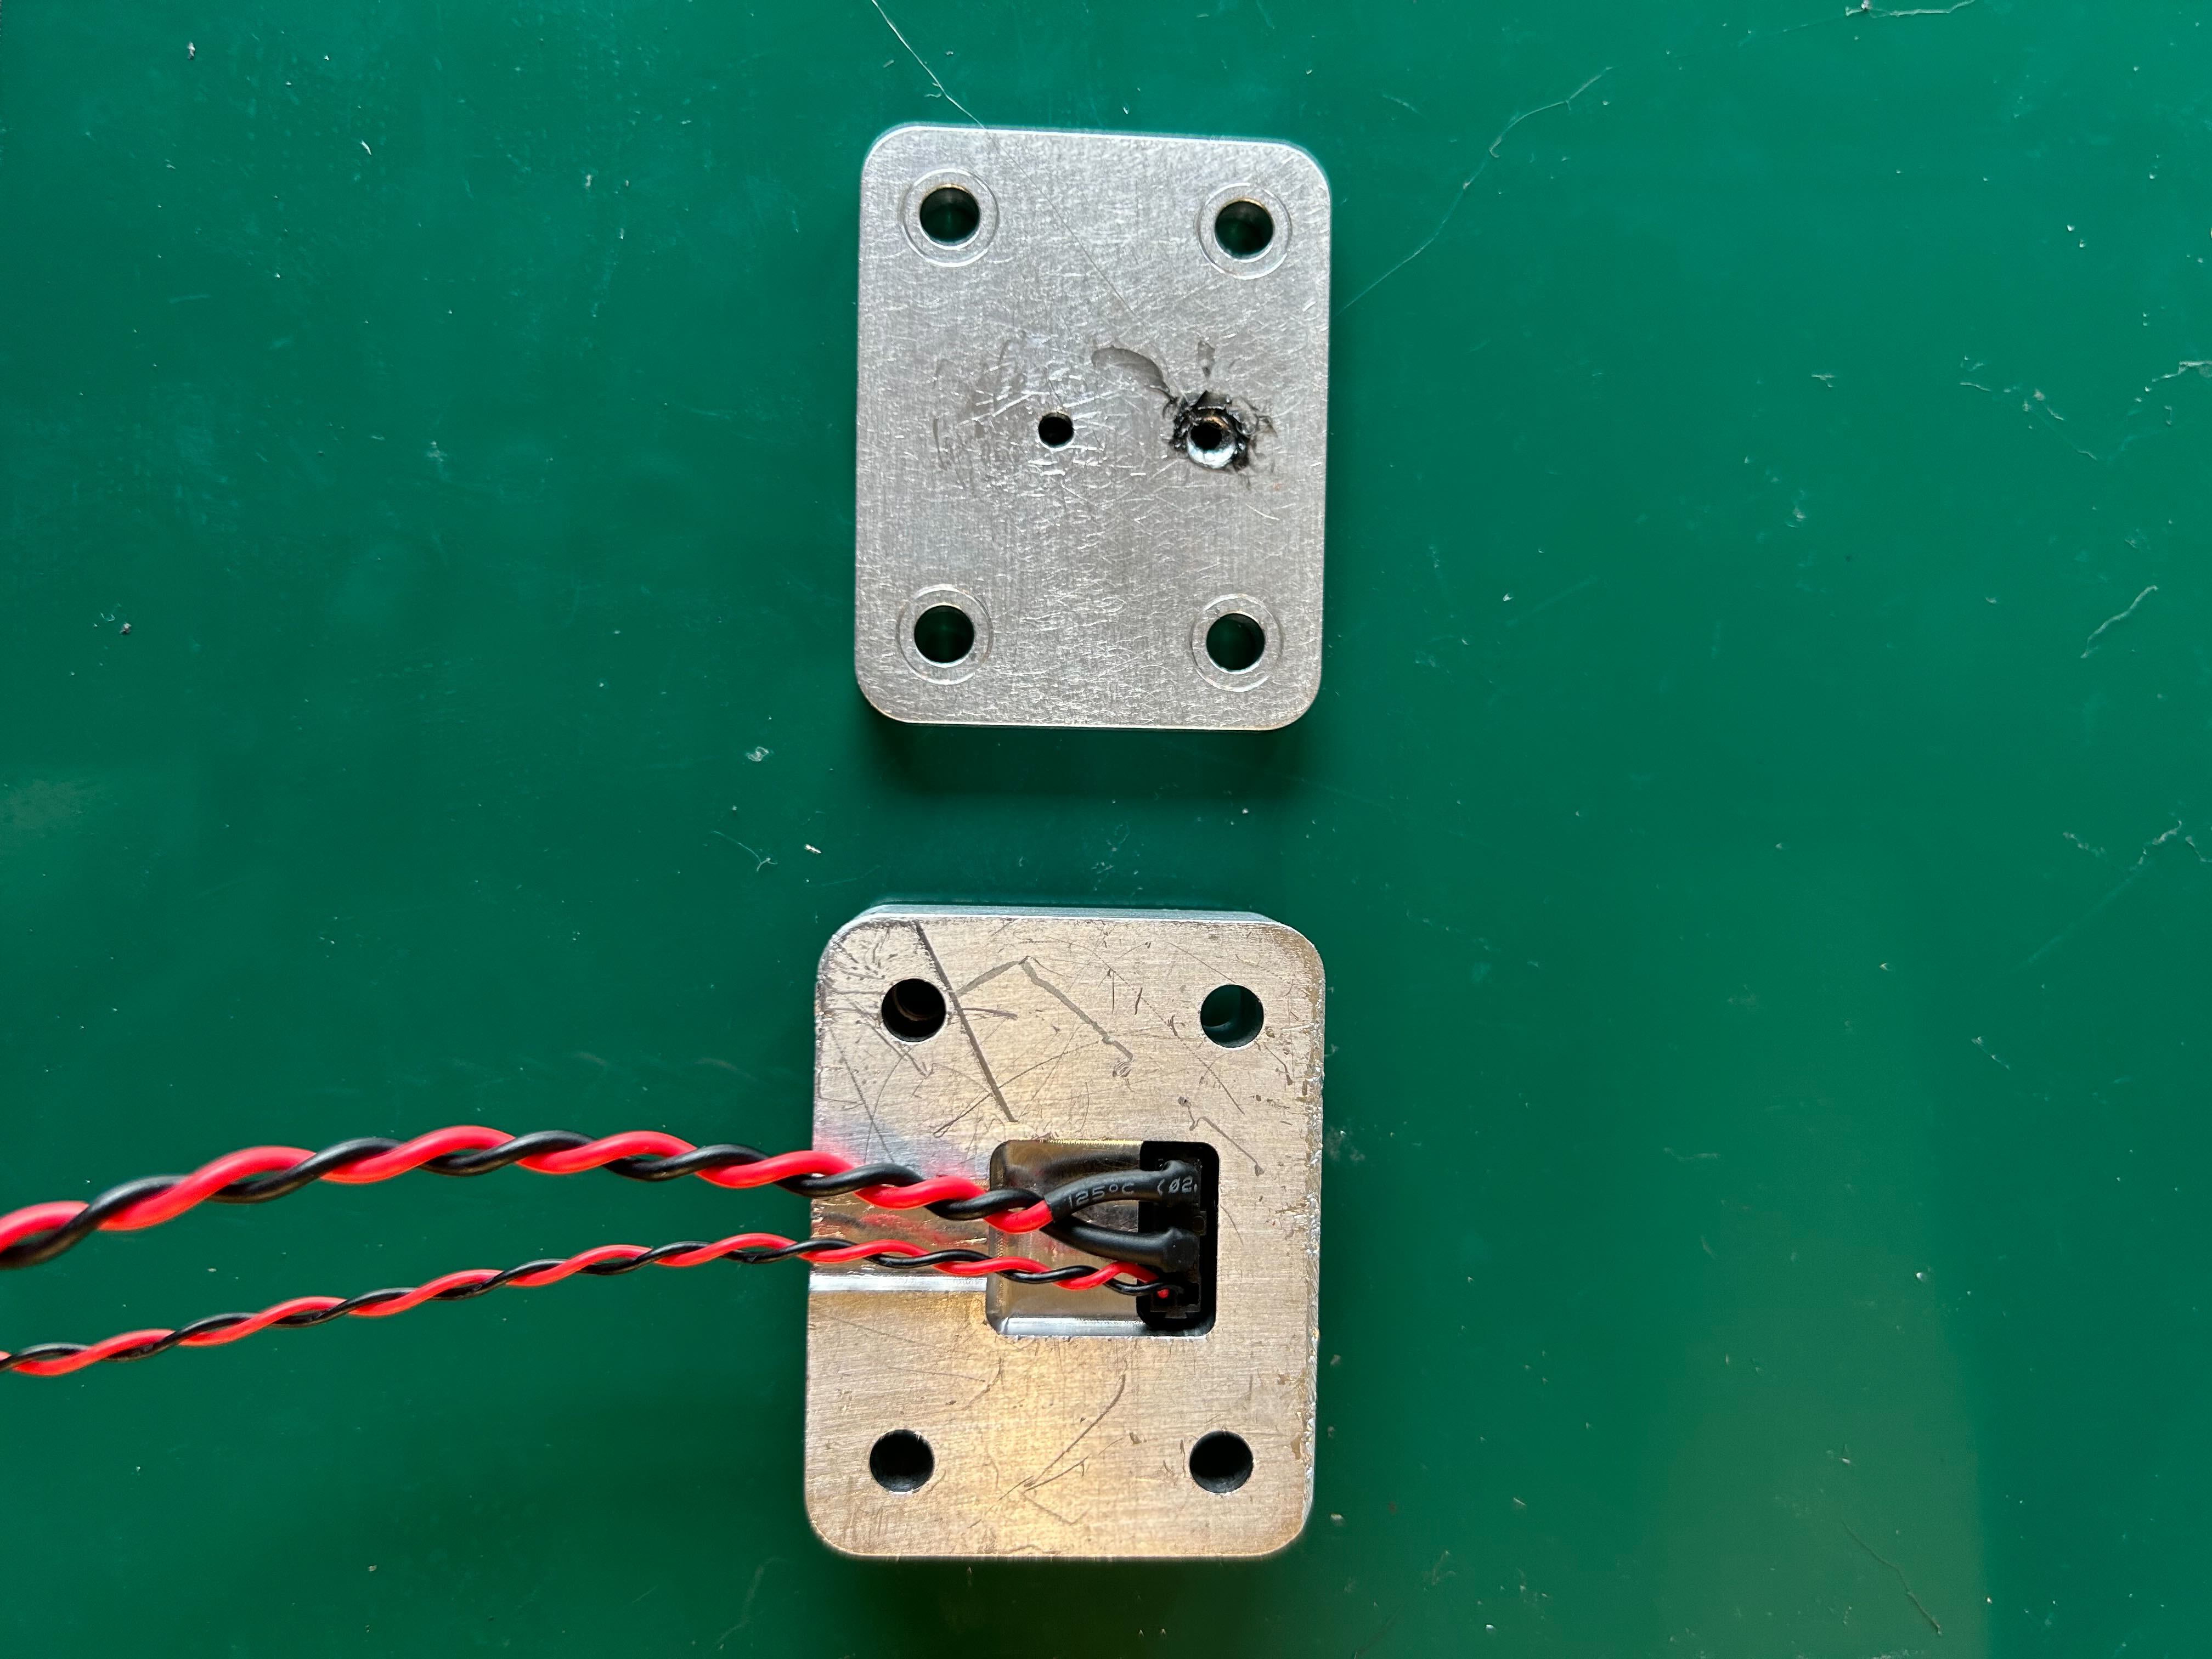 | 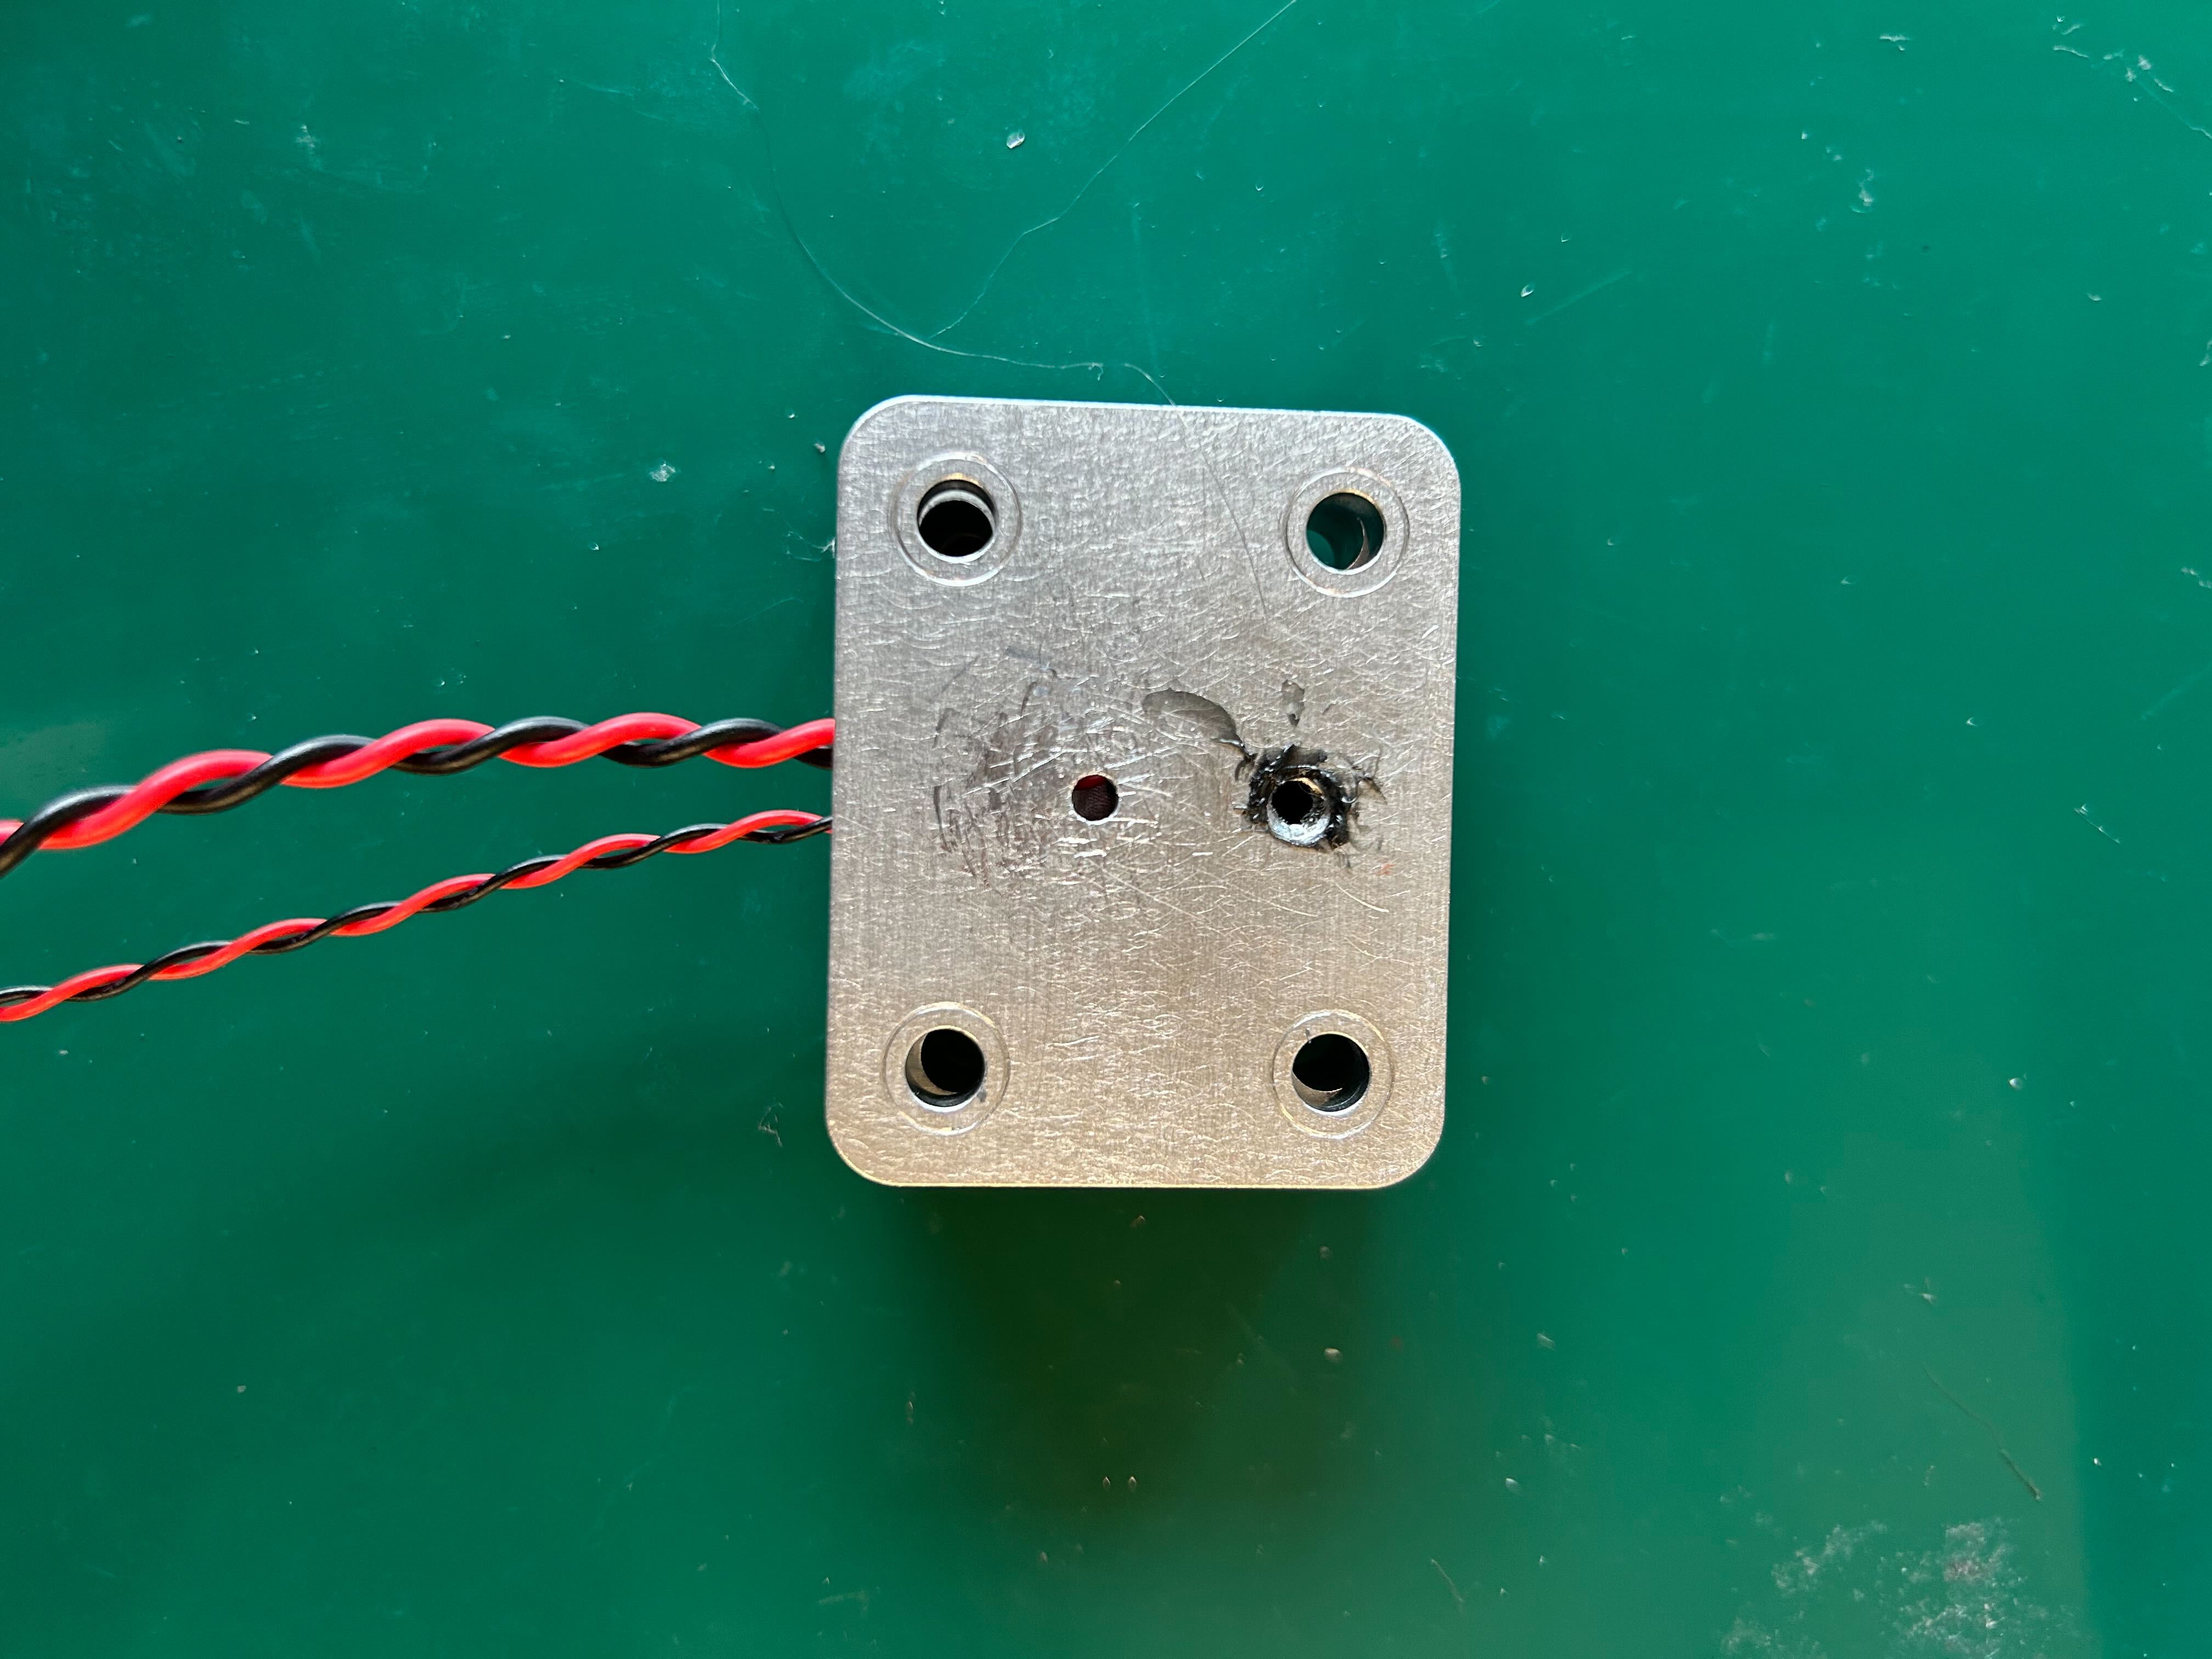 |
5. Secure the four corners with nuts and screws.
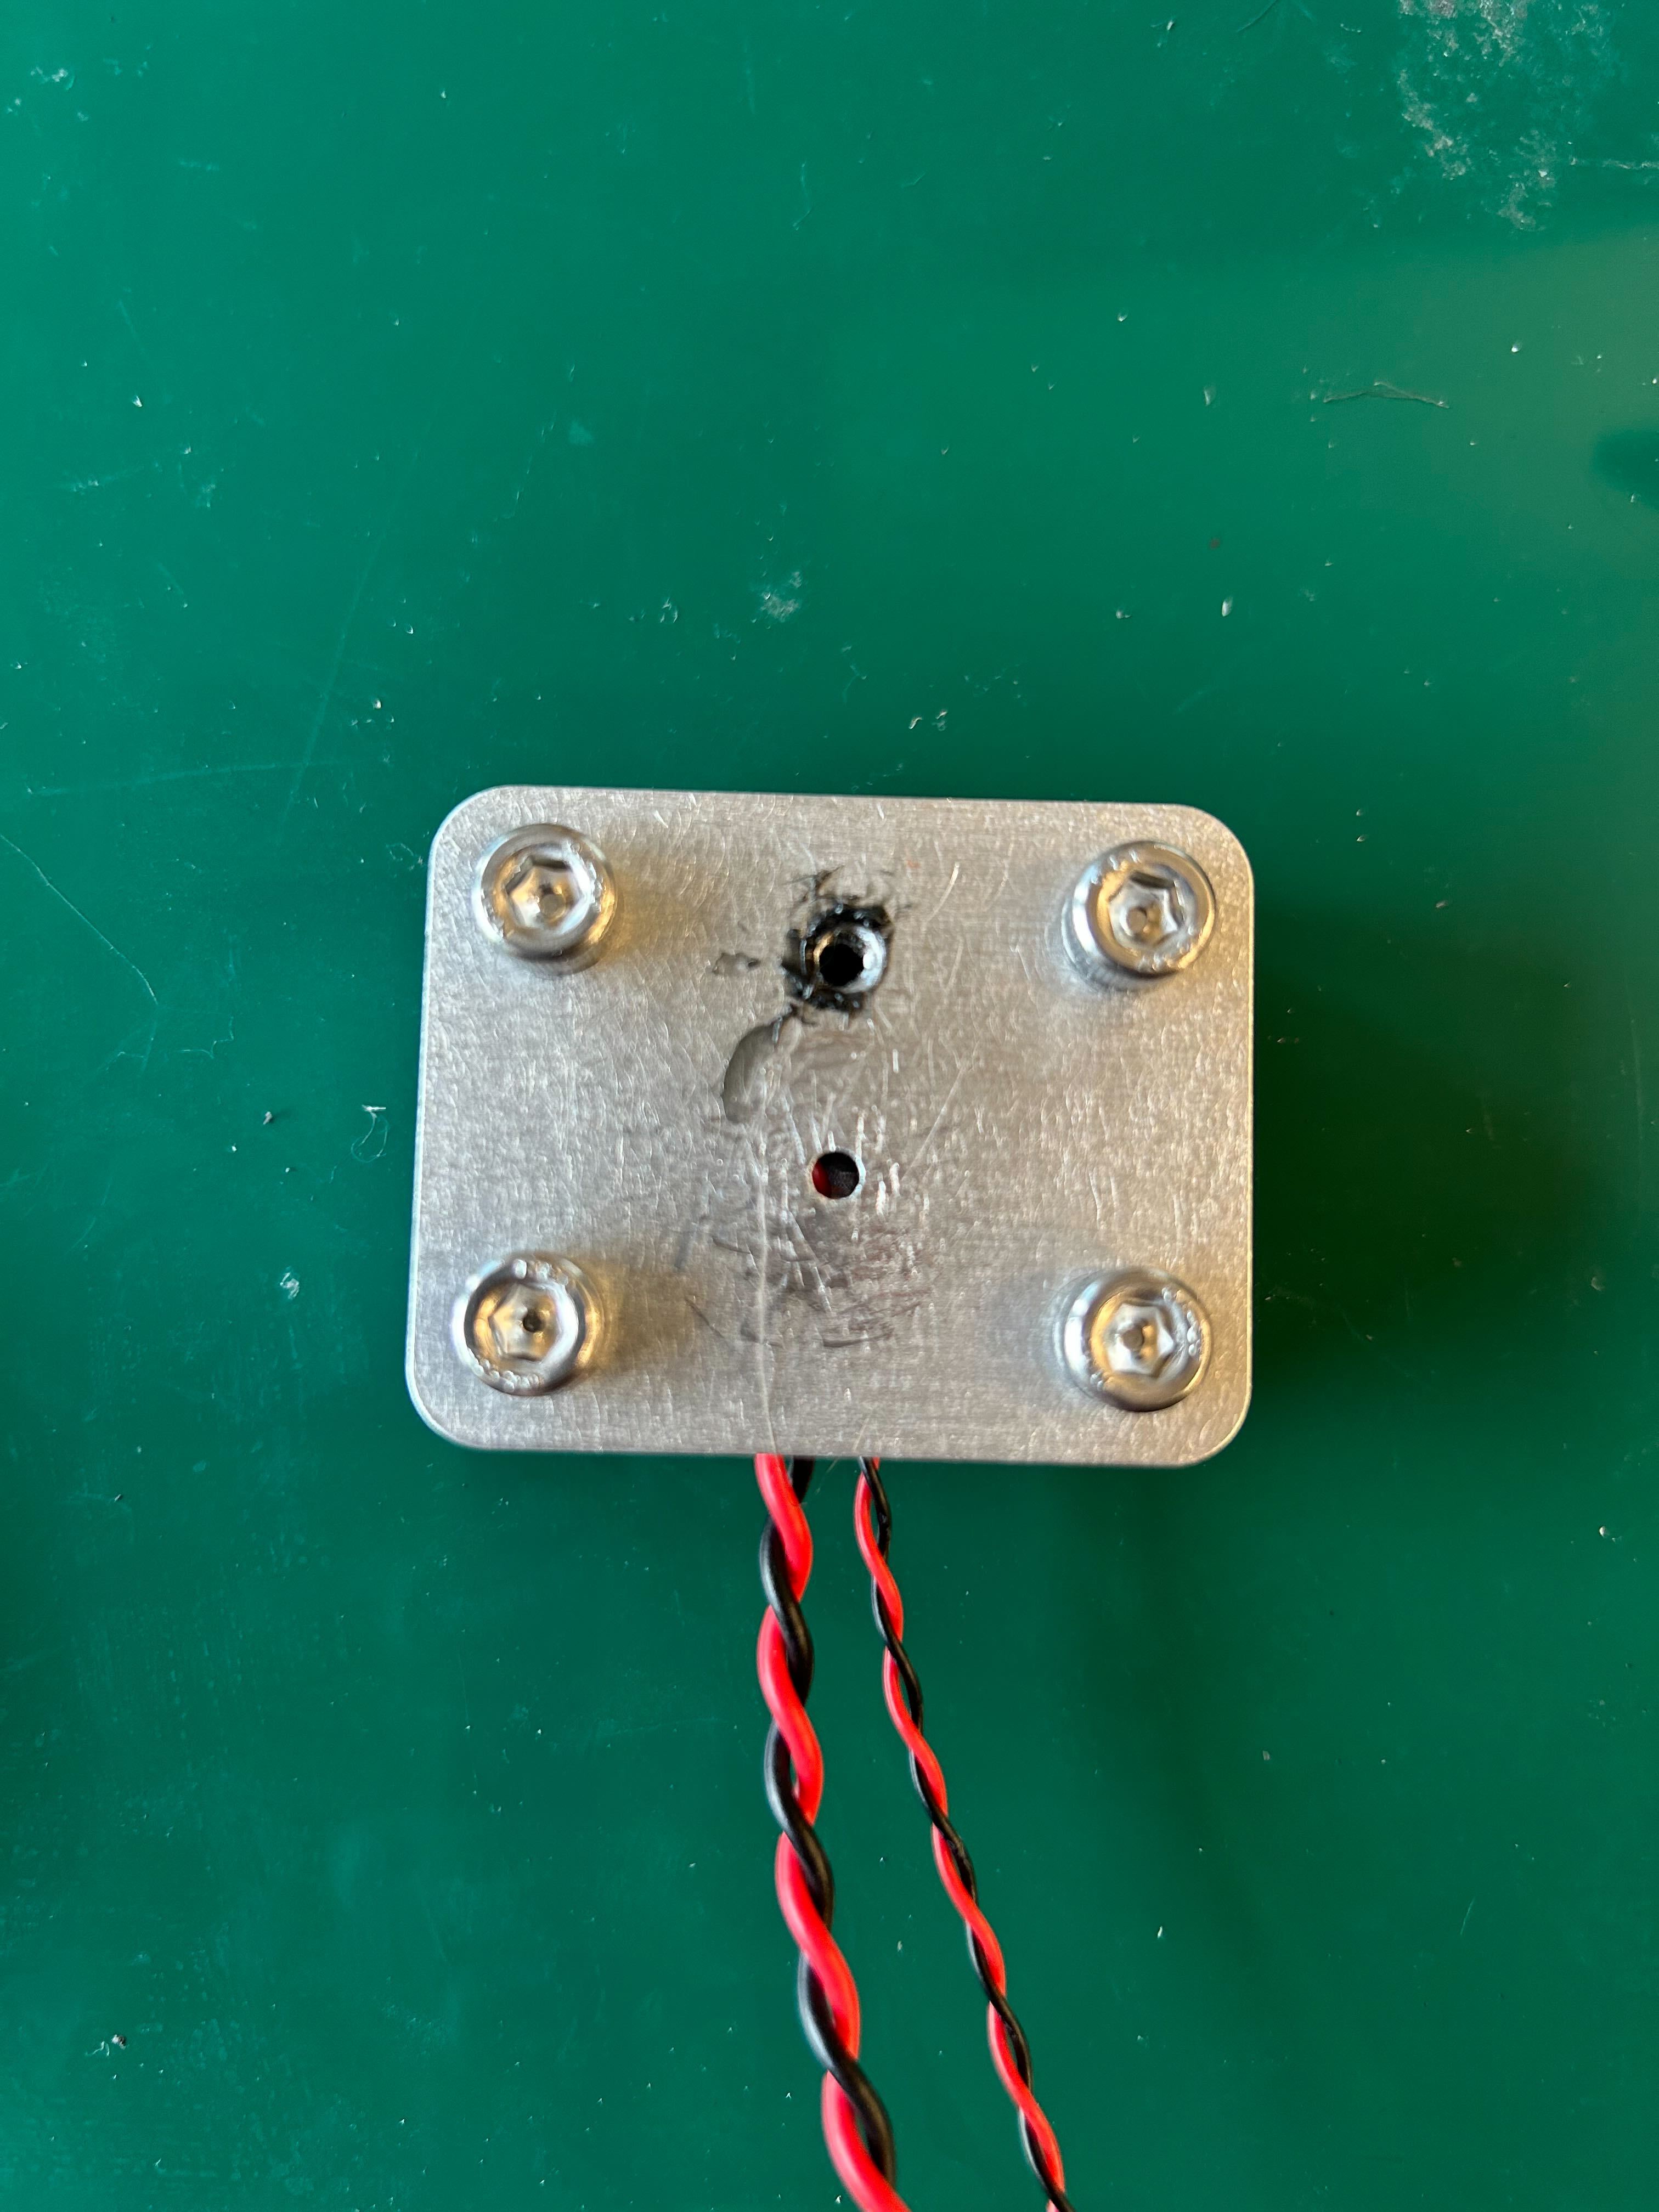
6. Turn the mold over.
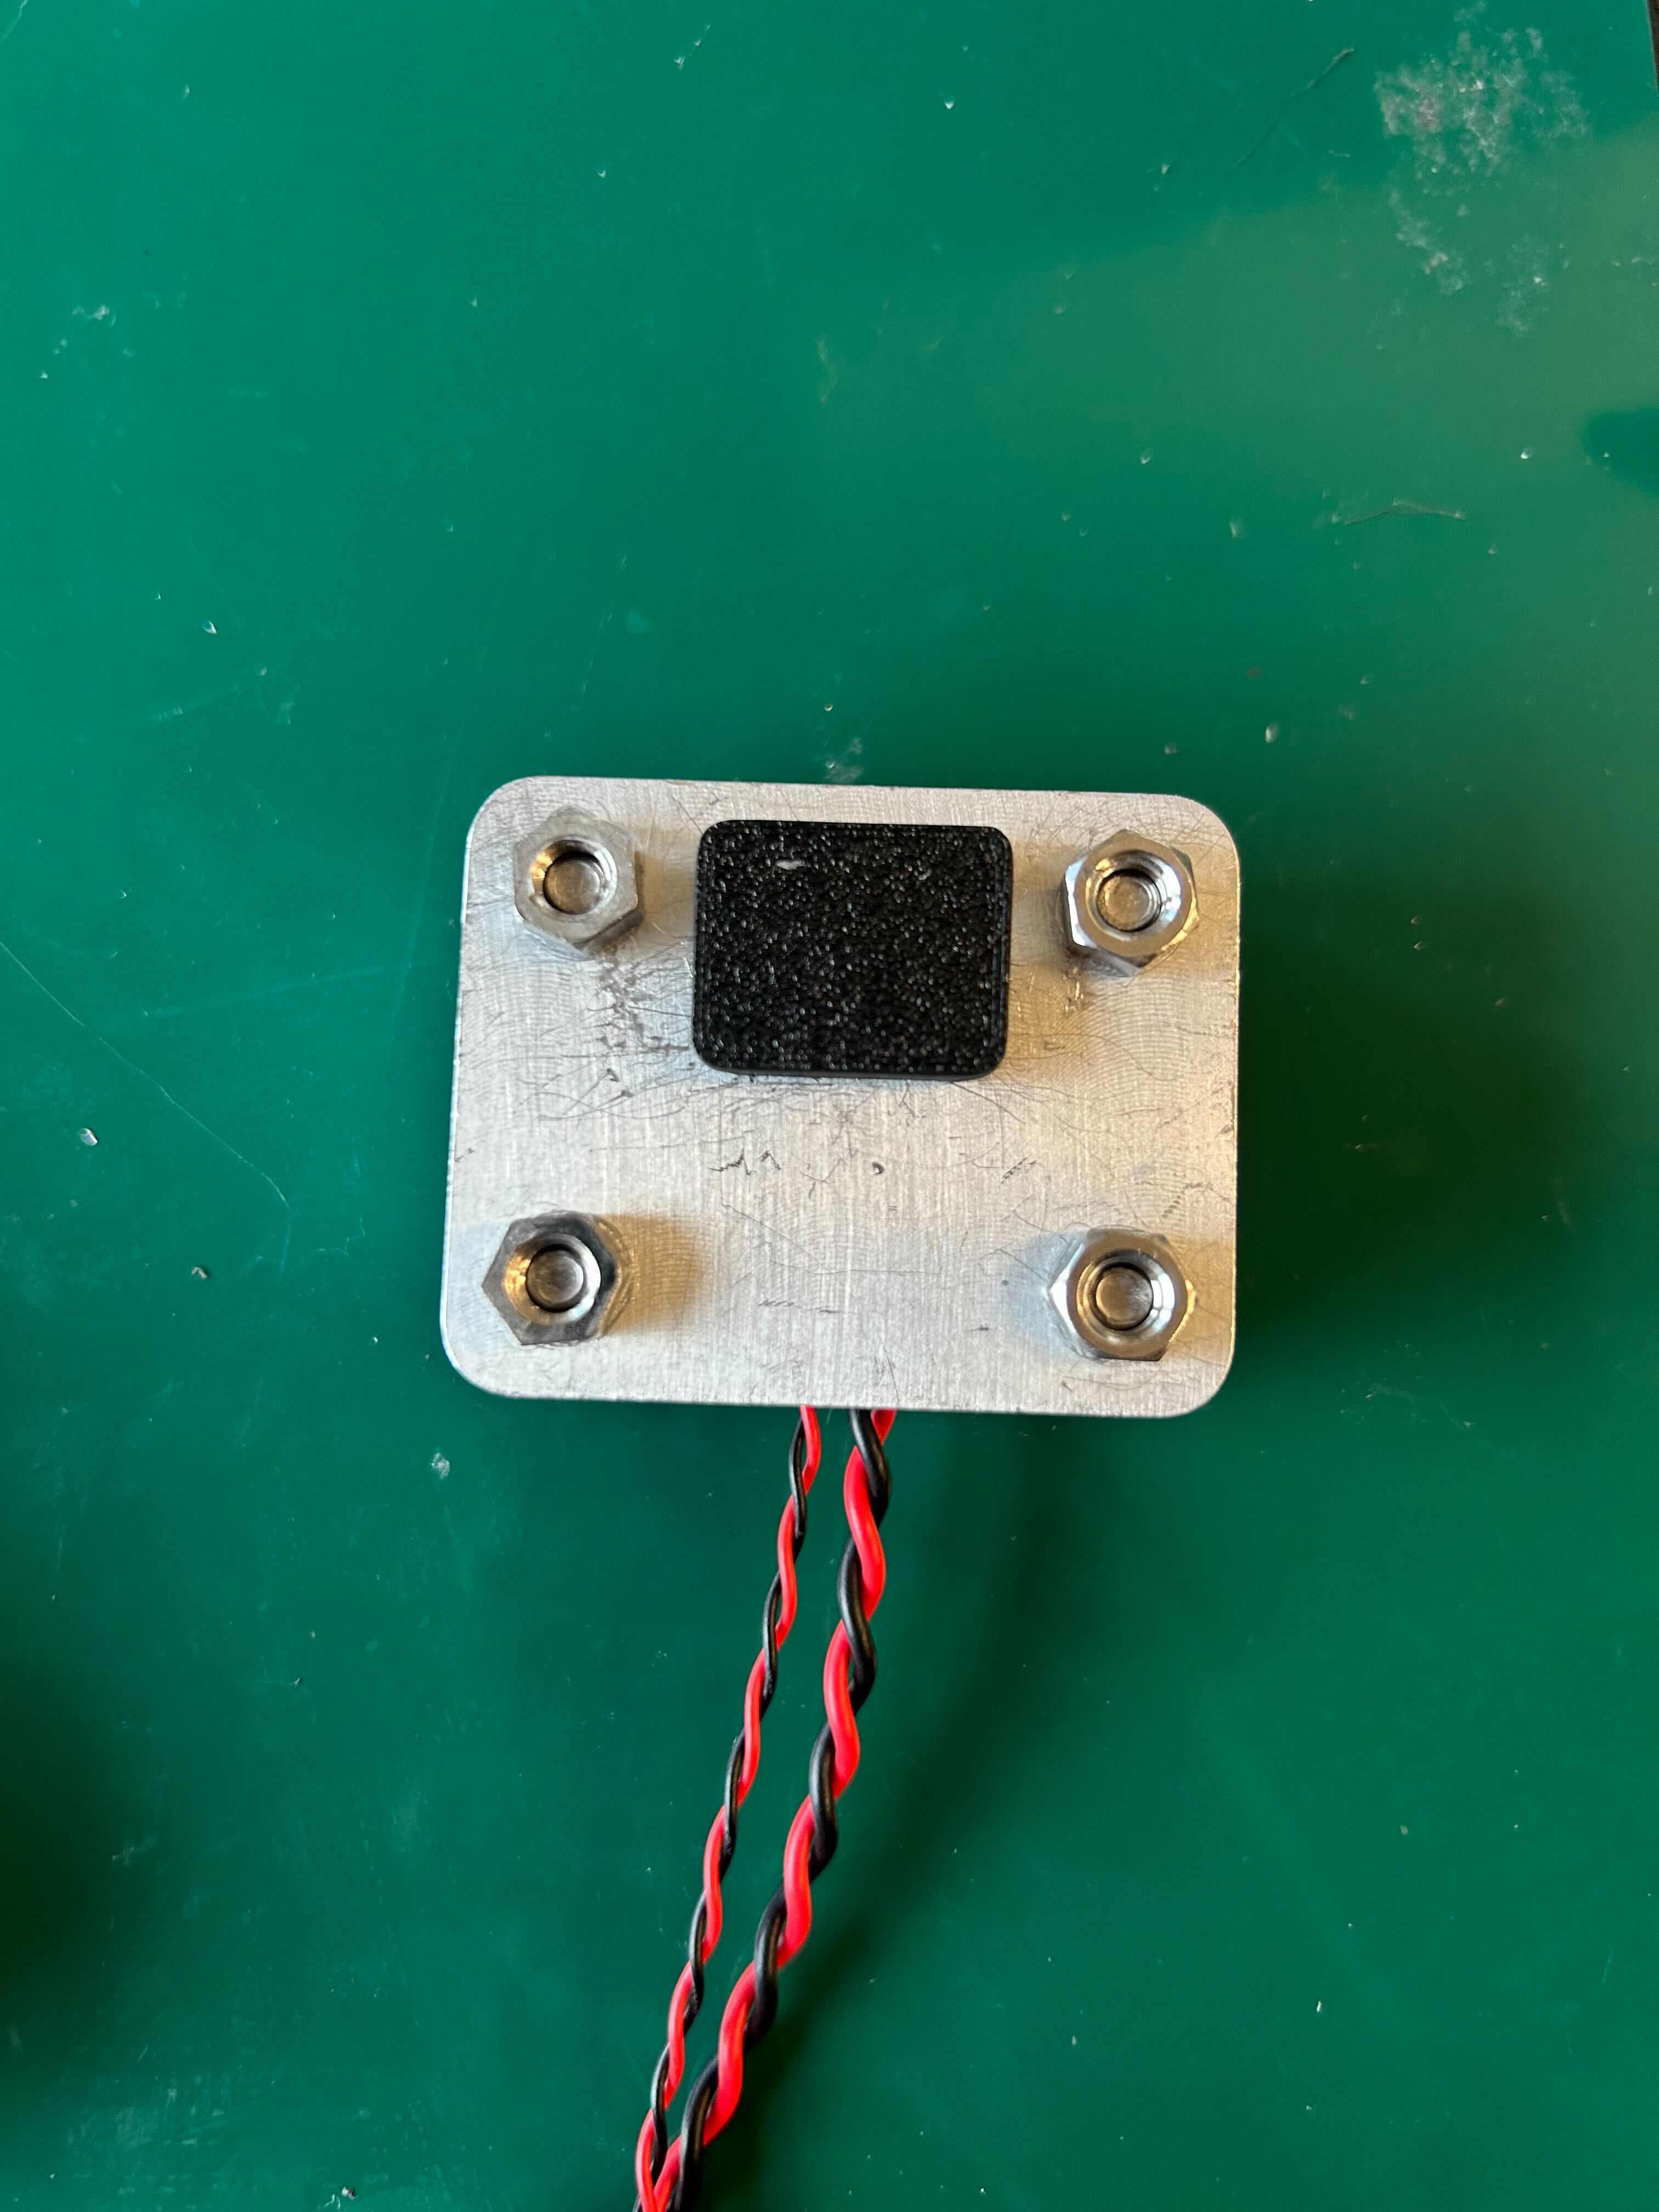
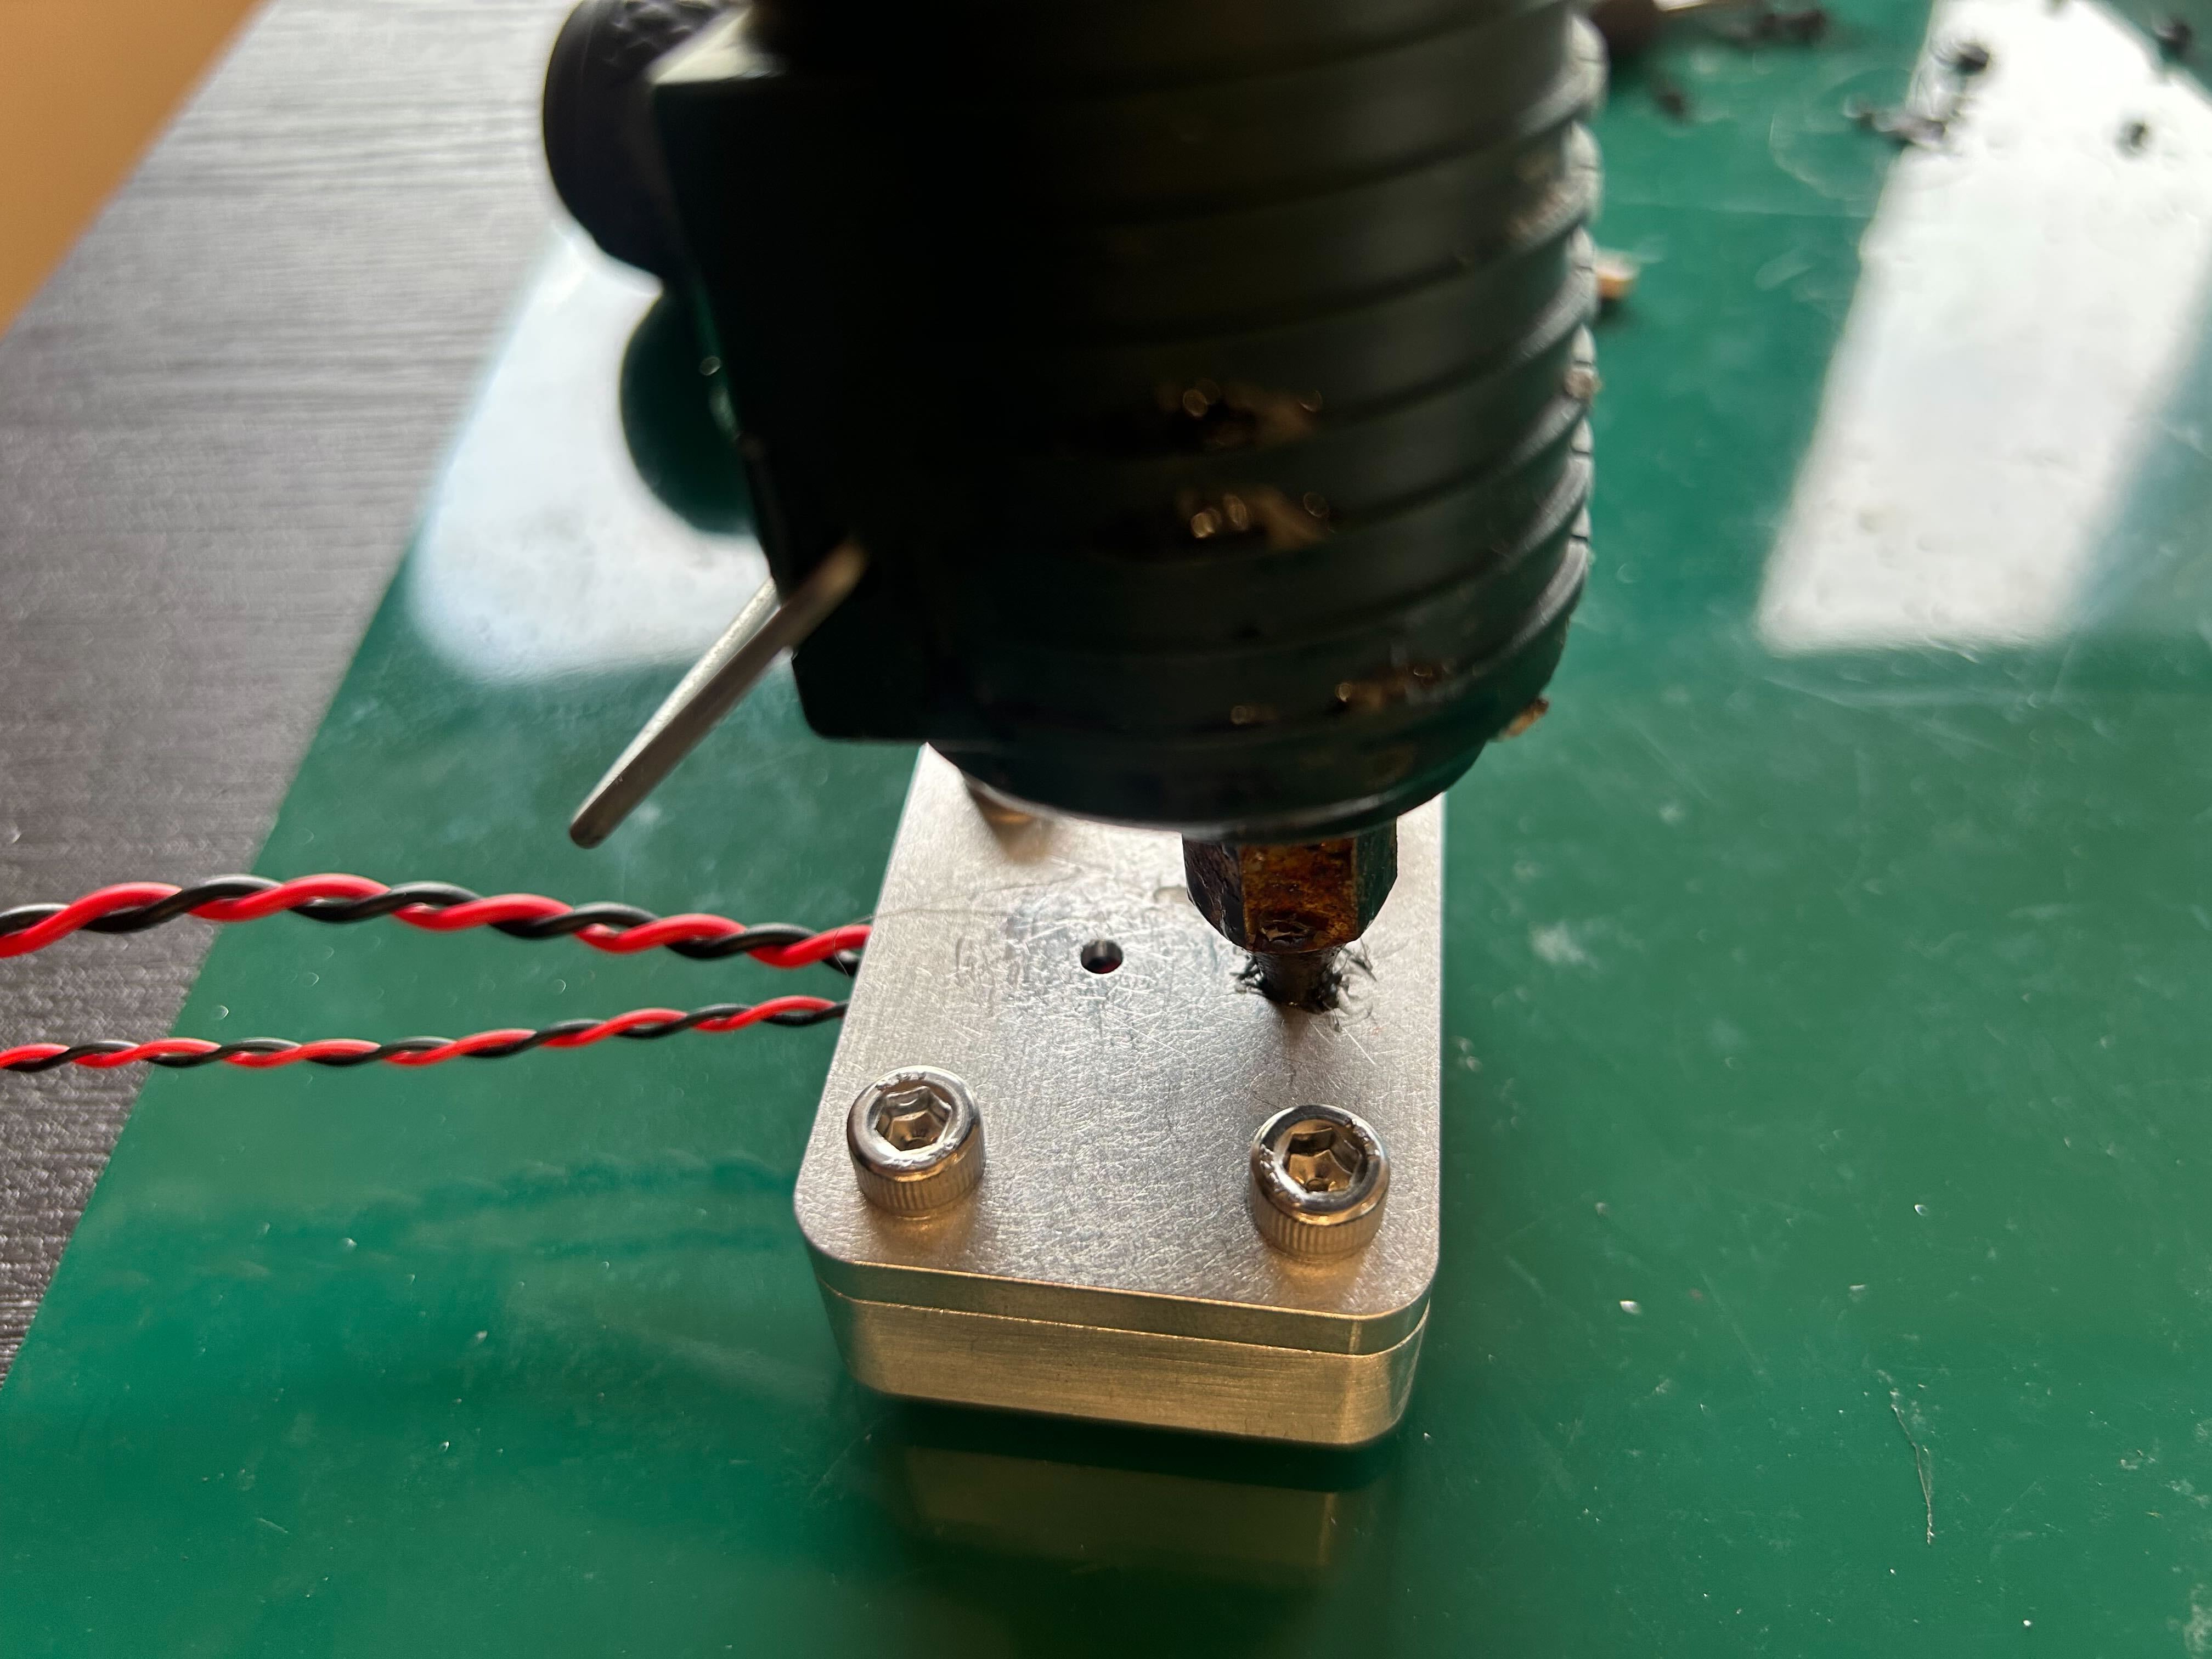
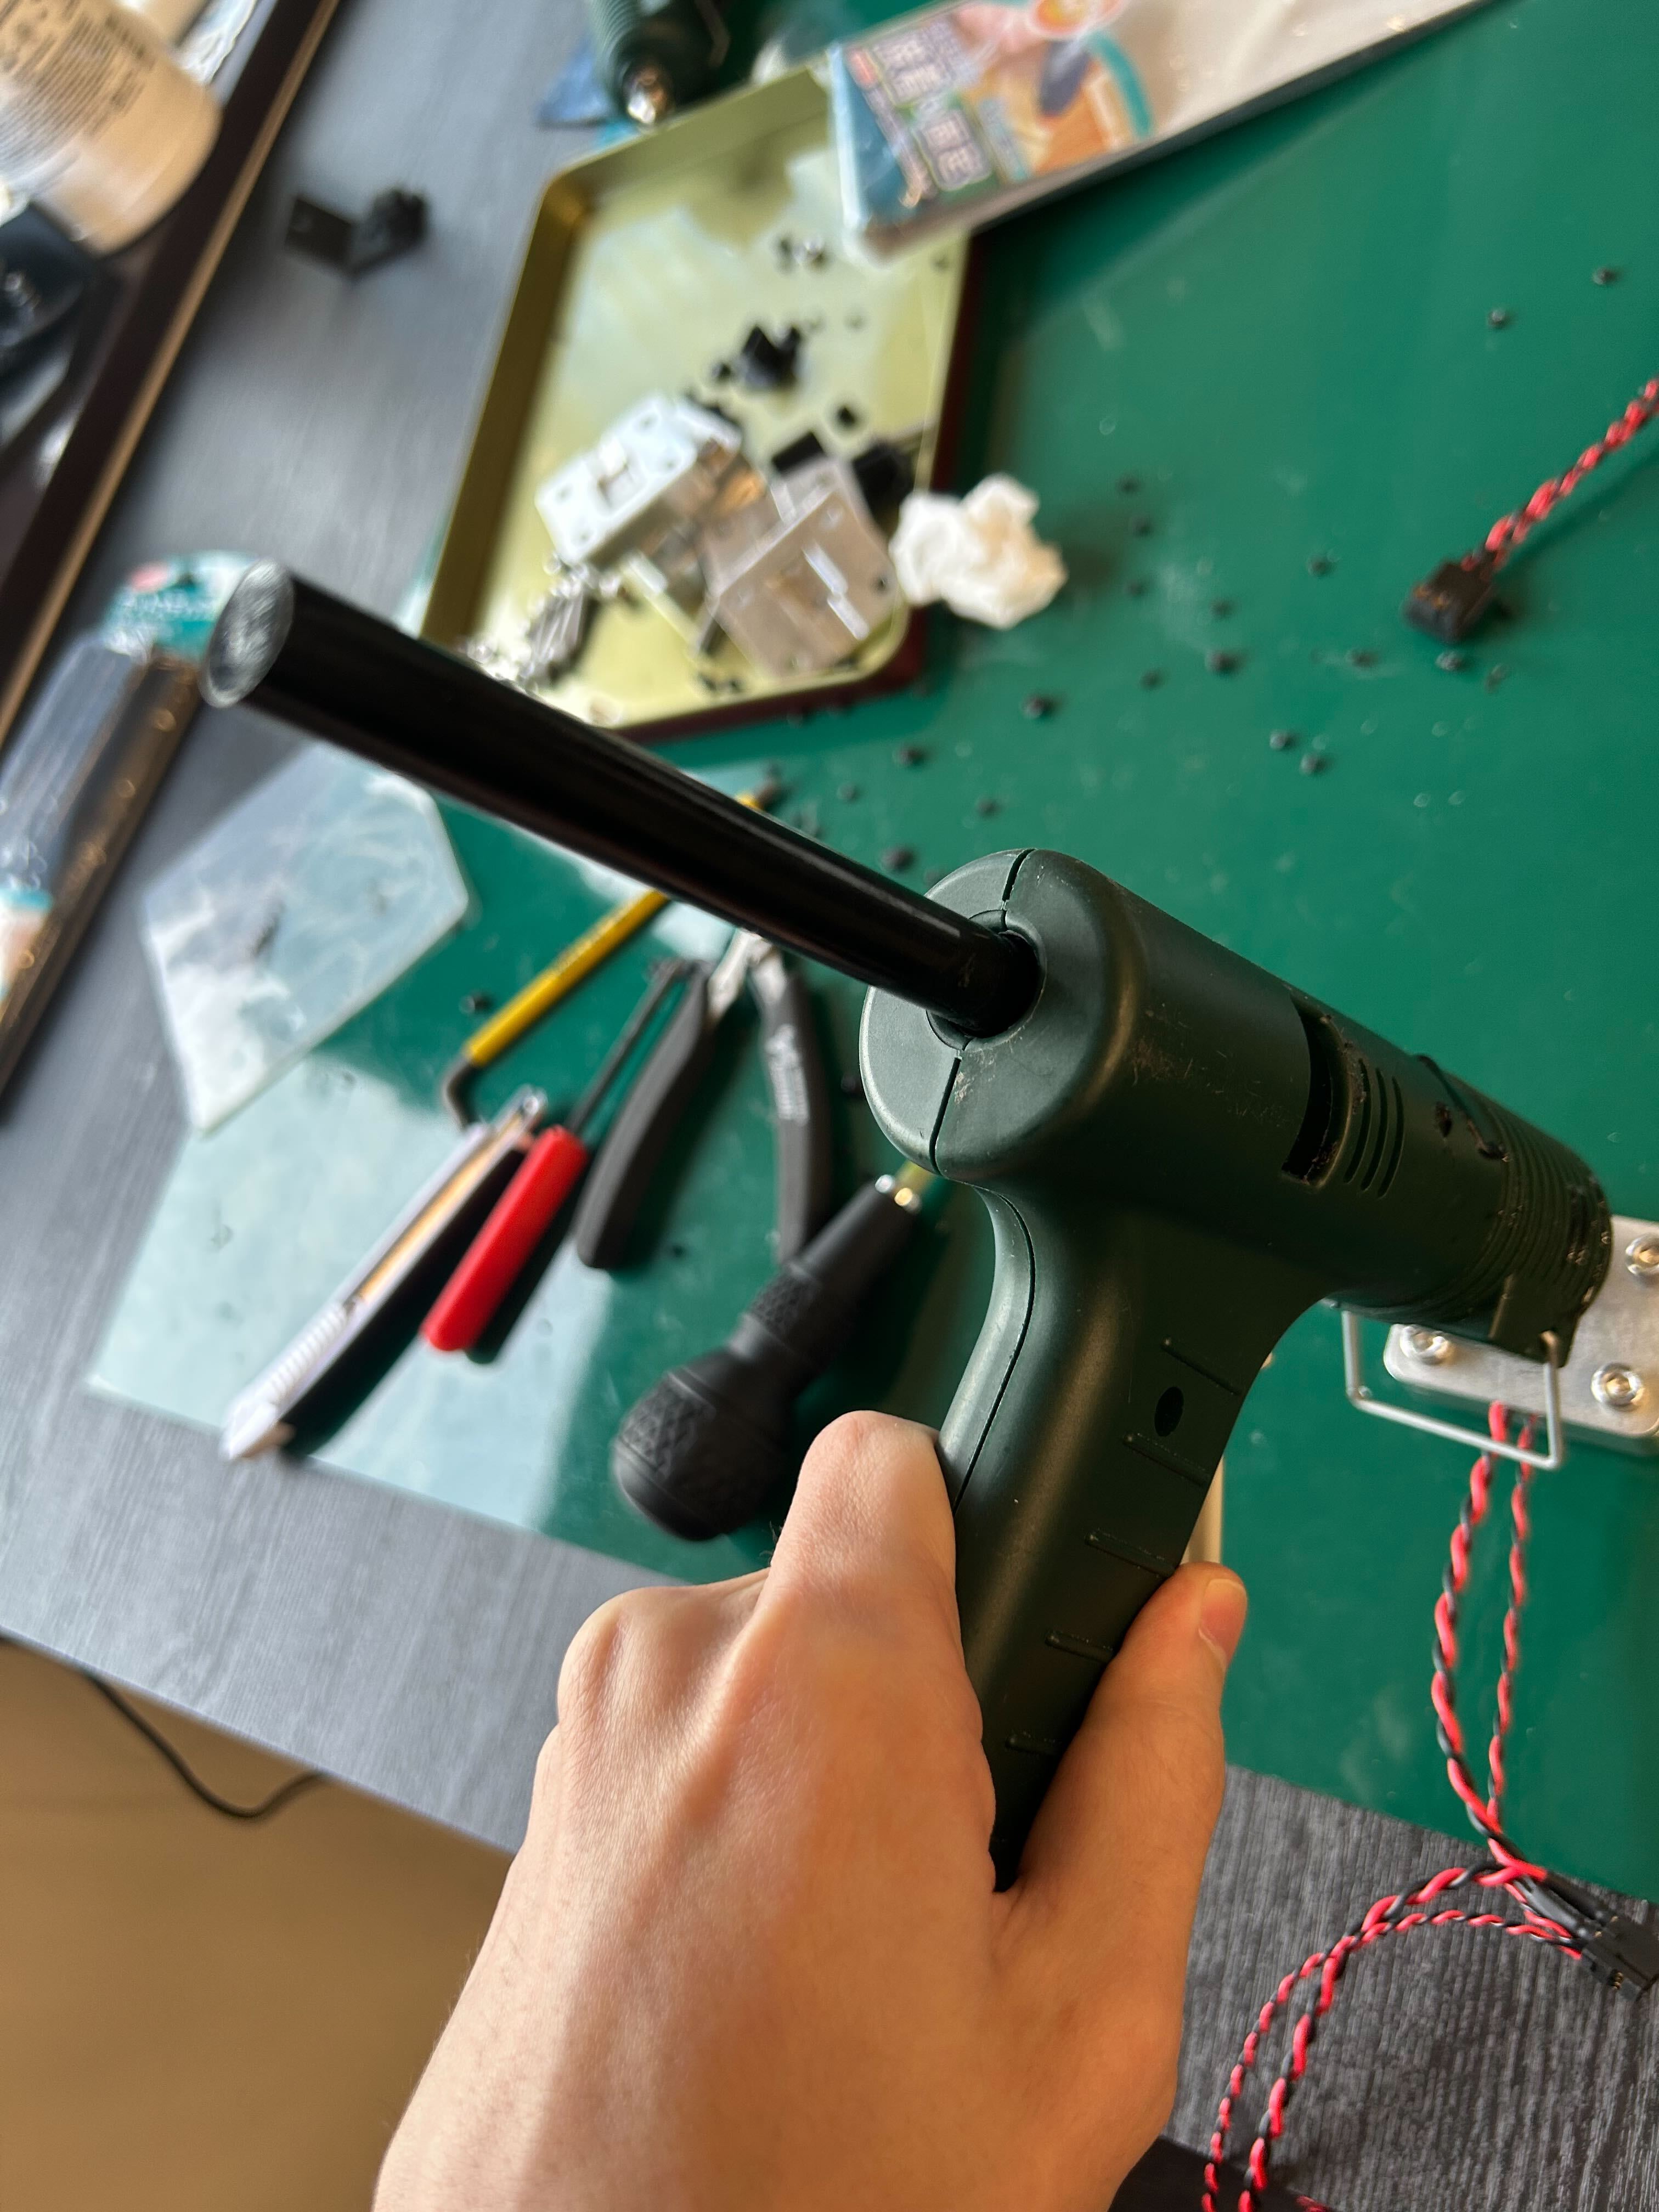
7. Melt the hot glue stick and inject it into the outer holes.
note
Do not pull the trigger. Instead, press the glue stick itself firmly to melt and push it in.
 |  |
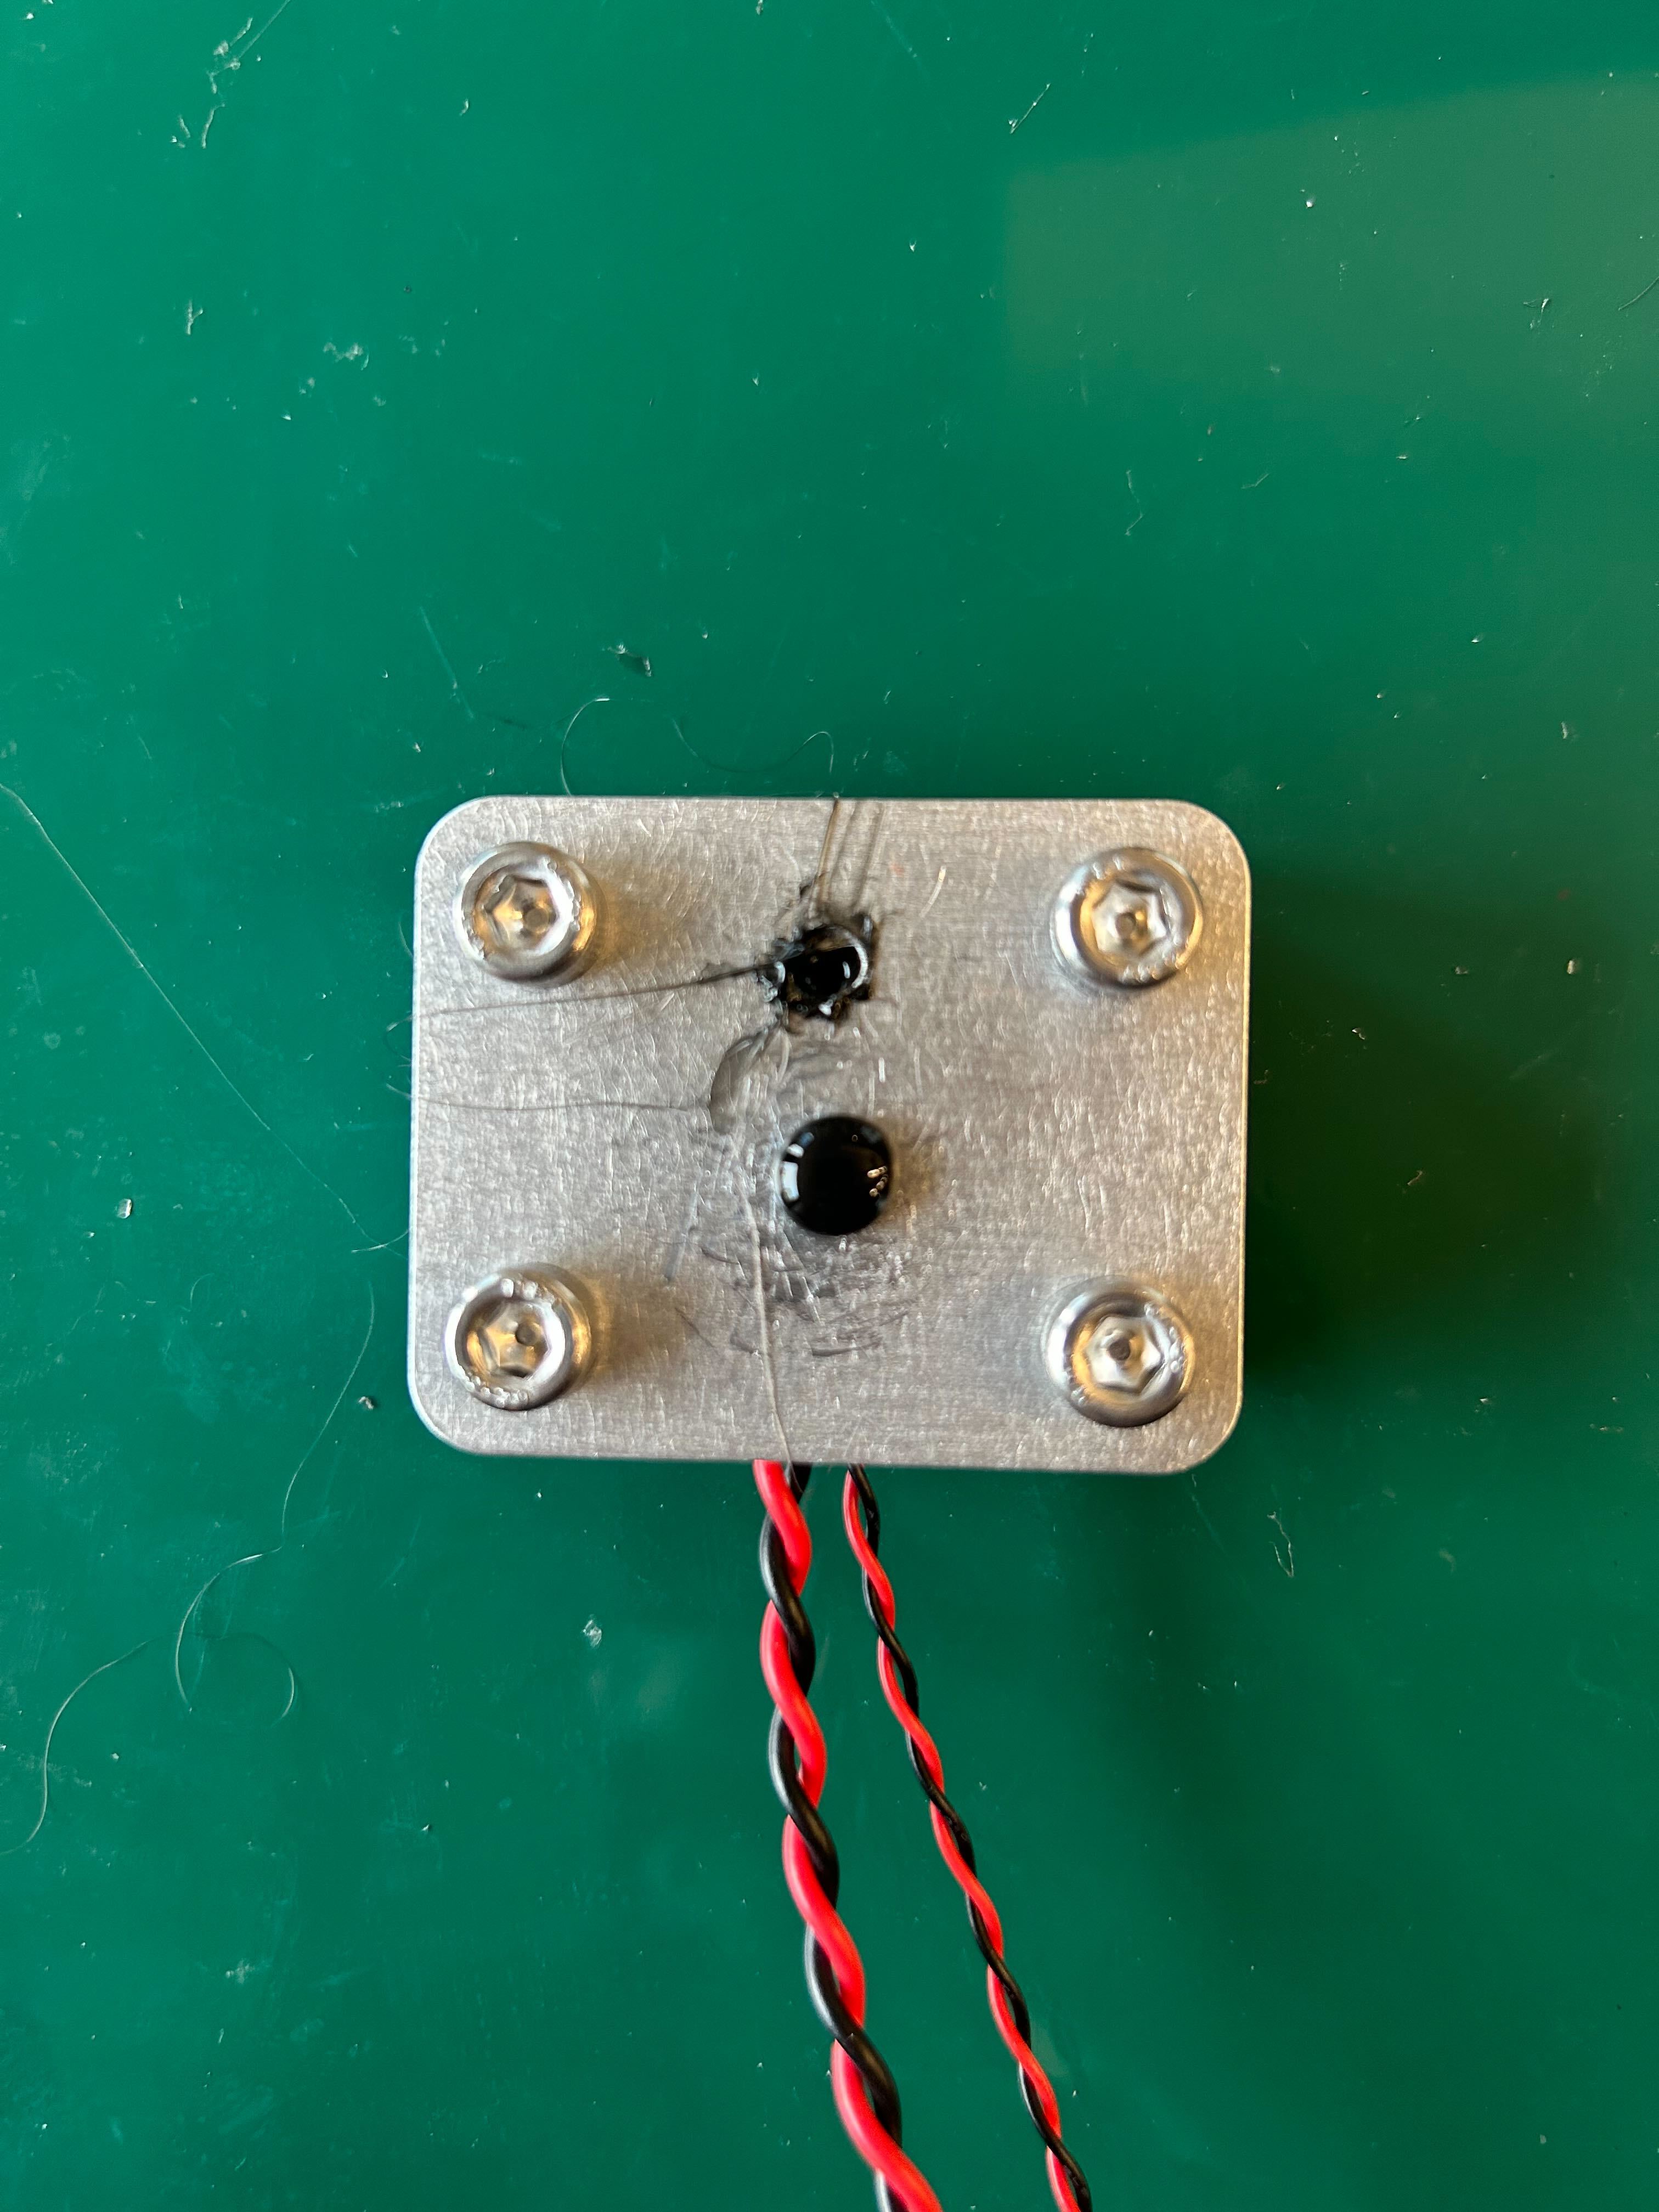
8. When the melted glue comes out from the middle hole as shown below, the process is complete.
9. Wait about two minutes, then cut off the hardened glue with nippers.
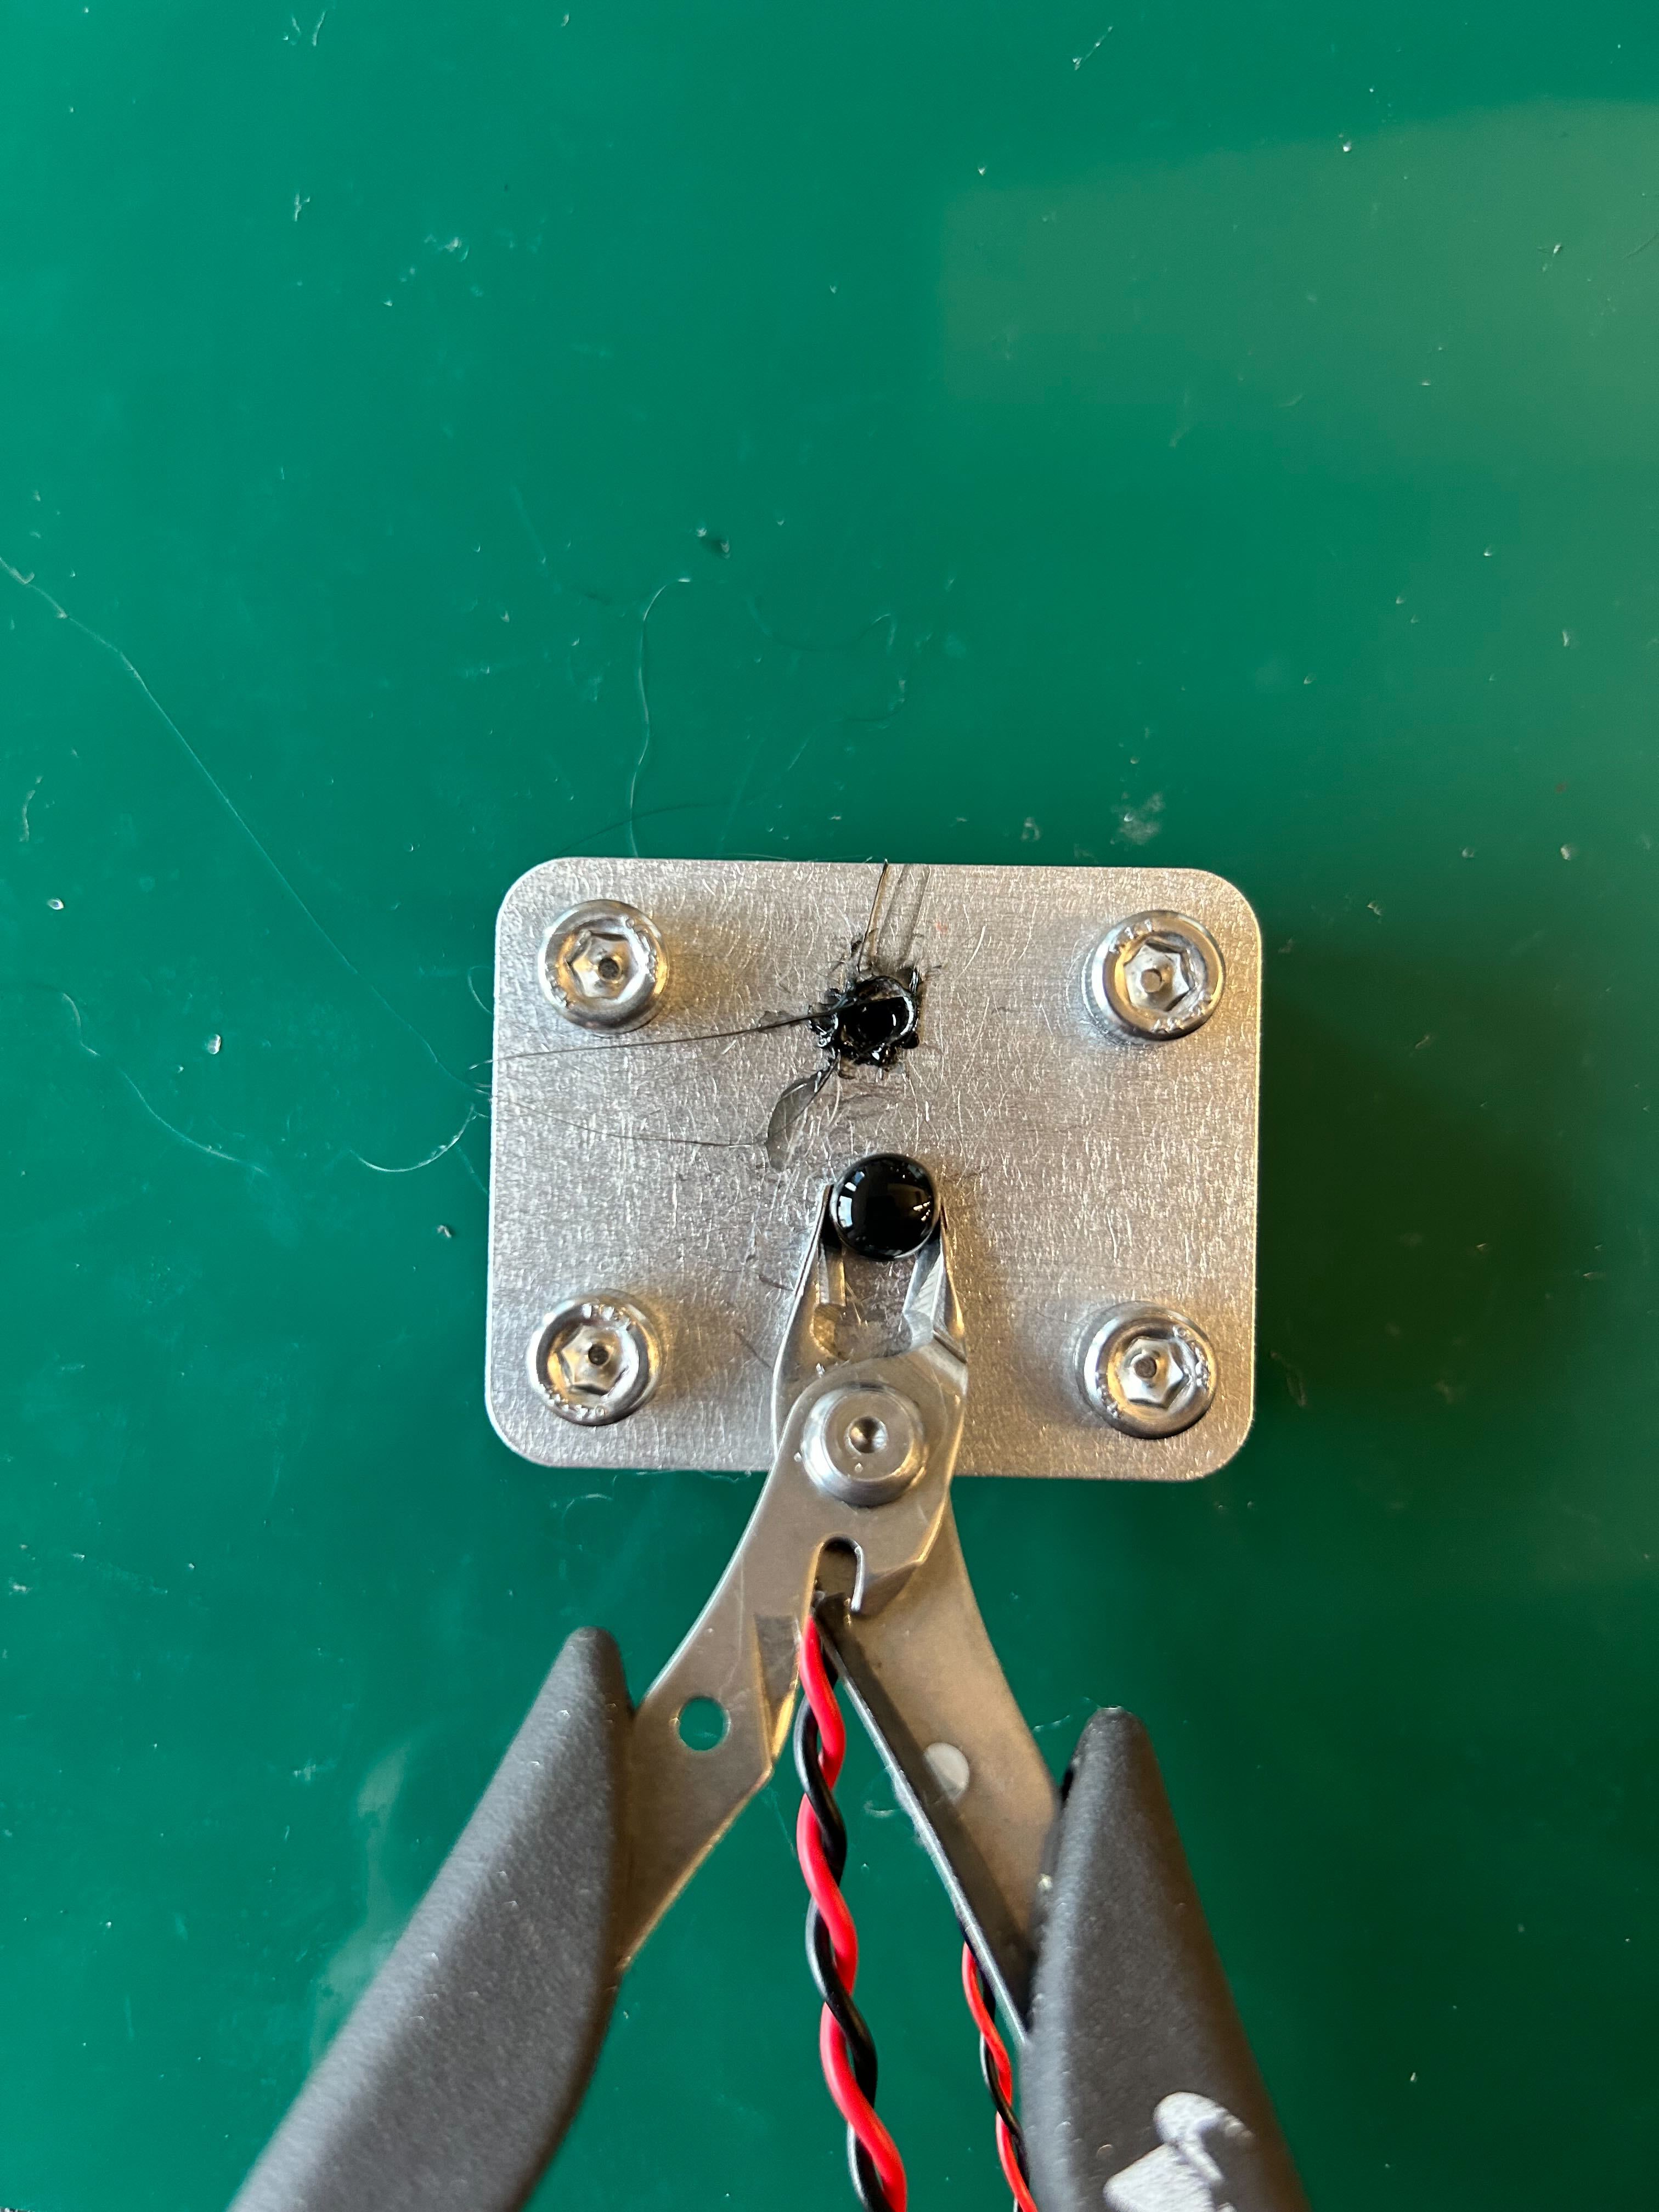
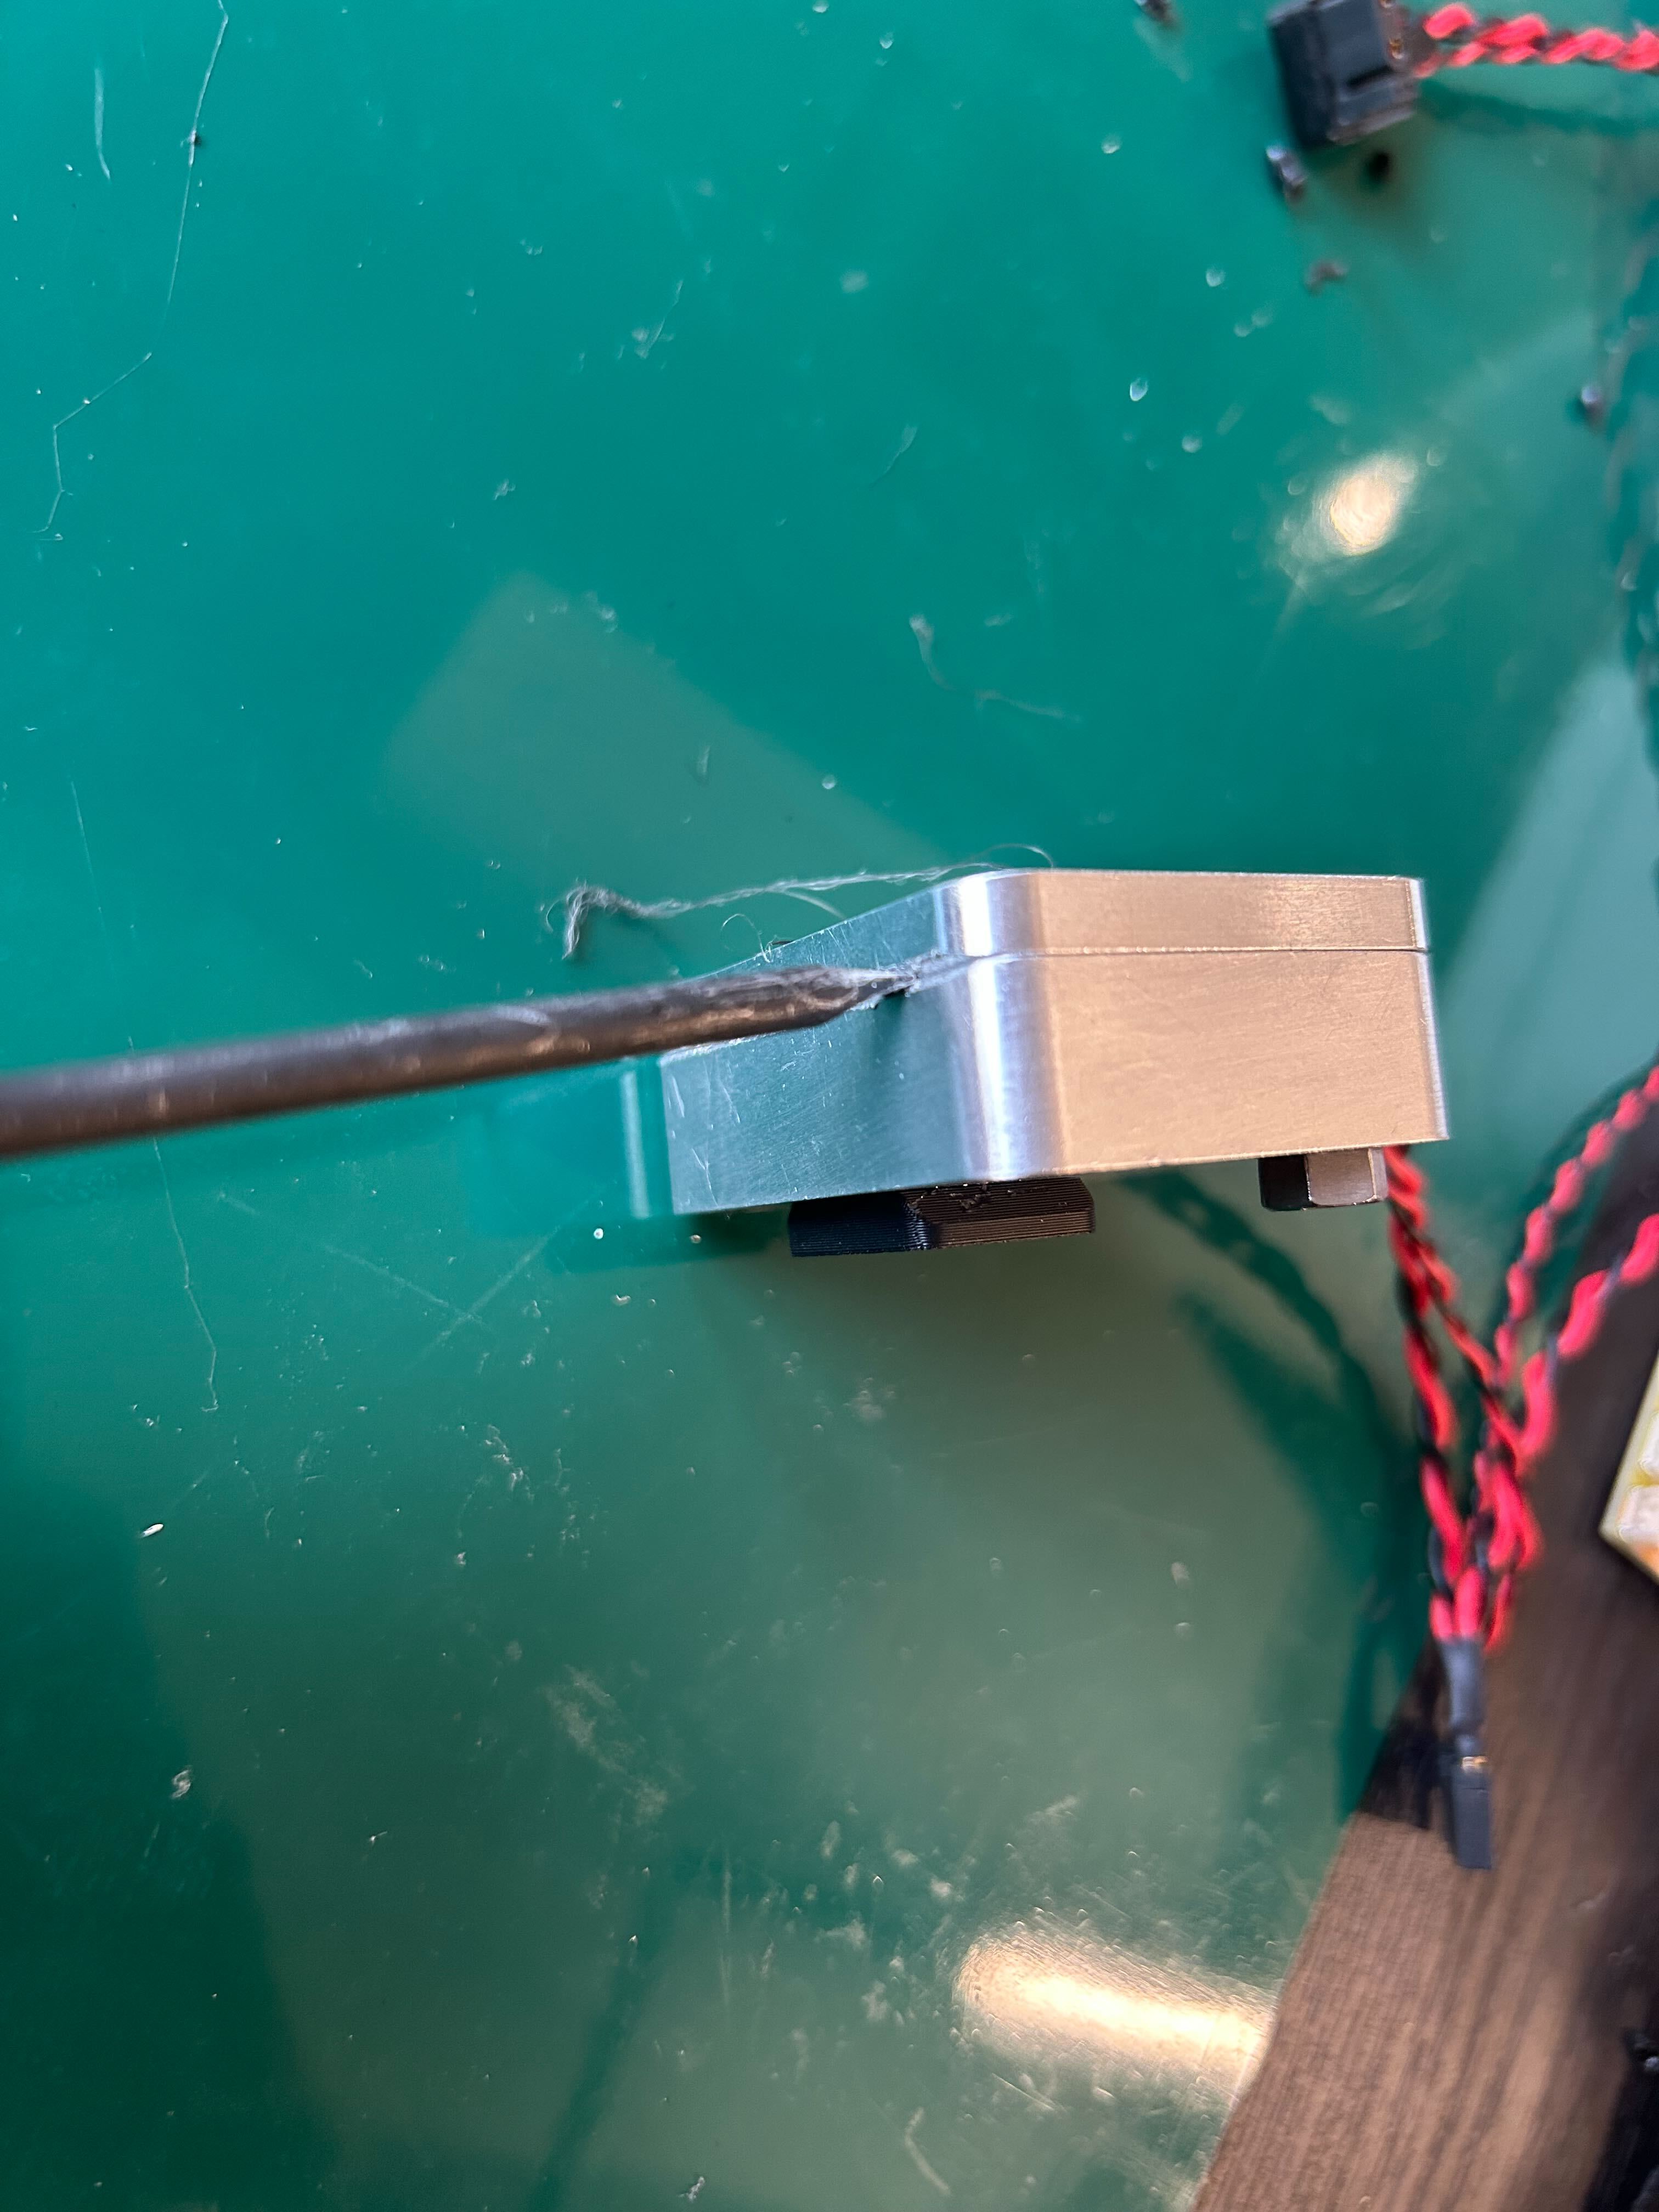
10. Insert a flathead screwdriver into the mold gap and remove the cover.
11. After removing the cover, cut off the two protruding parts of the hardened glue with nippers.
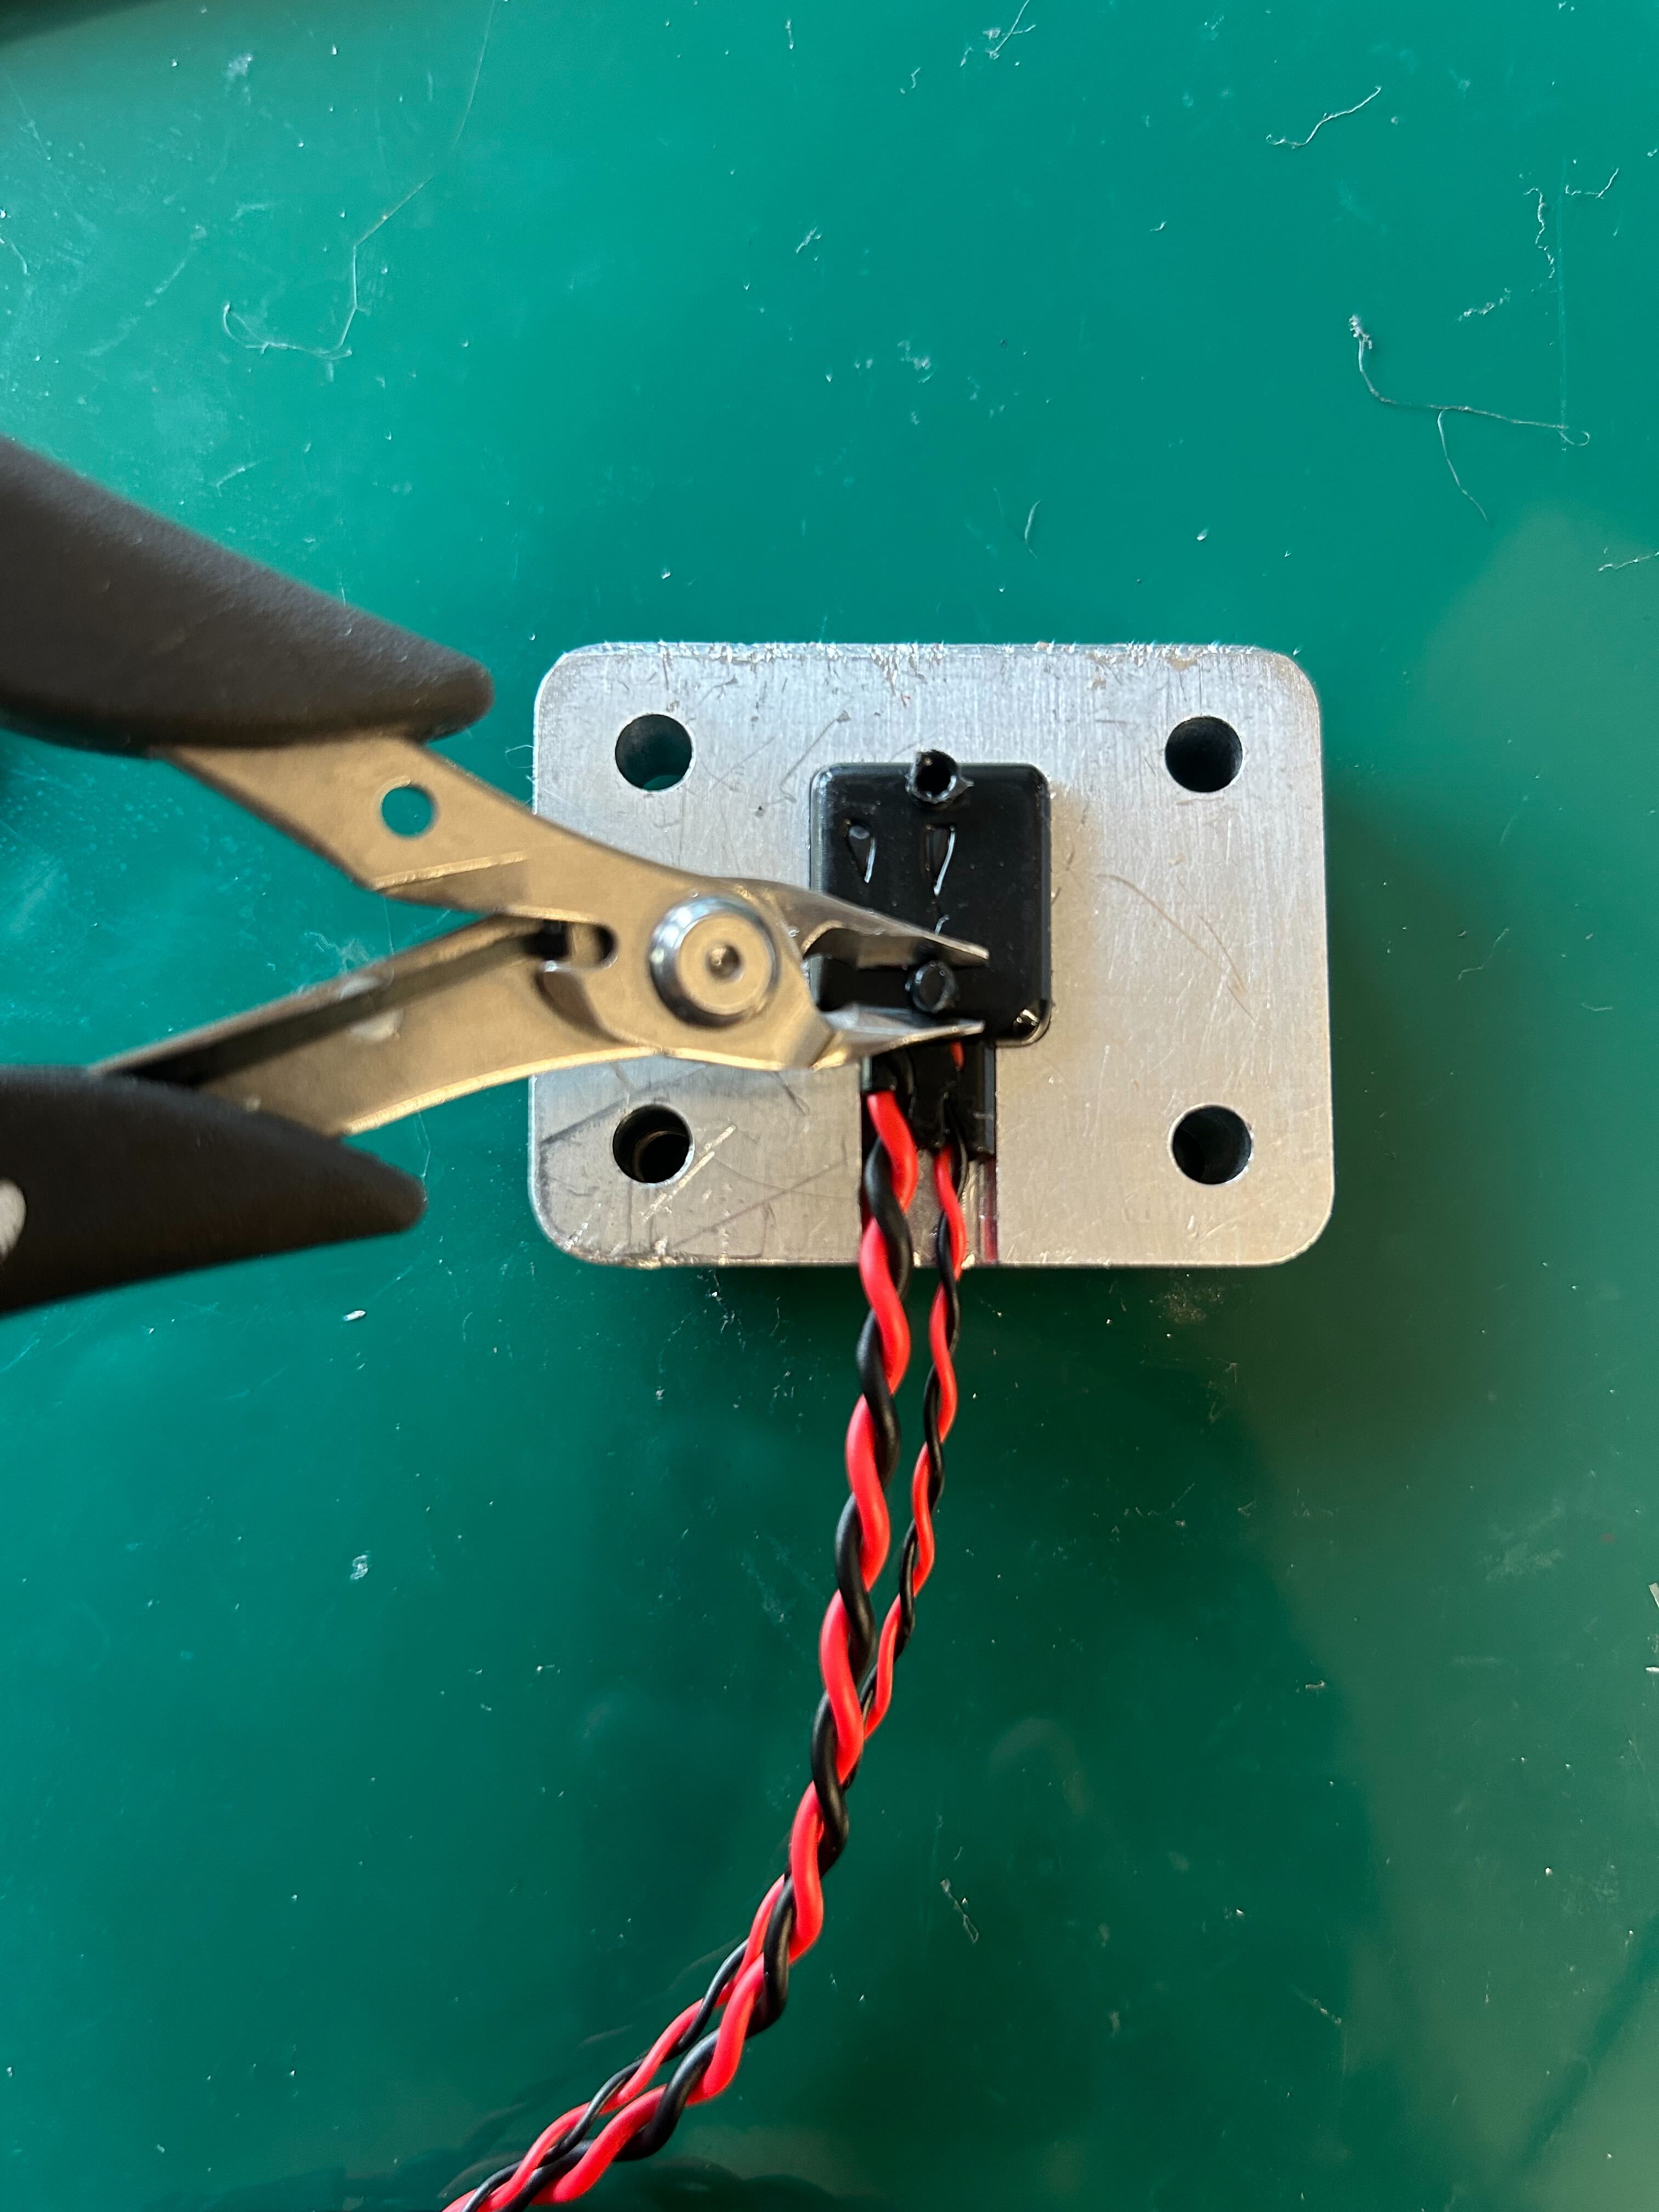 | 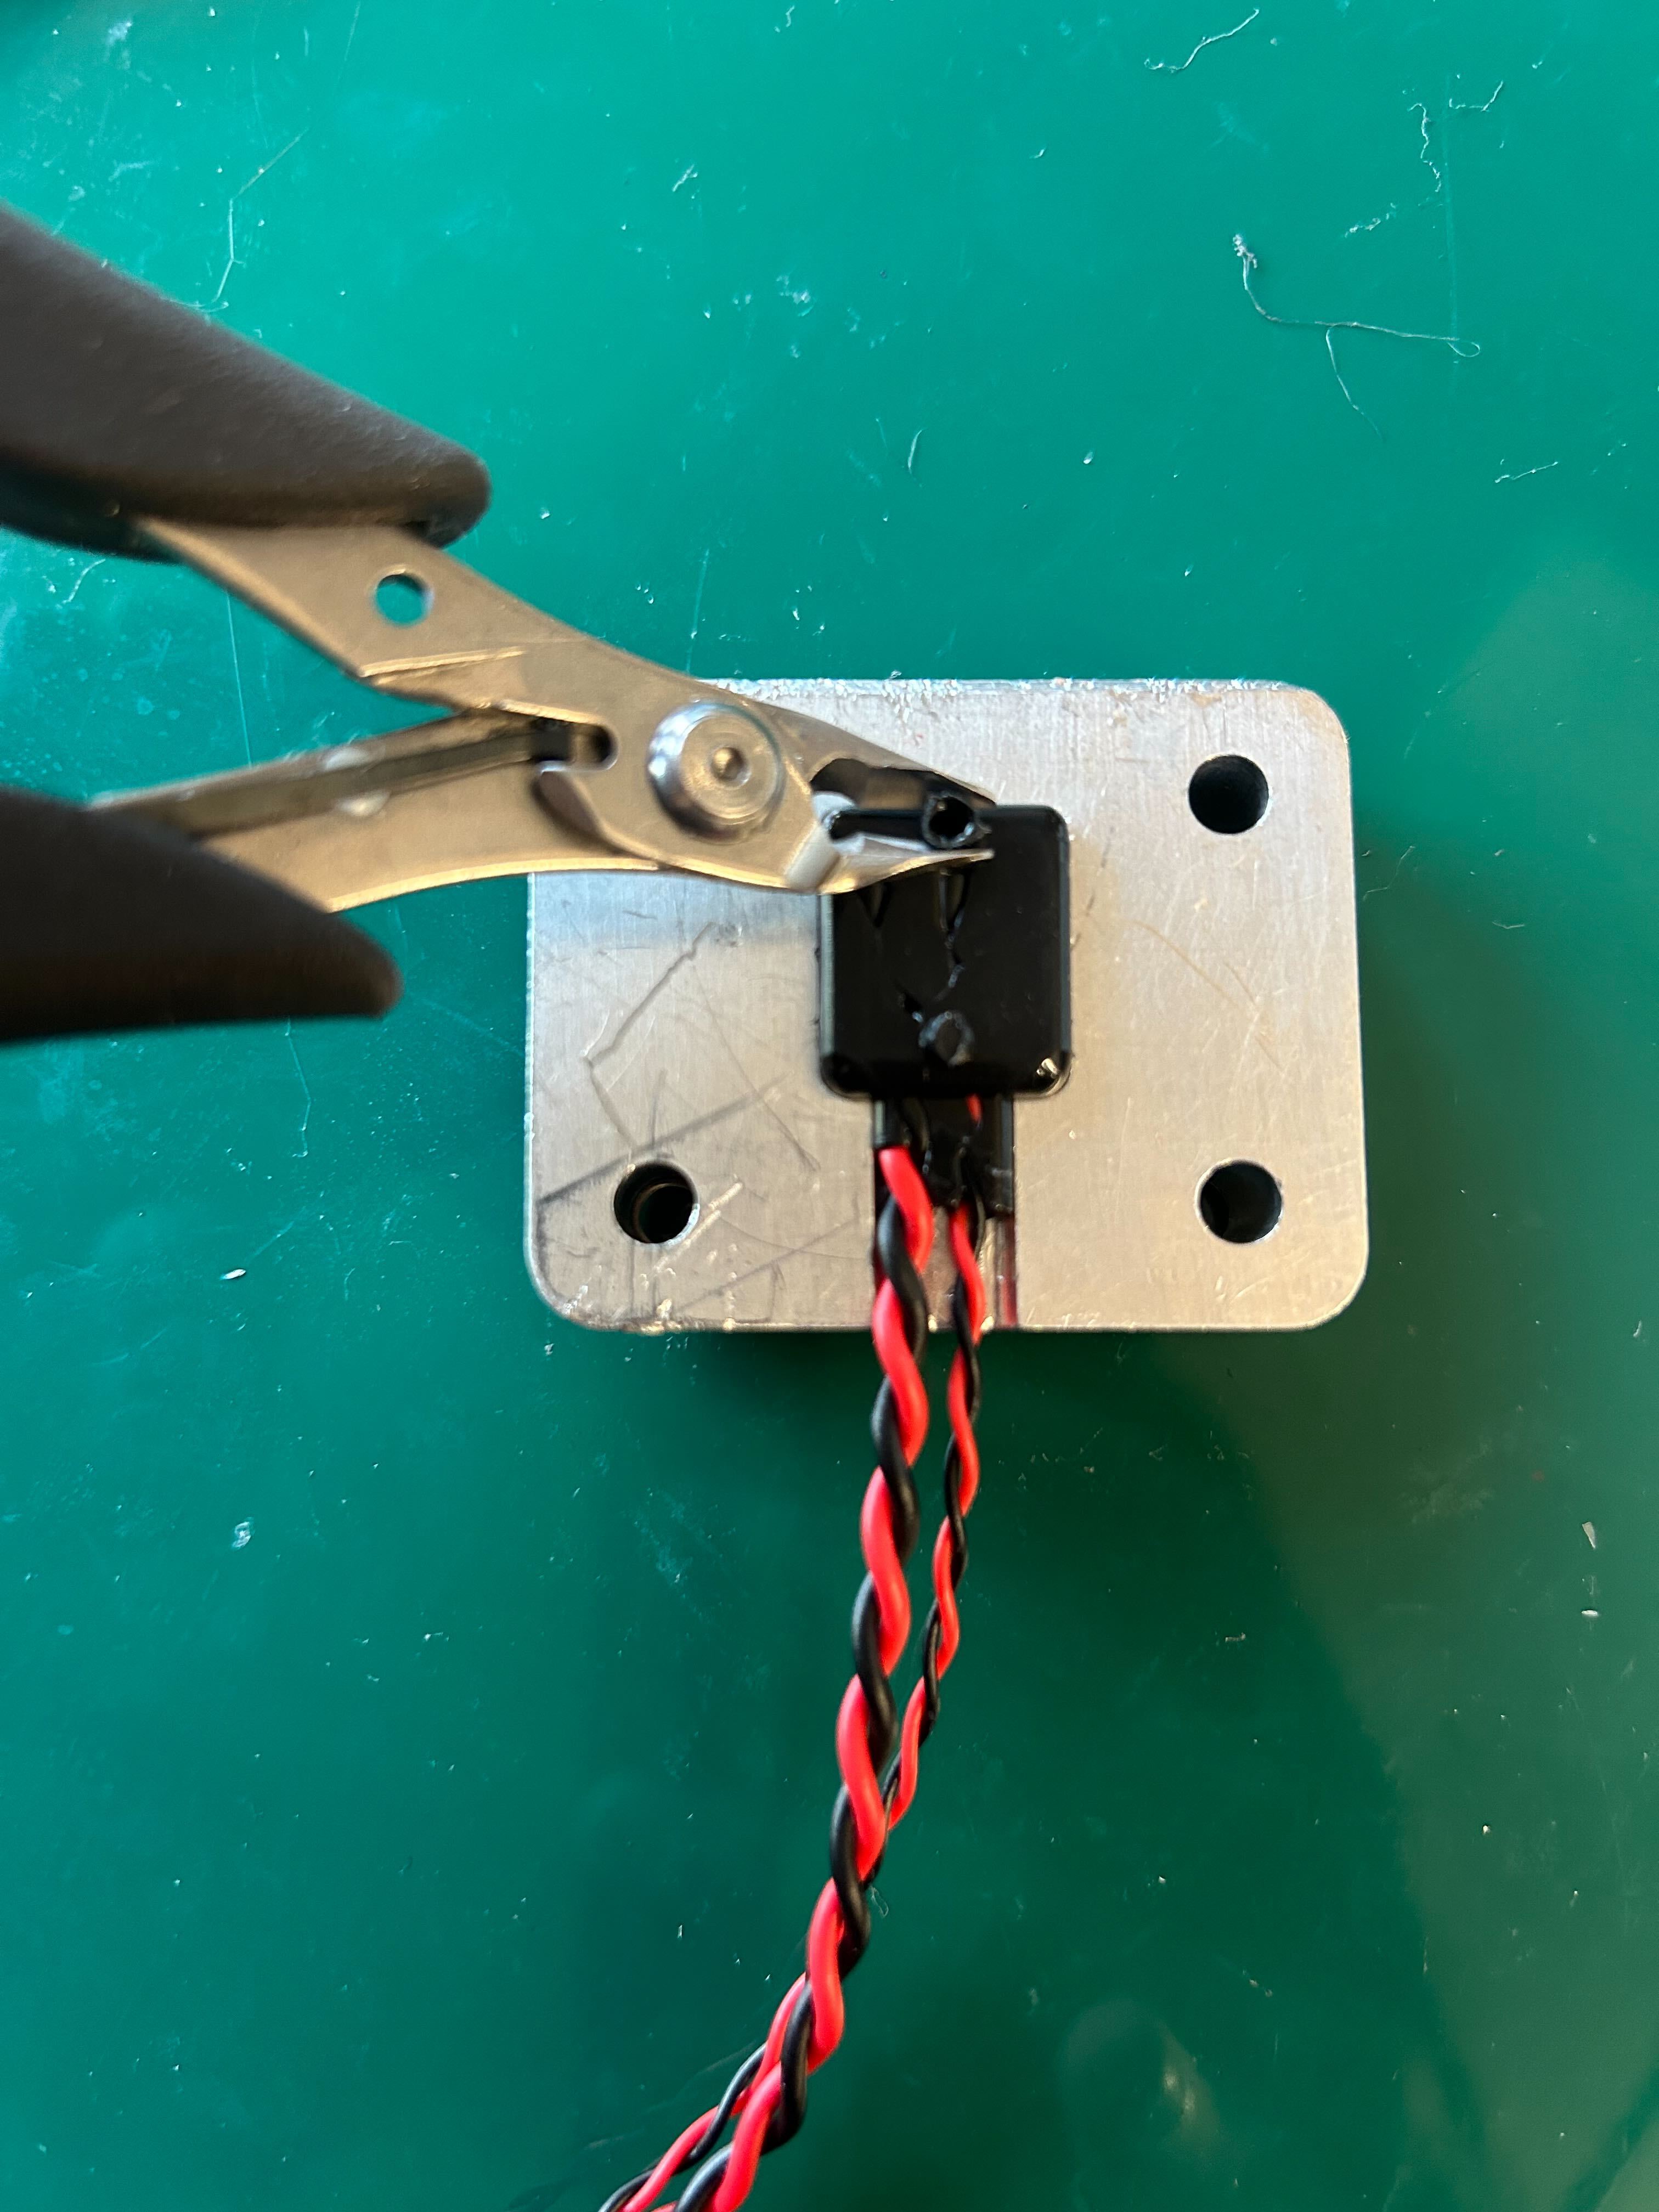 |
12. Use a flathead screwdriver to remove the black case on the back side.
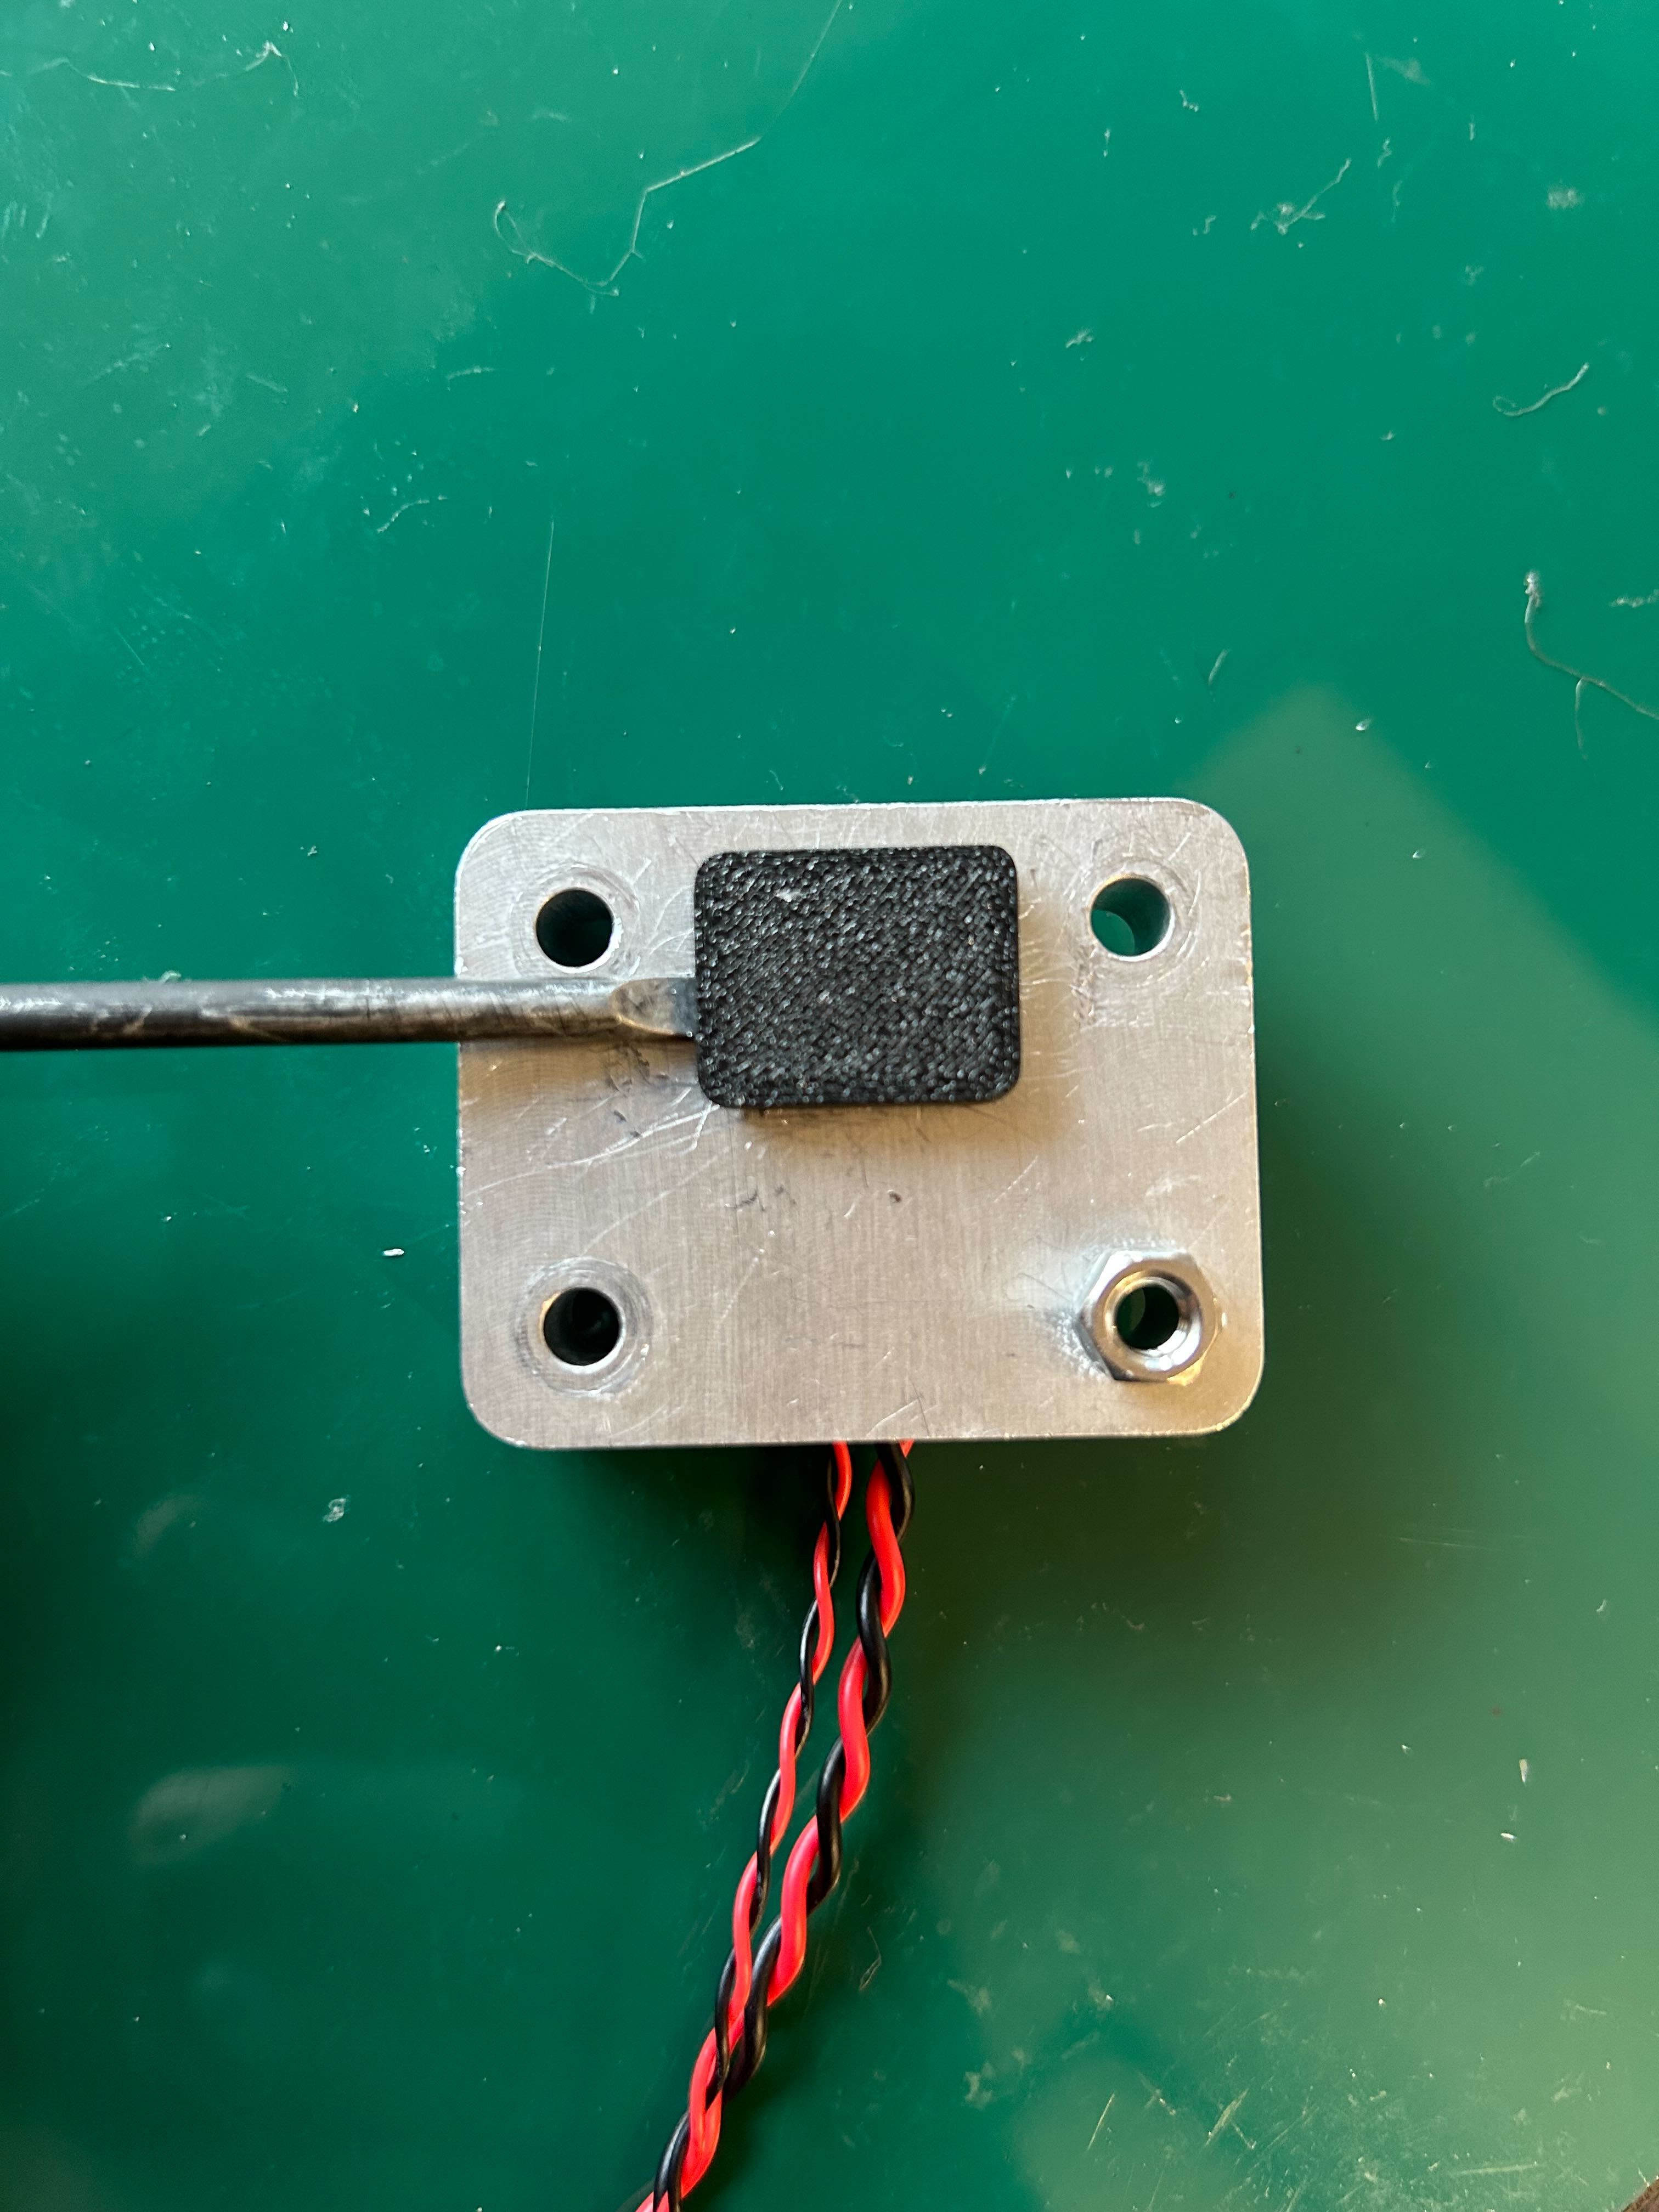
13. From the opened black case side, push the terminal with your finger to remove it from the mold.
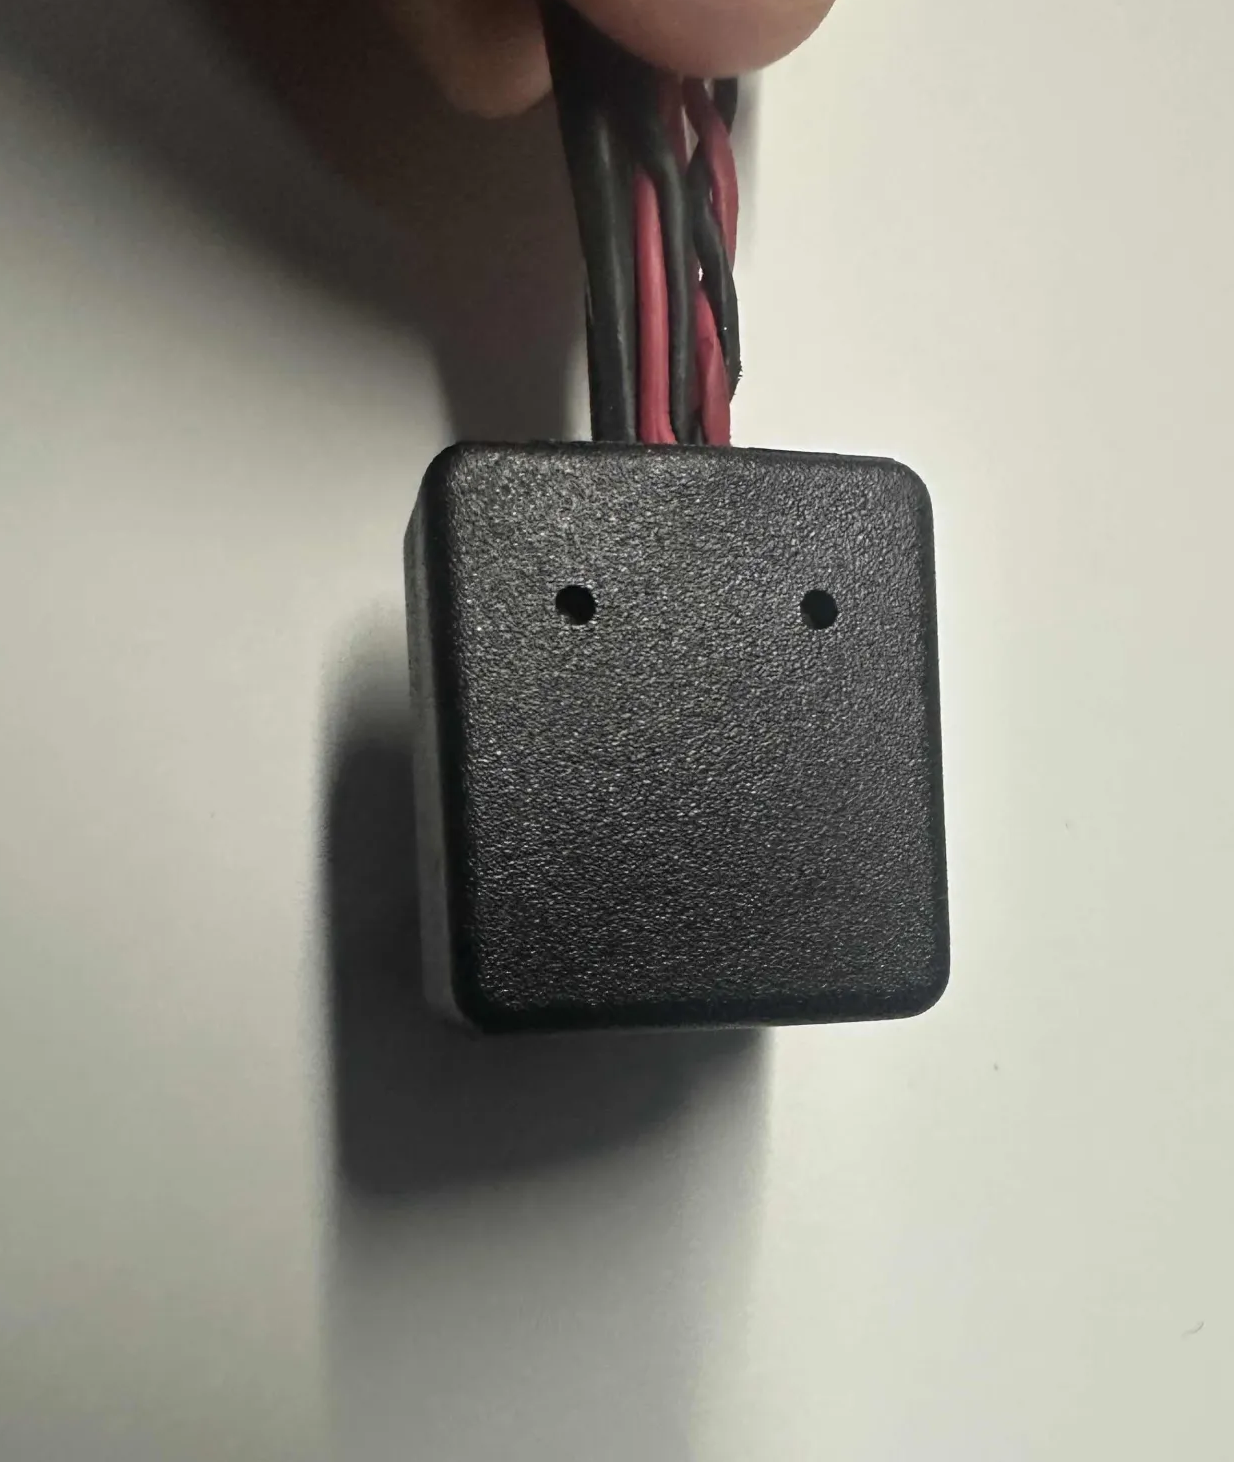
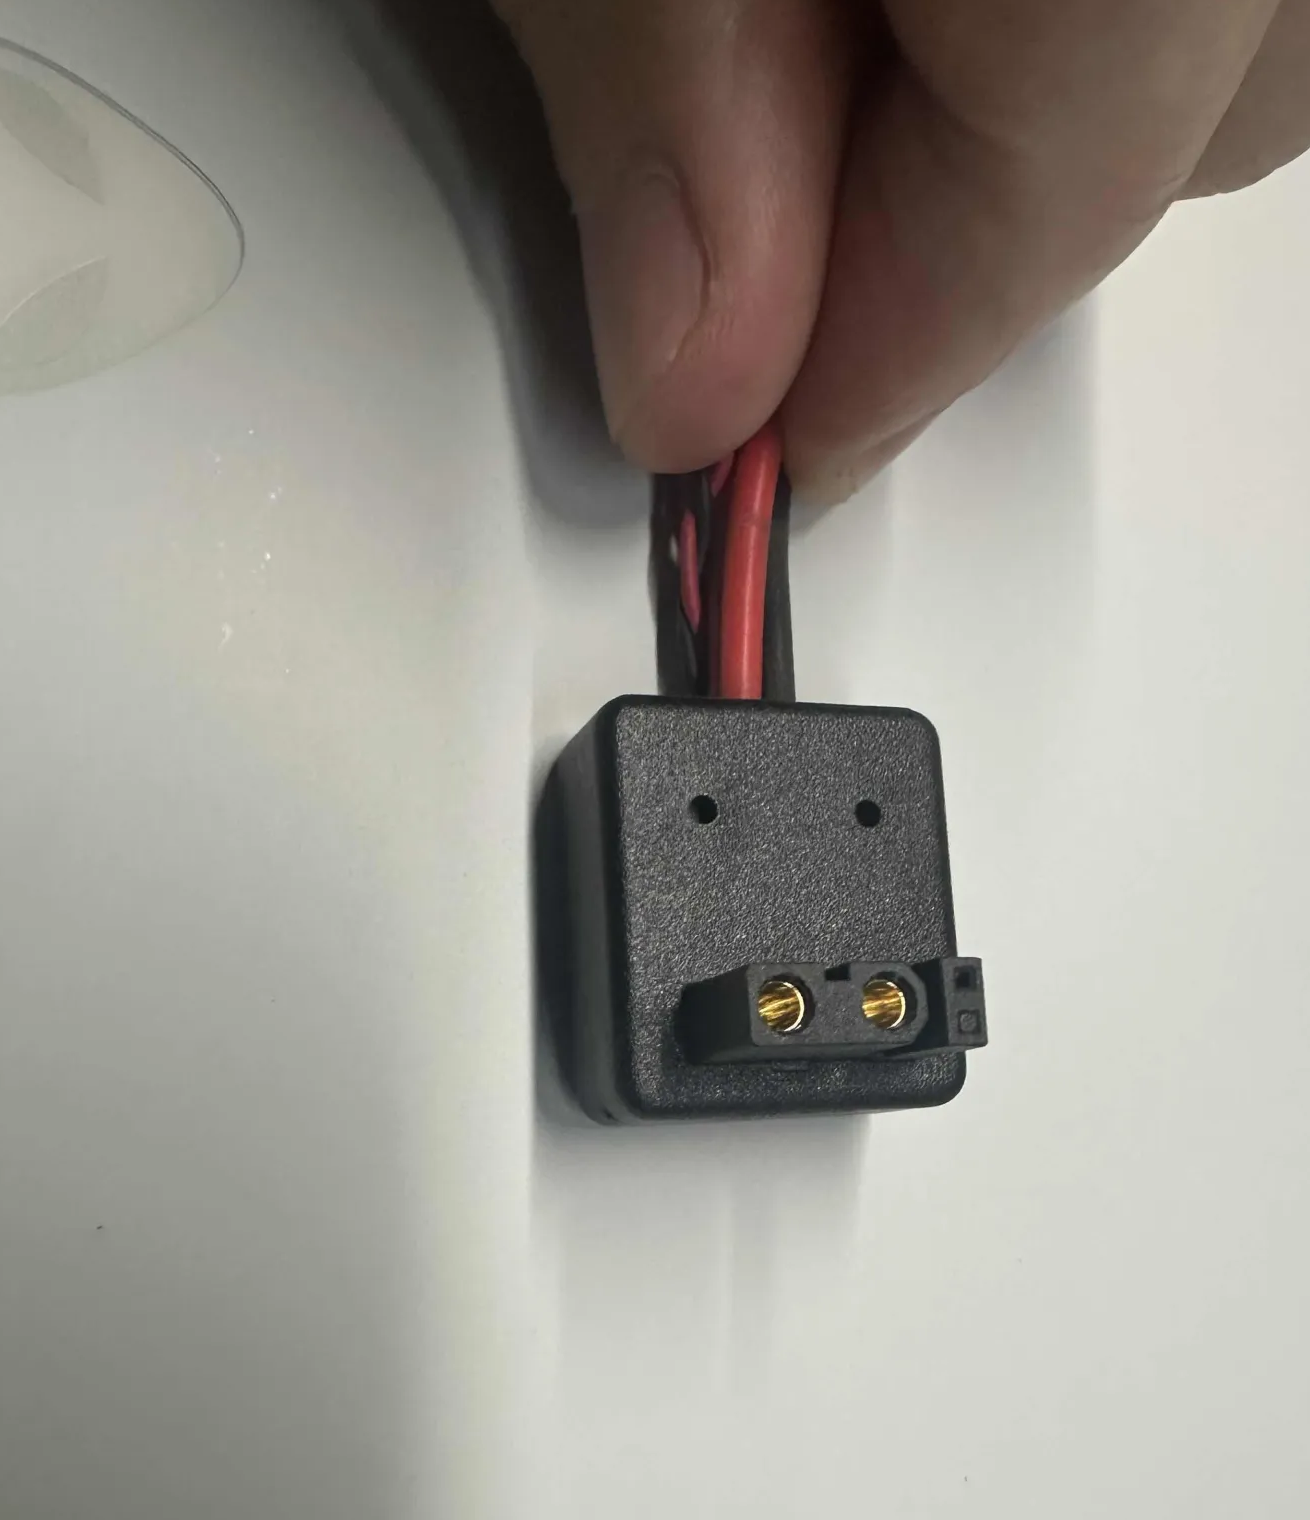
WowRobo connector
 |  |
Cereboto connector
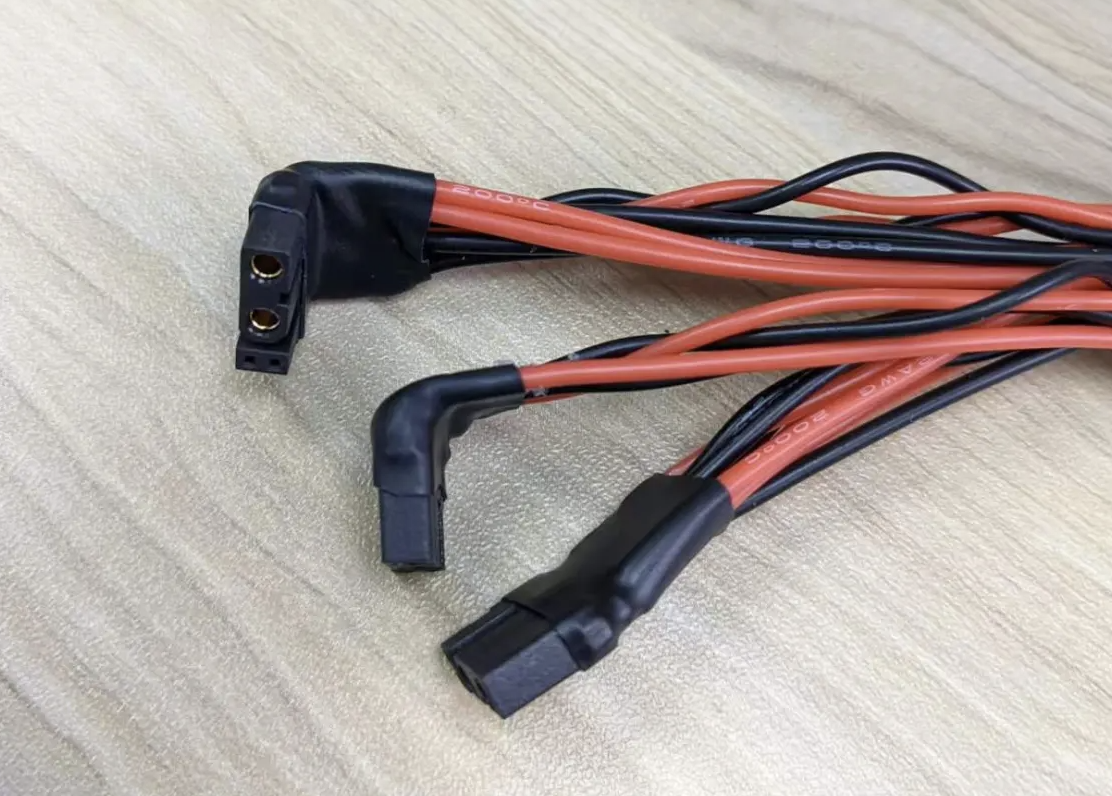
Casing
CSPPNSB-STU-TP3-8 x30  | 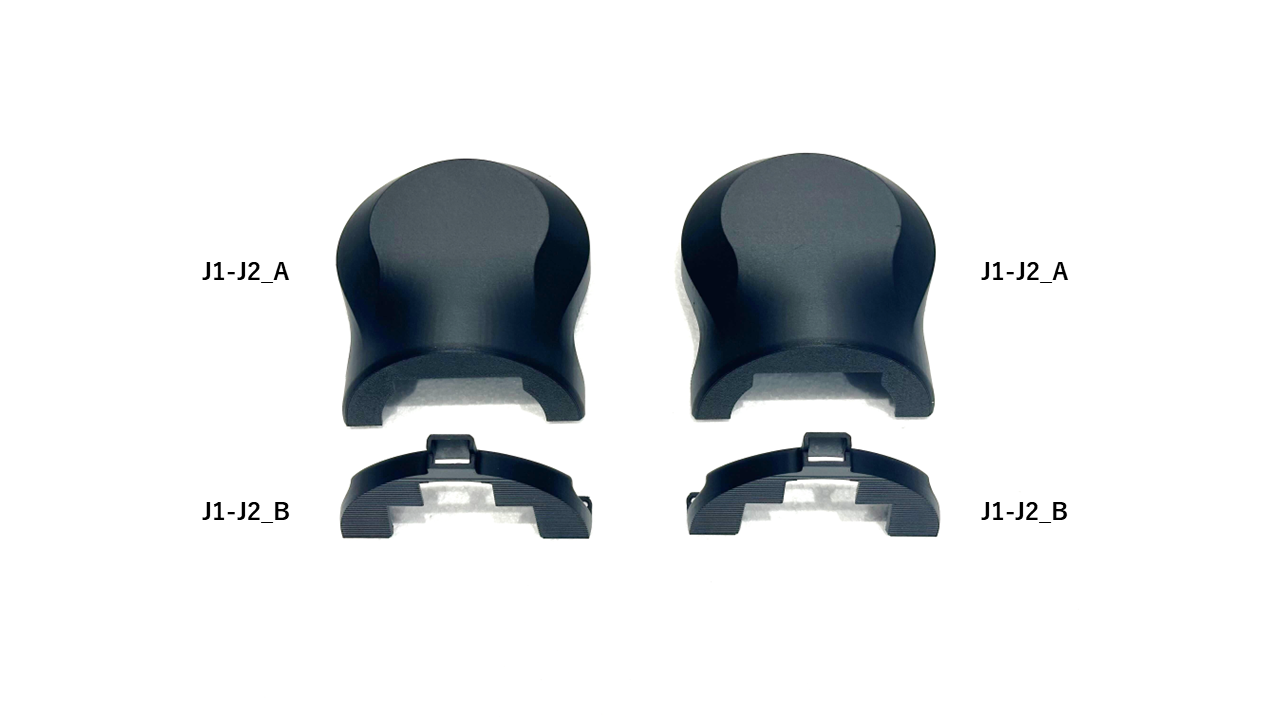 |
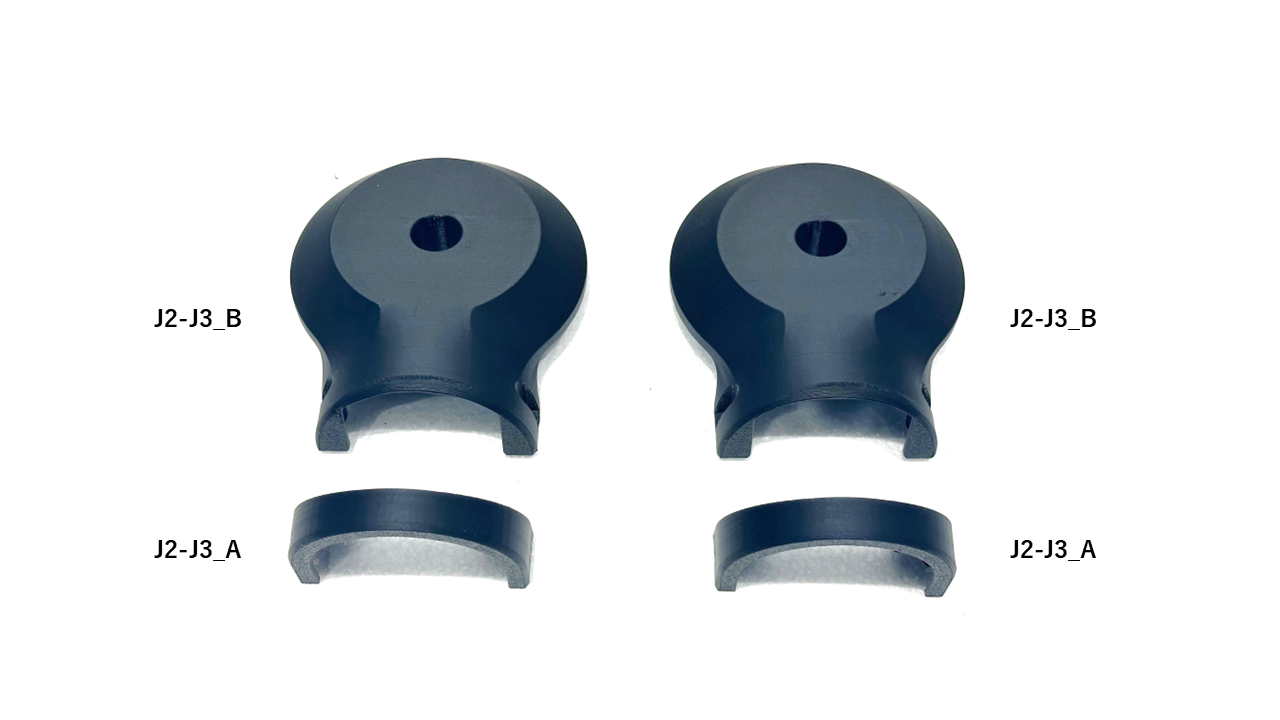 | 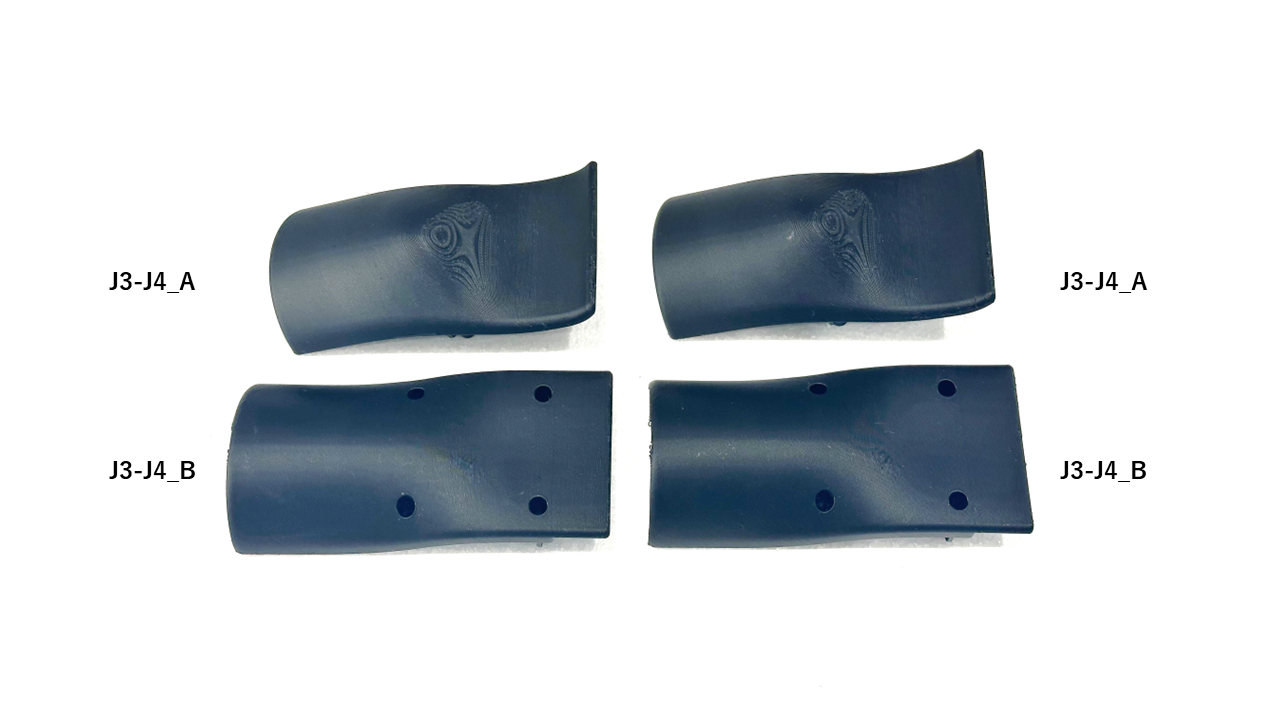 |
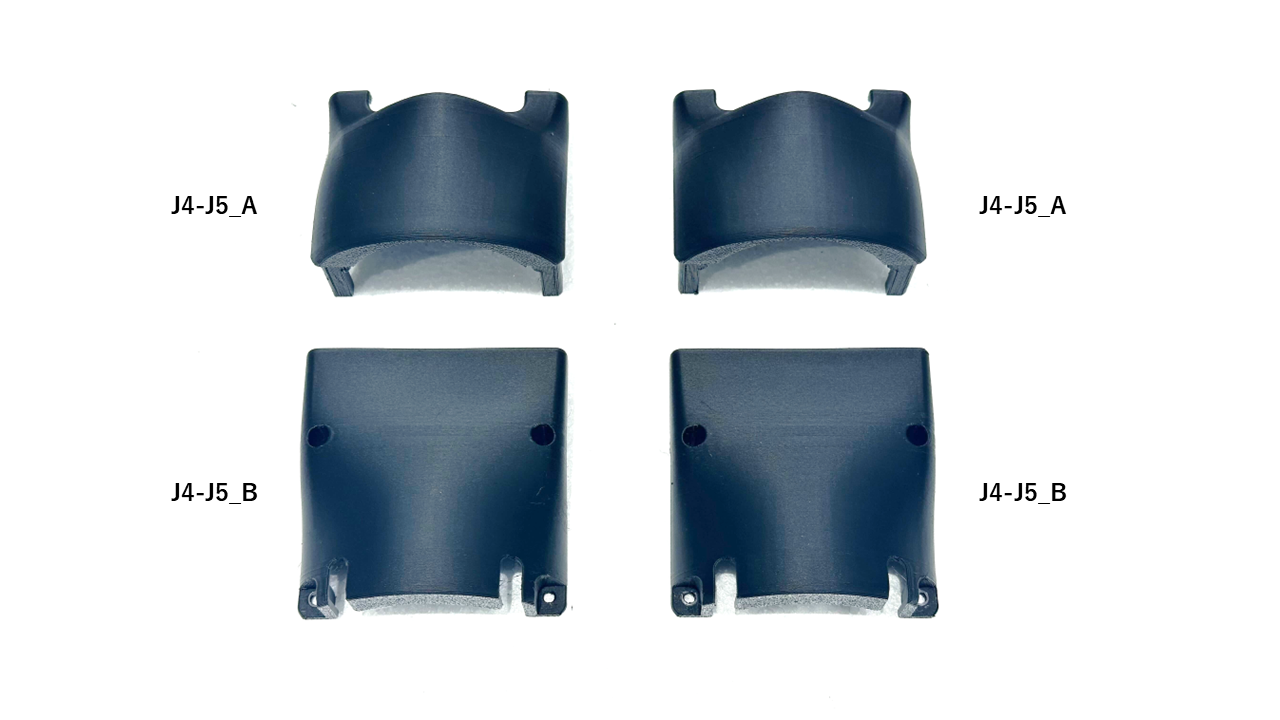 | 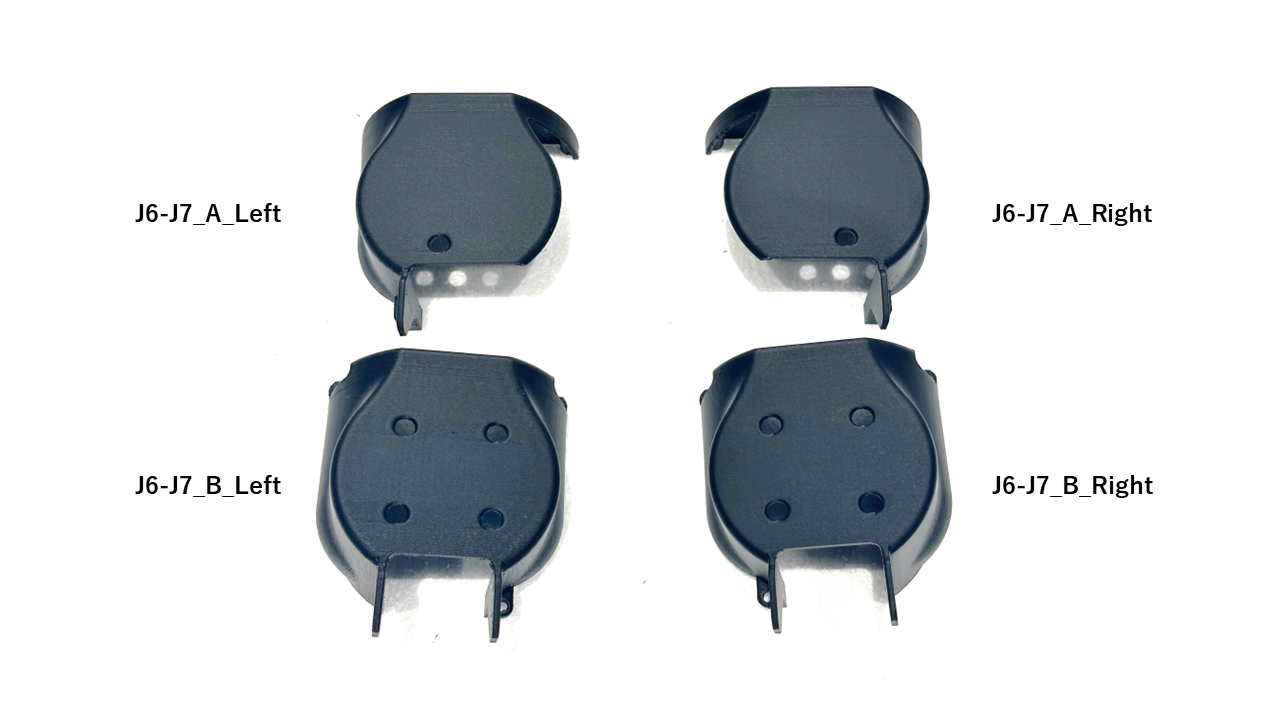 ※ these components have L & R distinctions ※ these components have L & R distinctions |
Hub Board
CBM6-12 cap screws x4, HNTP6-6 T-slot nuts x4, Hub board back covers x2, Hub board PCBs x2
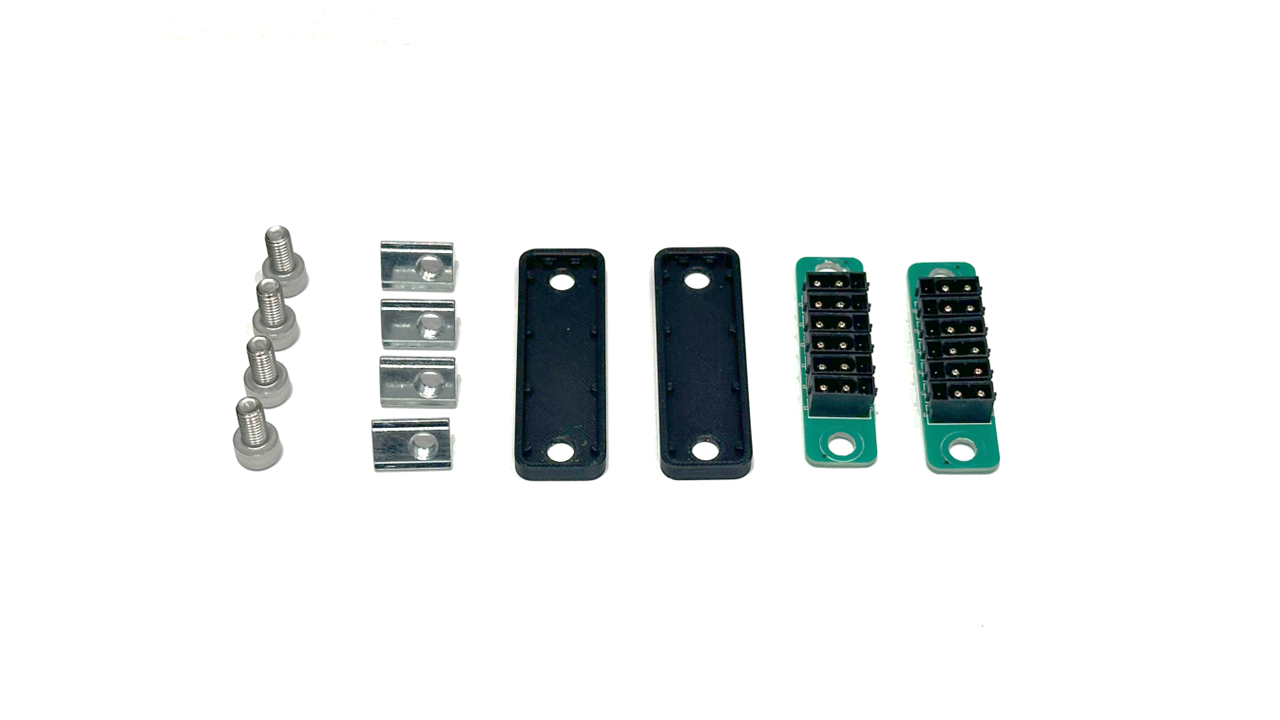
Hub board chest covers